Etsy Product Photos: How to Take Listing Photos That Sell (Phone Guide)
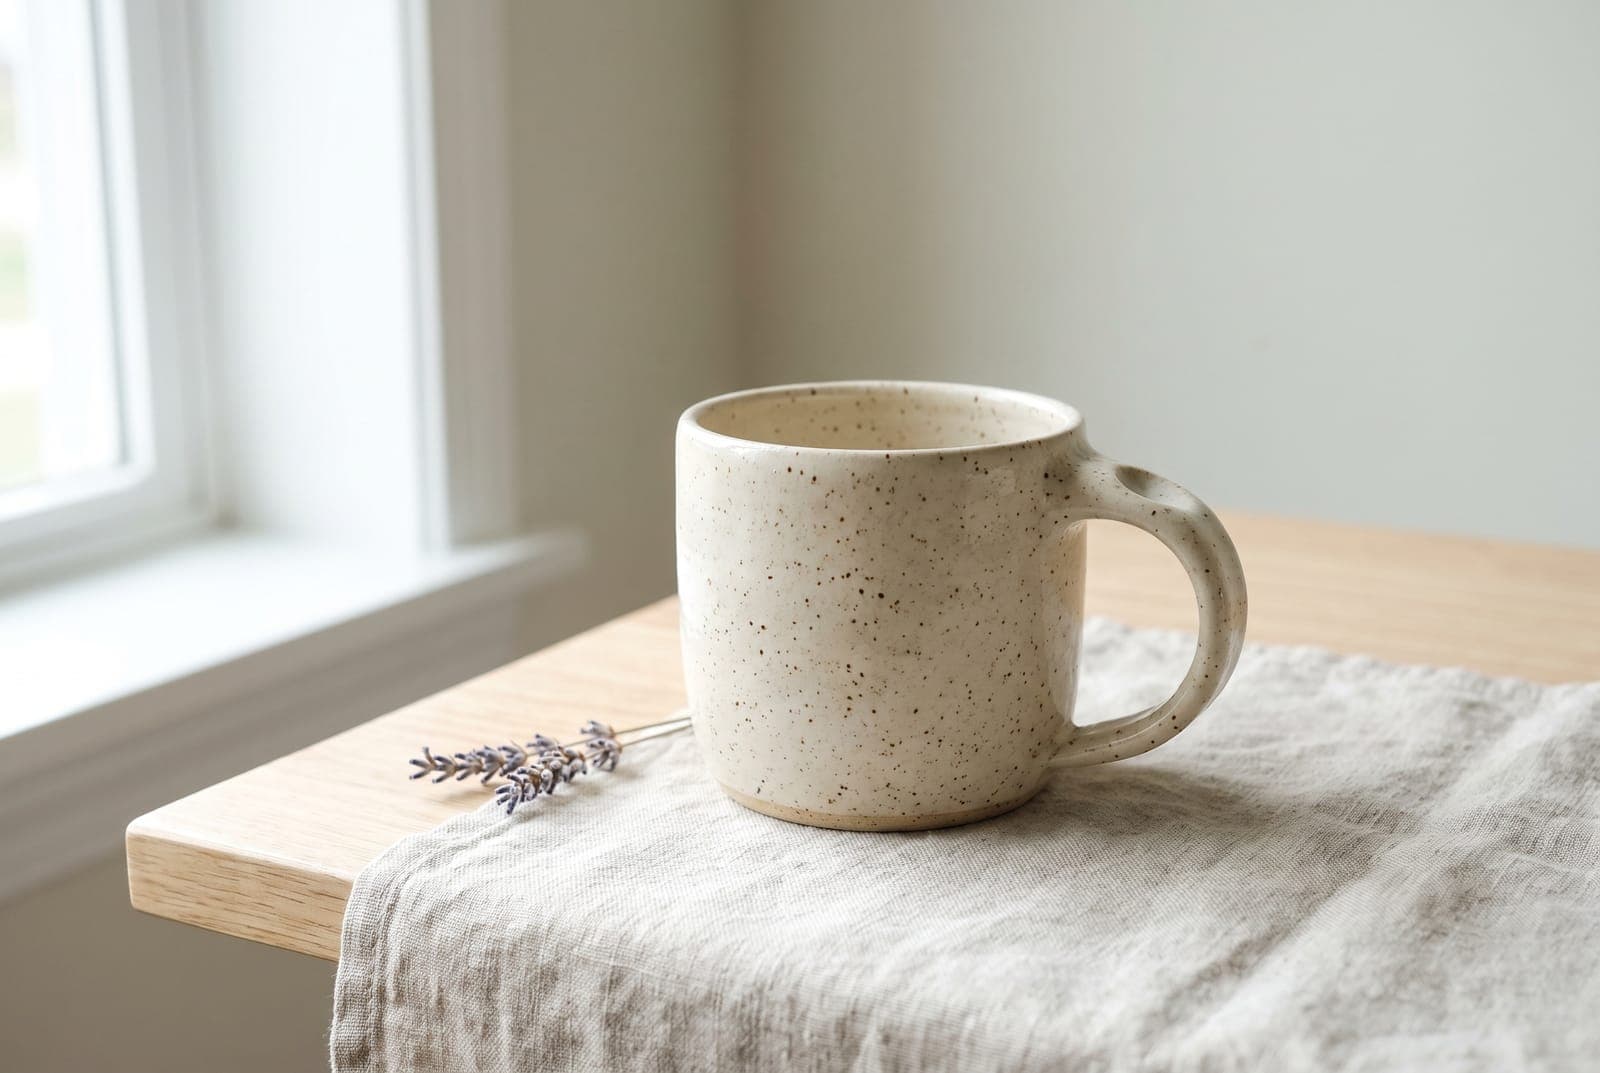
Table of Contents
On Etsy, the photo does the job a shop window does. A buyer cannot touch, hold or see the size of what you made, so the photos have to answer those questions fast. The good news is that you do not need a studio. A phone, a window and a plain surface will beat a lot of listings shot on expensive gear with no plan.
This guide gives you a photo plan for each listing, the setup, the thumbnail trap that costs shops clicks, and how to edit and export to the right size. It builds on the product photography at home guide.
Resize for Etsy listings, free in your browser
Try it freePlan the set before you shoot
Think of a listing's photos as answers to buyer questions, in the order they ask them:
- What is it? A clean, centered hero shot of the whole item. This is the first photo and the one that shows in search.
- What does the back or other side look like? A second angle.
- How big is it? Held in a hand, next to a common object or a ruler, or on a person.
- How is it made? A close-up of texture, stitching, glaze, grain or finish.
- Where does it go? A styled in-use or in-room photo.
- What are the options? A group shot of every color or size.
- How does it arrive? The packaging, since gift buyers care.
Seven photos is a solid start. Etsy allows up to 20 per listing, and its own guidance on listing images is worth a read before you upload.
Set up your space
You need three things: soft light, a plain surface, and a way to hold the phone still.
- Light. Put the item by a window with no direct sun, ideally a north- or east-facing one, and turn off room lights so you have one color of light. If the sun is harsh, hang a white sheet over the window. A white foam board opposite the window bounces light into the shadows. More in the lighting guide.
- Surface. For the hero shot, a white or light neutral surface keeps attention on the item. Poster board, a clean table or a linen cloth all work. See backdrops if you want to build a sweep that curves into the wall.
- Steady phone. A tripod is best. A stack of books and a rubber band also works. Use the 2x lens from a bit further back rather than the wide lens close, which distorts edges.
If you shoot small items such as jewelry, soap or candles, a DIY light box gives even light for almost nothing. For rings and earrings, read the jewelry photography guide, and for skincare the beauty product photography guide.
Win the thumbnail
Buyers see your first photo in search results as a small image, often cropped, long before they see the listing. If the item is small in the frame, or the background is busy, it disappears.
- Fill the frame. The item should take up most of it, with a little margin.
- Center it. Search crops can trim the edges.
- Keep the background plain in photo one. Style the scene in photo five.
- Check it small. Shrink the photo to the size of your thumb on a phone screen. If you cannot tell what it is, reshoot it.
- Match your other listings. A consistent first photo across a shop reads as a brand, a point we make in the Depop photo guide too, and it applies here.
Show scale and use
Scale is the most common reason for returns on handmade items. Show it plainly: a hand holding the item, a ruler in the frame, or the item beside something everyone knows.

A lifestyle photo helps people picture the item in their own home. Keep props few and quiet, and never let them hide or overwhelm the product. See product photography ideas and lifestyle product photography for scenes that work.
Edit lightly
Editing should make the photo look like the item looked in the room, not change it.
- Straighten and crop. Level the horizon and crop to a consistent frame for every listing.
- Fix brightness. Raise exposure until the background looks clean, without clipping the highlights on the product.
- Check color. Compare the photo to the real item under the same light. Color mismatch is the other big reason for returns.
- Clean the background. If your surface is not perfect, remove the background and place the product on a plain white or colored background with the background remover or the white background maker. Our guide to white backgrounds for product photos covers when white is the right call.
- Add a soft shadow if the cutout looks like it floats. The product photo shadow guide shows the options.
For one-photo cleanup across a whole shop, the product photo editor and batch editor apply the same background, canvas and size to every file.
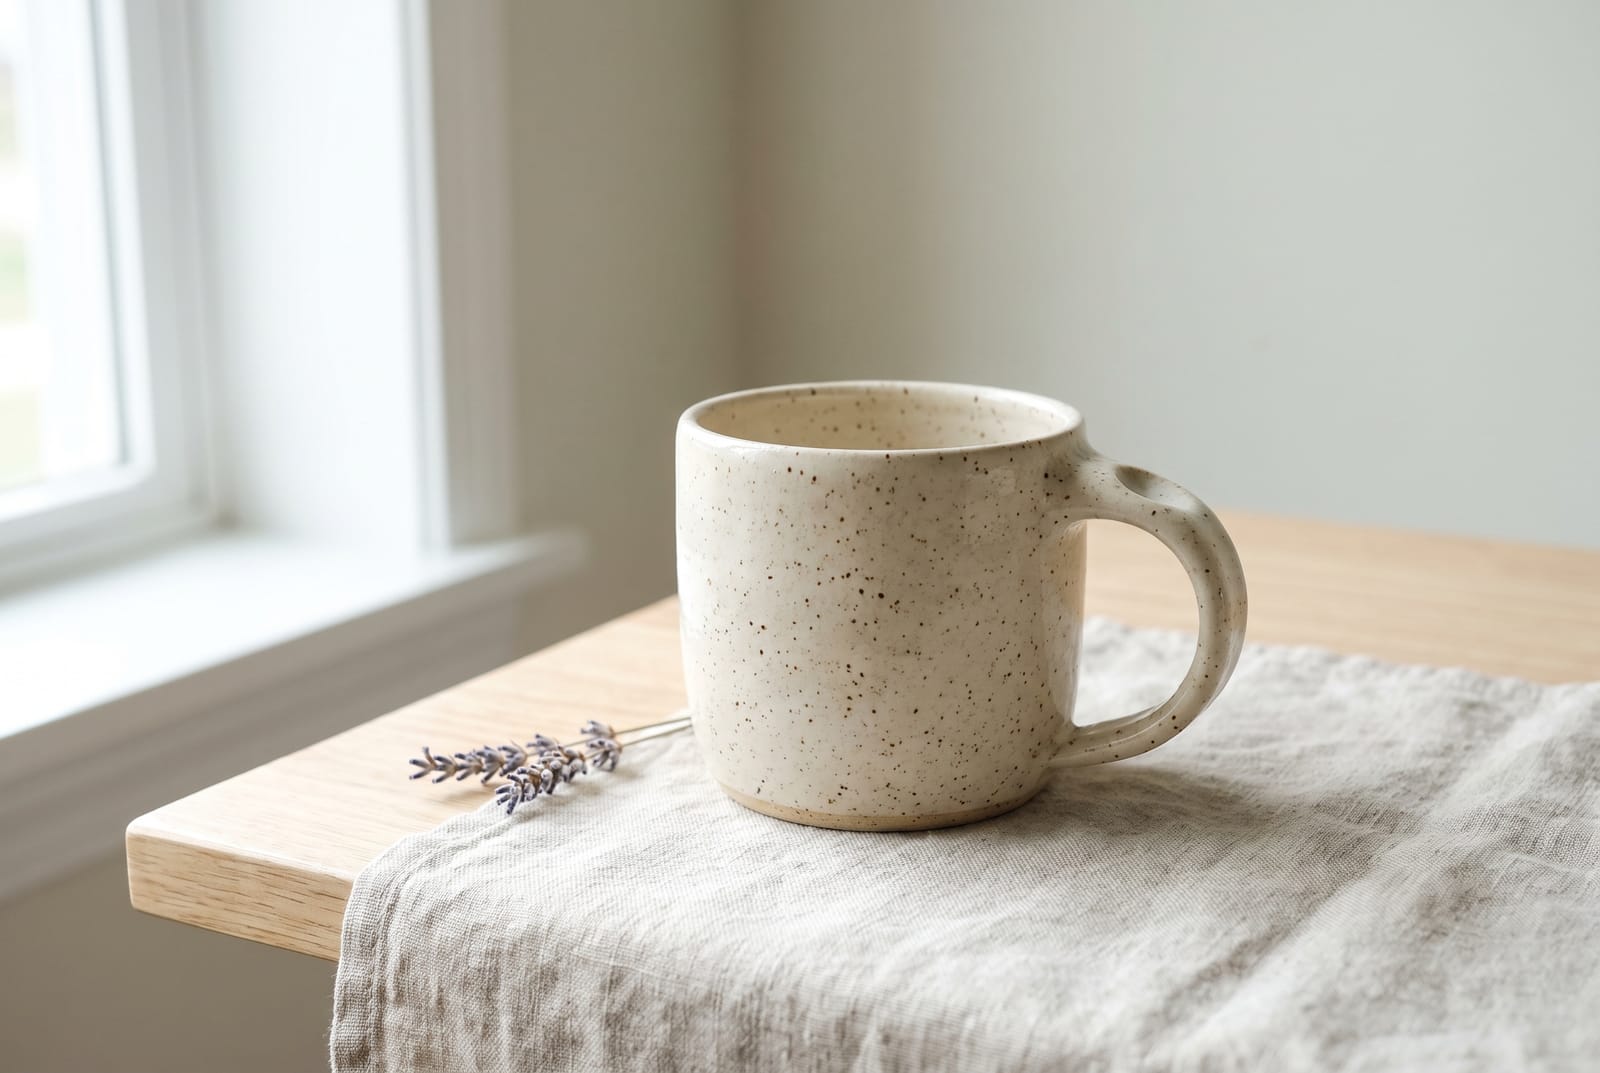
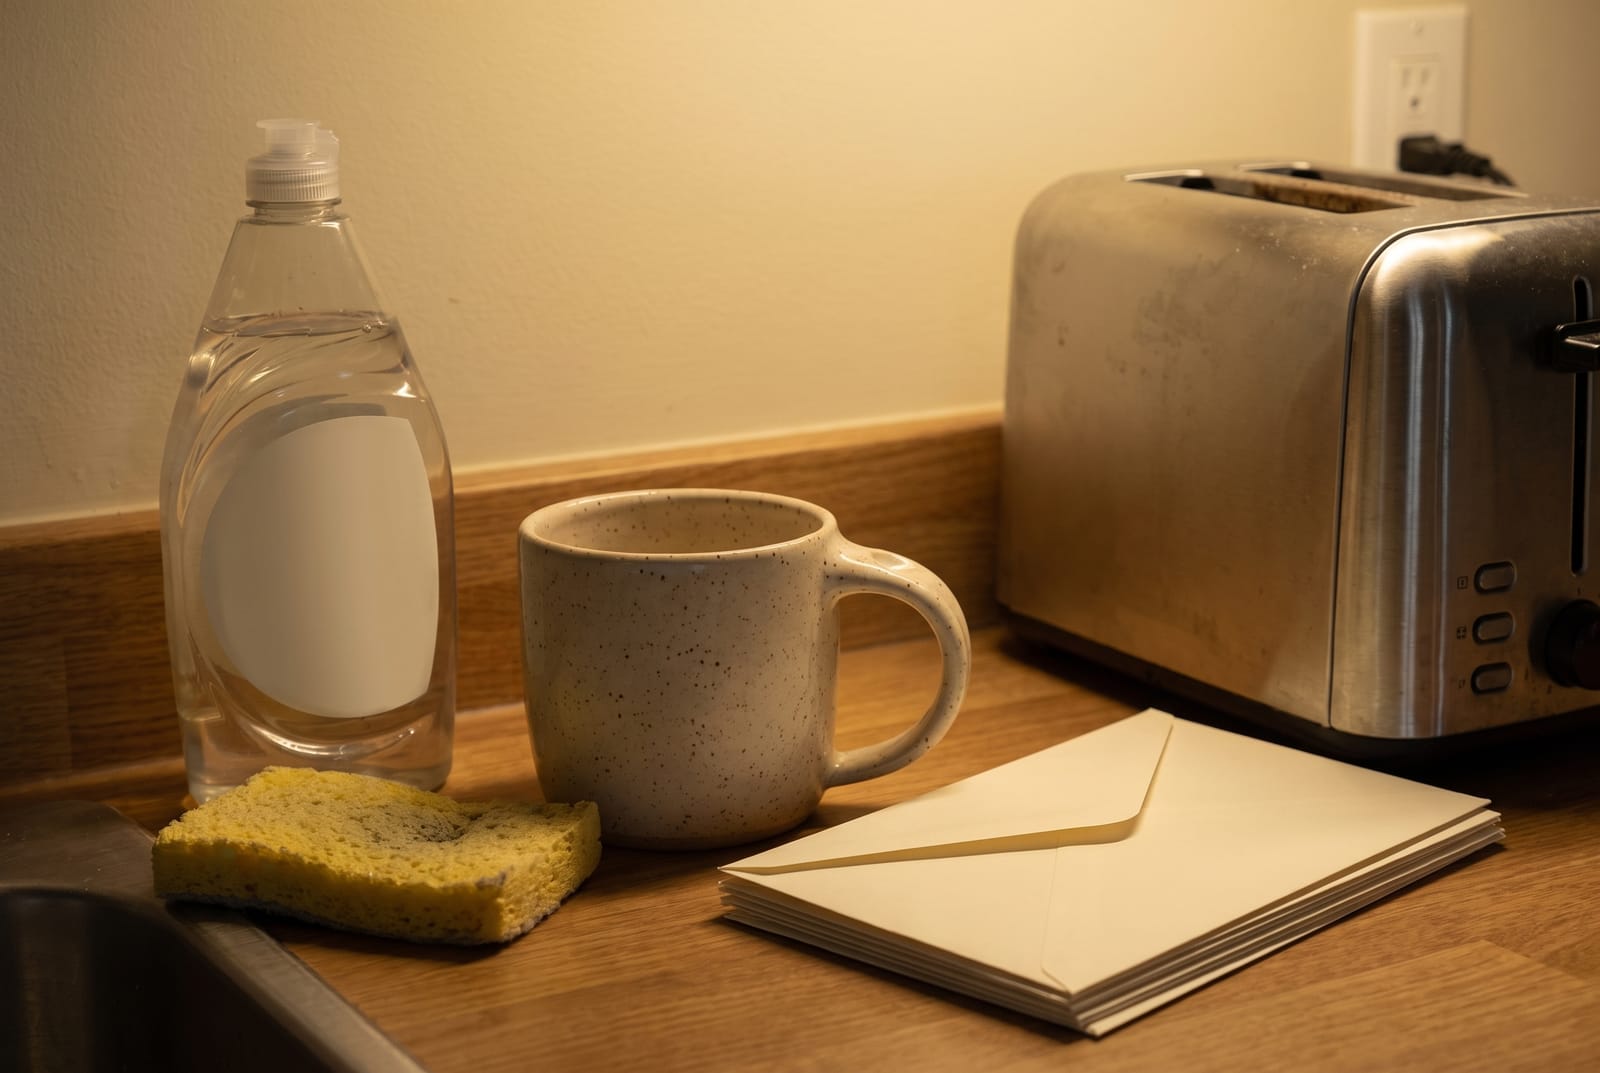
Here is the same mug shot the quick way, on the kitchen counter under a ceiling light. Compare it with the hero photo at the top of this guide, which used a clear surface and window light. Nothing about the mug changed.
Show how it arrives
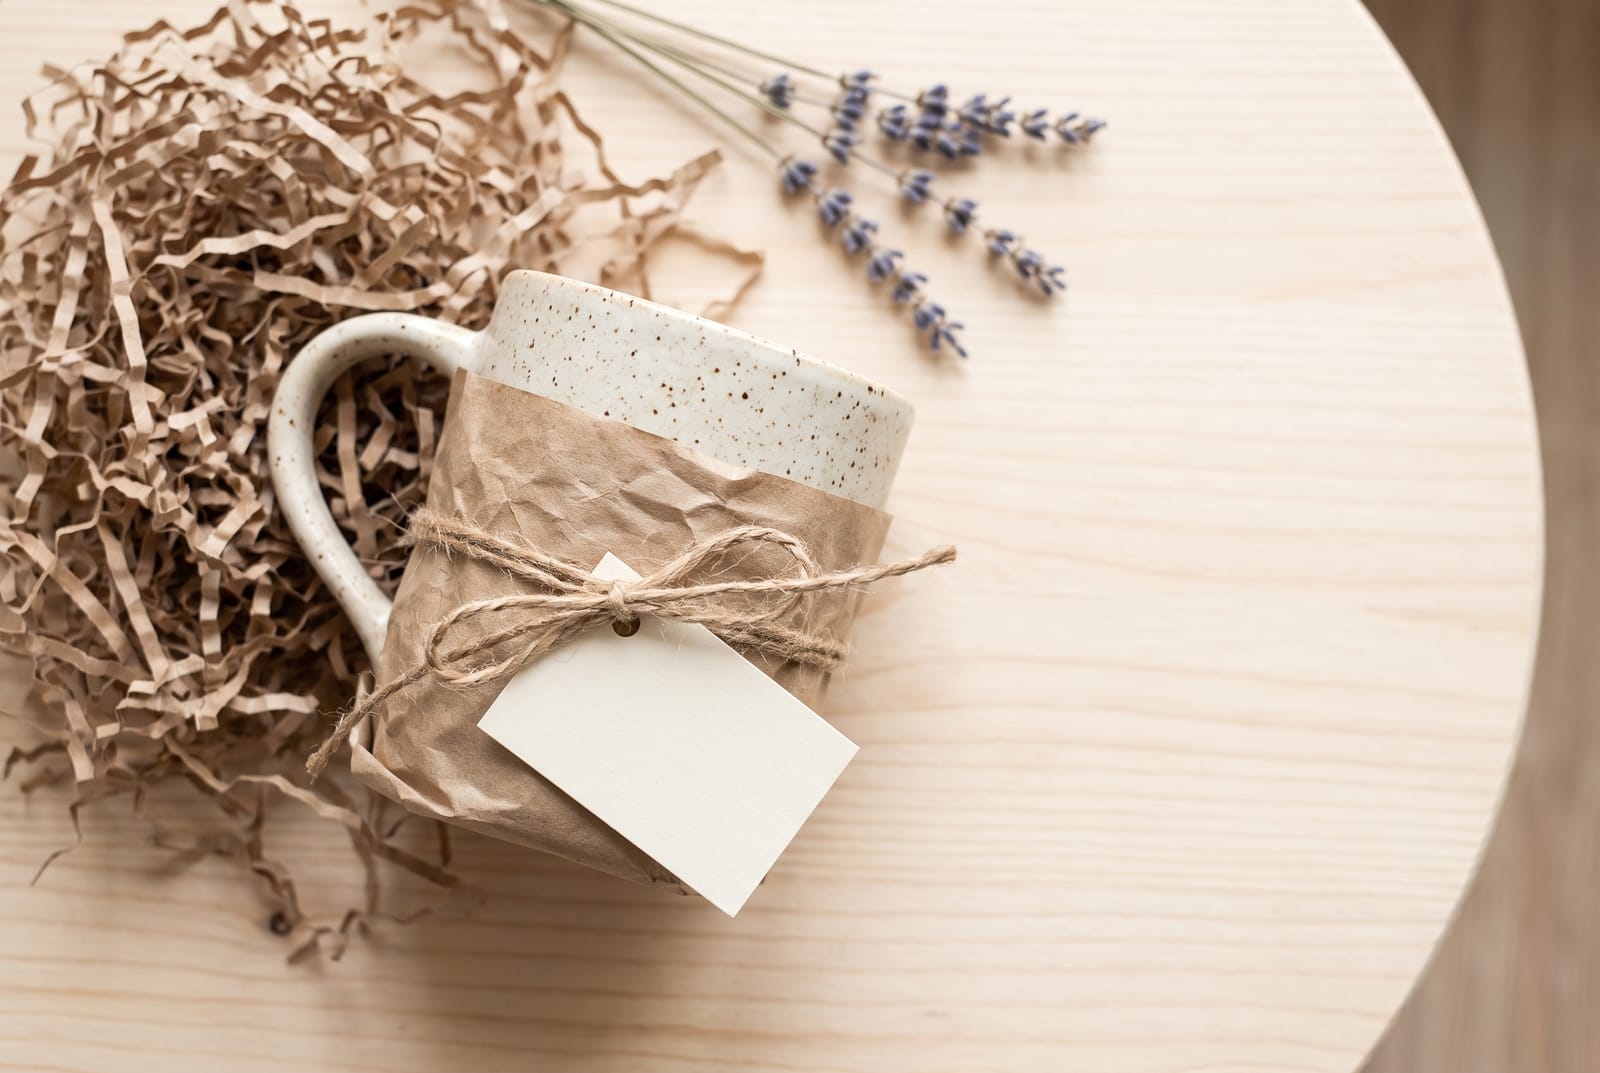
Gift shoppers and repeat customers look for packaging. Photograph the item wrapped, with its tag or card, the way a buyer will open it. Keep it simple, and keep the product visible.
Size and export
Etsy's image guidance recommends high-resolution listing photos, with a short side of at least 2,000 px, and notes that very large files can fail to upload on a slow connection. Use the Etsy listing photo size guide to resize in one step and keep each file small enough to upload reliably. Export as JPEG for photos. If you also need a thumbnail check, see the Etsy thumbnail size guide.
Etsy's rules can change, so confirm numbers on Etsy's help page before you batch-export a whole shop.
Using AI for Etsy photos
AI is useful at the edges of the job: removing a background, evening out light, or placing your product in a styled scene when you cannot build one. Start from a clear photo of the actual item. Keep its shape, color, size and details true to the real product, because a buyer who receives something different from the photo will leave a bad review. The AI product photography guide covers what it can and cannot do.
Common Etsy photo mistakes
- A busy first photo. The item gets lost at thumbnail size.
- No scale shot. Buyers guess, and some guess wrong.
- Mixed lighting. A window and a warm lamp make colors unreliable.
- Over-filtered color. The item arrives looking different.
- Different style for every listing. The shop looks unfinished.
- Only styled photos. Include at least one clear, plain photo of the whole item.
If you are also working on the rest of your shop, read how to get views on Etsy and increase Etsy sales. For a full sales plan, start with how to sell on Etsy.
Frequently asked questions
How do I take good product photos for Etsy?
Shoot by a window in soft daylight with the flash off, use one plain background, fill the frame with the item, and take a first photo that is clear at thumbnail size. Then add angles, a scale shot, a detail, an in-use photo and packaging. Edit lightly and keep colors true.
How many photos should an Etsy listing have?
Etsy allows up to 20 photos per listing. There is no magic number, but most listings do well with 6 to 10 that each answer a different question: what it looks like, how big it is, how it is made, how it is used and how it arrives.
What size should Etsy listing photos be?
Etsy recommends high-resolution listing photos, at least 2000 px on the shortest side, and the first photo is cropped for search thumbnails. See the Etsy listing photo size guide for the working canvas we use.
Should Etsy photos have a white background?
Not required. Etsy does not require white backgrounds, and many successful shops use styled surfaces. A plain, uncluttered background is the safest for the first photo, and a styled scene works well for later photos.
Can I use AI to make Etsy product photos?
You can use AI to clean up or restage your own product photo, such as removing a background or placing the item in a scene. Start from a real photo of your item, and keep the product's shape, color and size accurate. Etsy has its own rules about what listings must show, so check them for your category.
How do I make my Etsy photos look professional?
Consistency does most of the work: the same light, background, angle and edit across every listing. Add steady framing, clean edges and true colors, and avoid heavy filters.