How to Photograph Artwork to Sell Online: Flat, Glare-Free and True to Color
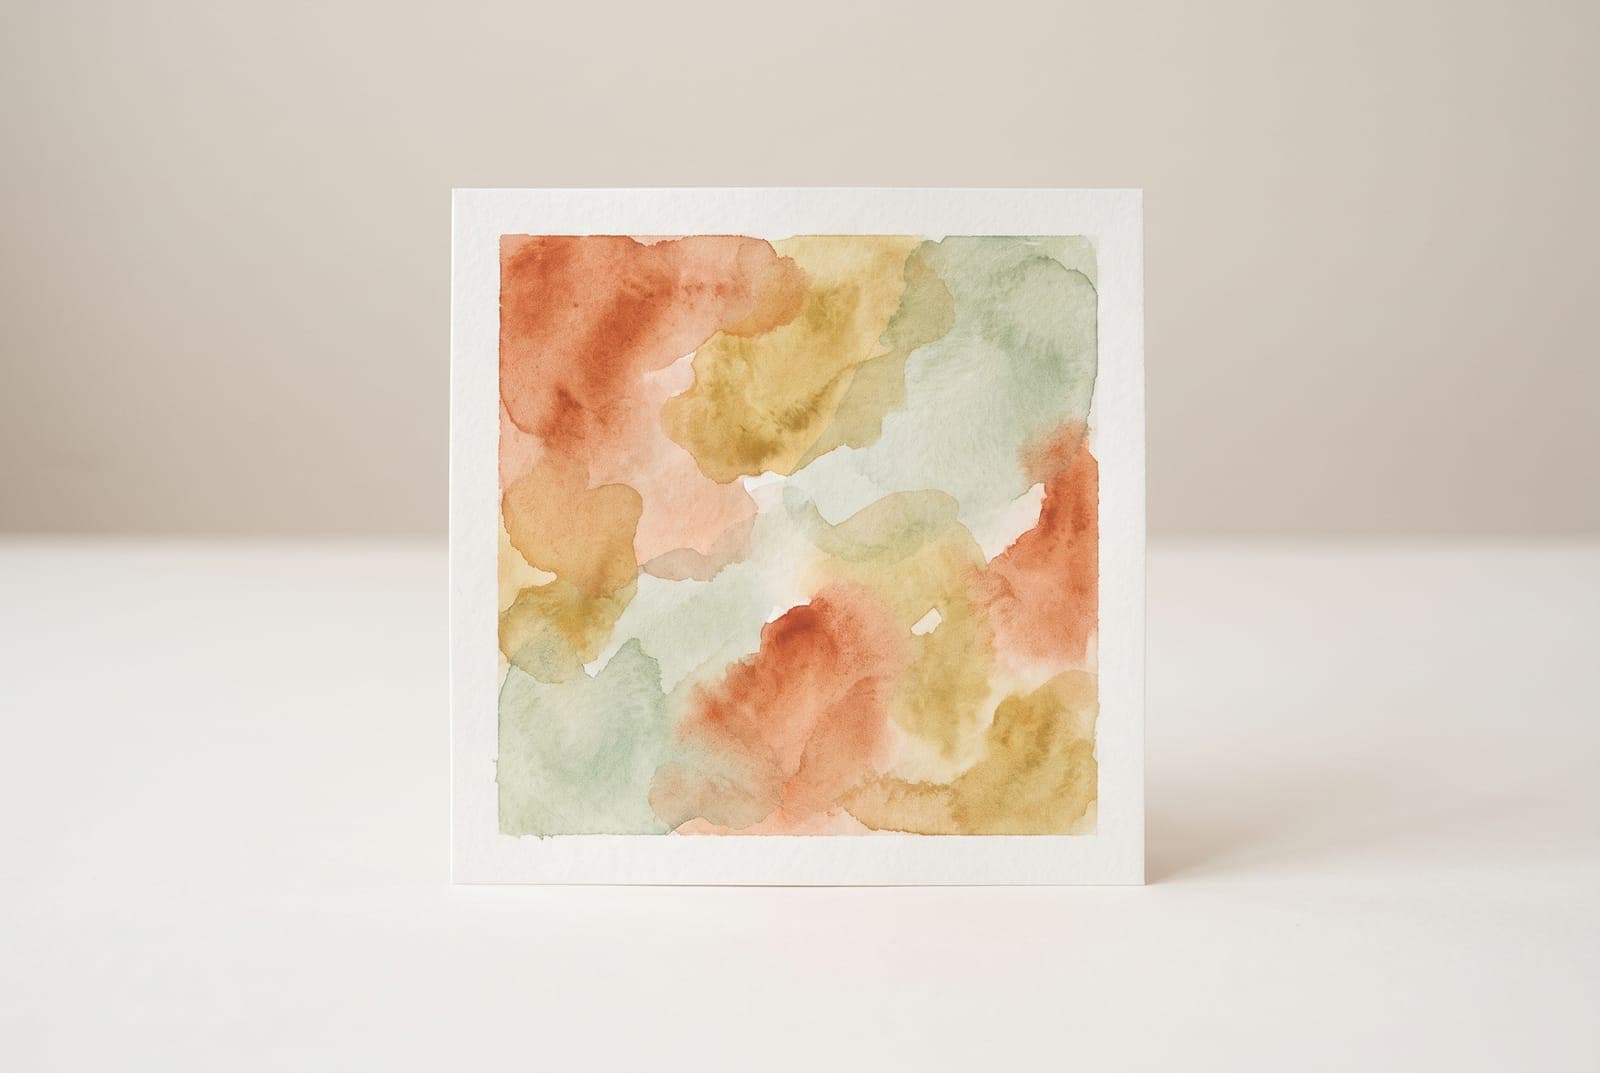
Table of Contents
An artwork photo has one job: look like the work. Not a bit darker, not warmer, not tilted, with no window reflected across it. That is harder than photographing a mug, because a painting is flat and any angle, glare or color cast shows. The good news is that a phone, a tripod and two lamps are enough.
This guide is for sellers and artists photographing paintings, drawings, prints and other flat work for a shop or portfolio. For a full listing plan, pair it with Etsy product photos, and see how to sell photography on Etsy and how to sell digital art on Etsy for the selling side.
Square up and crop your artwork photo, free in your browser
Try it freeWhat goes wrong
Most bad artwork photos fail in the same four ways:
- Keystoning. The camera is not parallel to the work, so the edges converge and the piece looks trapezoid.
- Glare. A window or lamp reflects on glass, varnish or glossy paint.
- Uneven light. One side is brighter, so colors drift across the piece.
- Color cast. Warm lamp light or blue shade turns the whites yellow or cold.
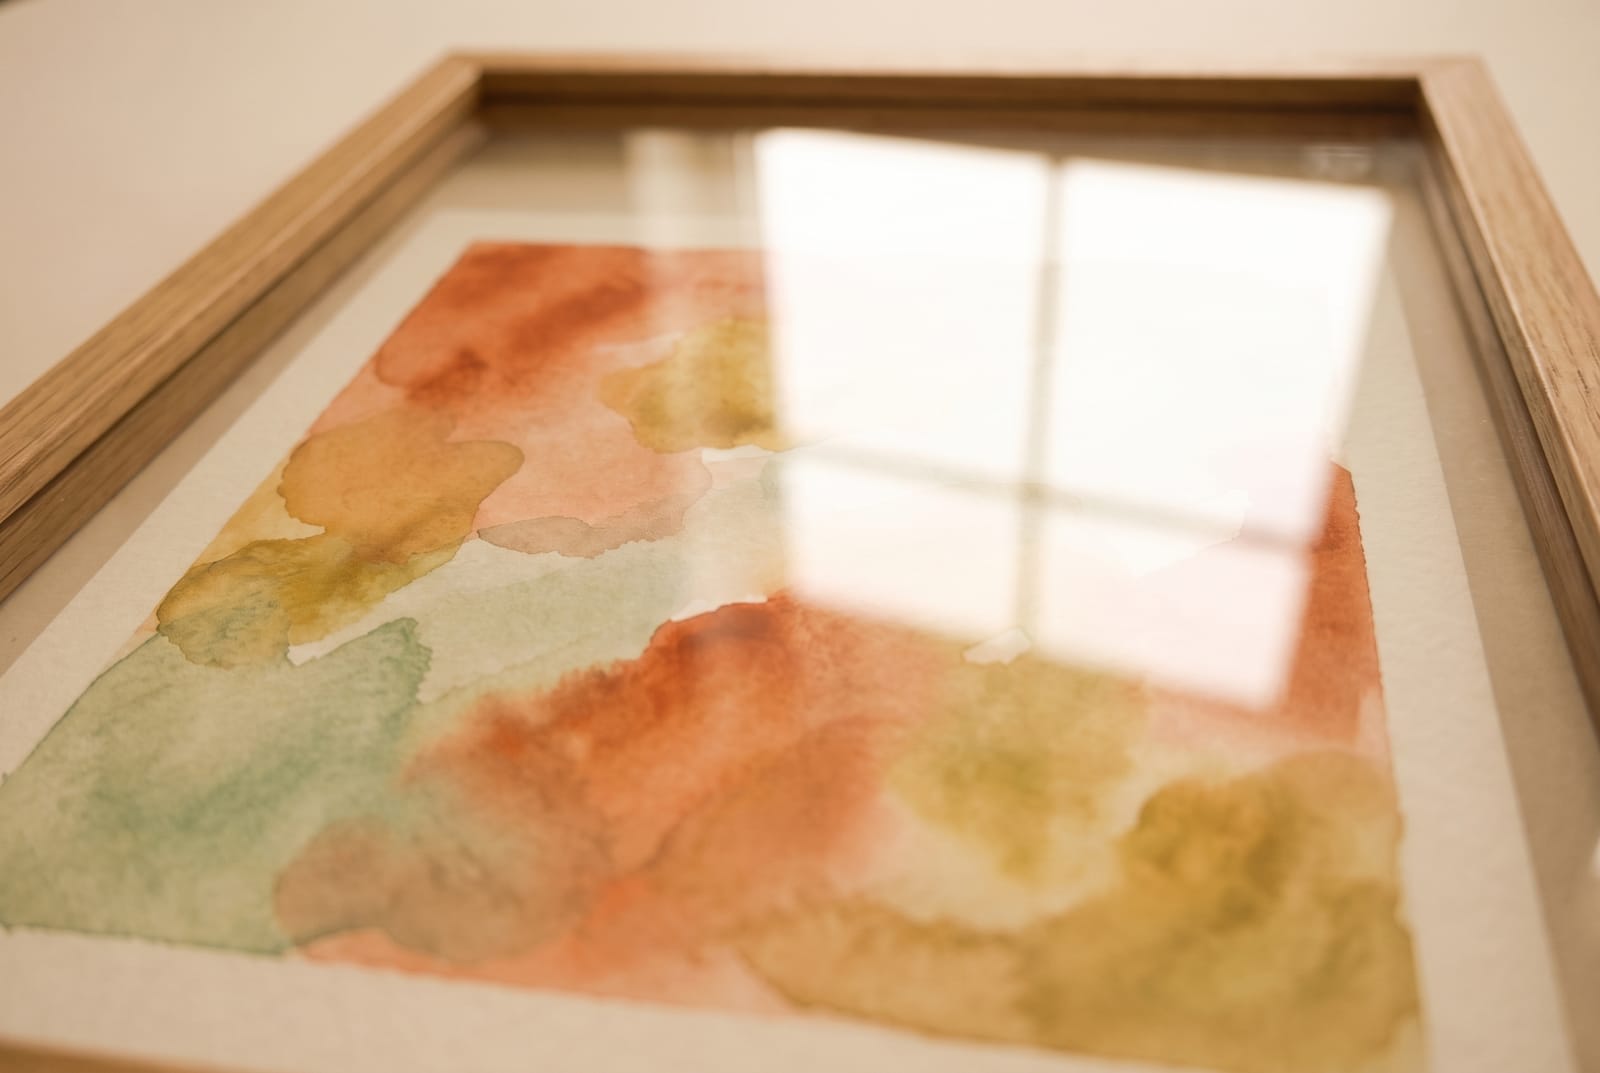
Fix those and you are most of the way there.
What you need
- A phone and a tripod, or a stack of books and a clamp. A tripod with a phone mount is worth the few dollars.
- Two matched lights, or one window. Two lamps with the same type of bulb and a diffuser (a white sheet, parchment paper or a softbox) are best. Daylight-balanced bulbs avoid yellow casts.
- A plain wall or an easel to hold the work flat. Use a neutral wall, not a colored one, since color bounces onto the art.
- A grey or white card for color reference. A sheet of plain white paper works, with limits.
- A tape measure or small level.
Set up the shot
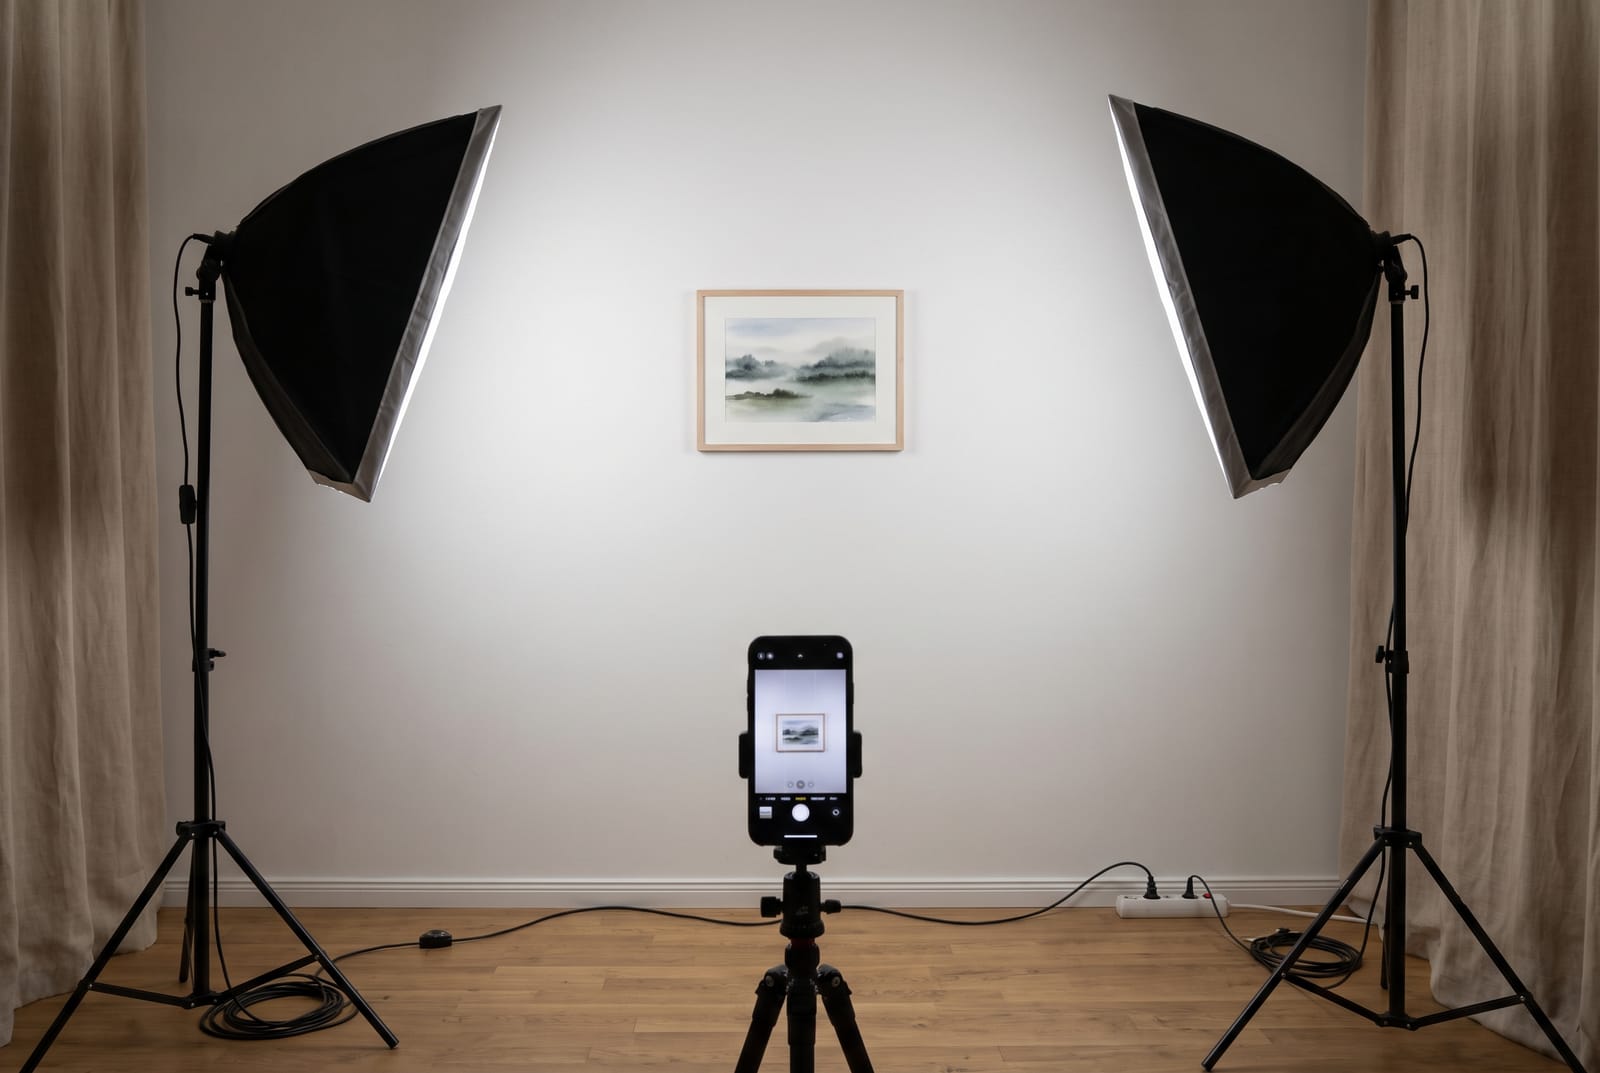
- Hang or prop the work flat at chest height on a plain wall. Remove glass if you can, and tape the work down gently if it curls.
- Place the lights. Set one on each side of the work, about 45 degrees to the wall and a few feet back, aimed at the work. Matching height and distance on each side keeps the light even. Diffuse them if they are bare bulbs.
- Place the phone. Put the phone on the tripod, centered on the work, at the same height as its middle, with the lens parallel to the wall. Use a small level or the phone's grid to check. Stand back and use the 2x lens rather than the wide lens close up, which bends the edges.
- Switch off the other lights, close blinds if a window reflects, and turn off the flash. Mixed light is the biggest cause of color casts.
- Lock exposure and focus on the work. Hold your finger on the screen until it locks, then lower the exposure a little if the whites are close to clipping.
- Use the timer so the tap does not shake the phone.
If you do not have lamps, use soft daylight: open shade outdoors on an overcast day, with the work propped vertically against a plain wall. Avoid direct sun, which makes hot spots and sharp shadows.
Kill the glare
Glare is reflected light, so the cure is geometry:
- Light from the sides at about 45 degrees, not from the front.
- Keep the camera directly in front. The angle between the lights and the camera should be wide enough that the reflection bounces away from the lens.
- Shoot the work before framing. Glass is the biggest source of reflections, and you also get a cleaner print file.
- If it is framed and the glass must stay, darken the room except for the lights, dress in dark clothing, and cover anything bright behind you. Shooting at a very slight angle can sometimes move a reflection out of frame, but it costs you squareness, so try a straight shot first.
- For glossy or varnished paint, crossed polarizing filters are the professional solution. Most small sellers can avoid them with careful lights.
Get the color right
Color is the thing that gets artists complaints from buyers.
- Use one color of light. Do not mix daylight and bulbs.
- Set the white balance. Many phones can lock white balance through a pro camera app. If not, shoot a neutral card in the first frame and use it to correct later.
- Compare to the real work. View the photo beside the original, in daylight if you can. Adjust brightness, temperature and saturation only until it matches.
- Do not over-saturate. A photo that is more vivid than the painting leads to disappointed buyers and returns.
- Keep your edits consistent so a series of works looks like one shop.
Add the detail and context shots
A flat, square-on photo is the main image. The rest of the set shows what that flat image cannot:
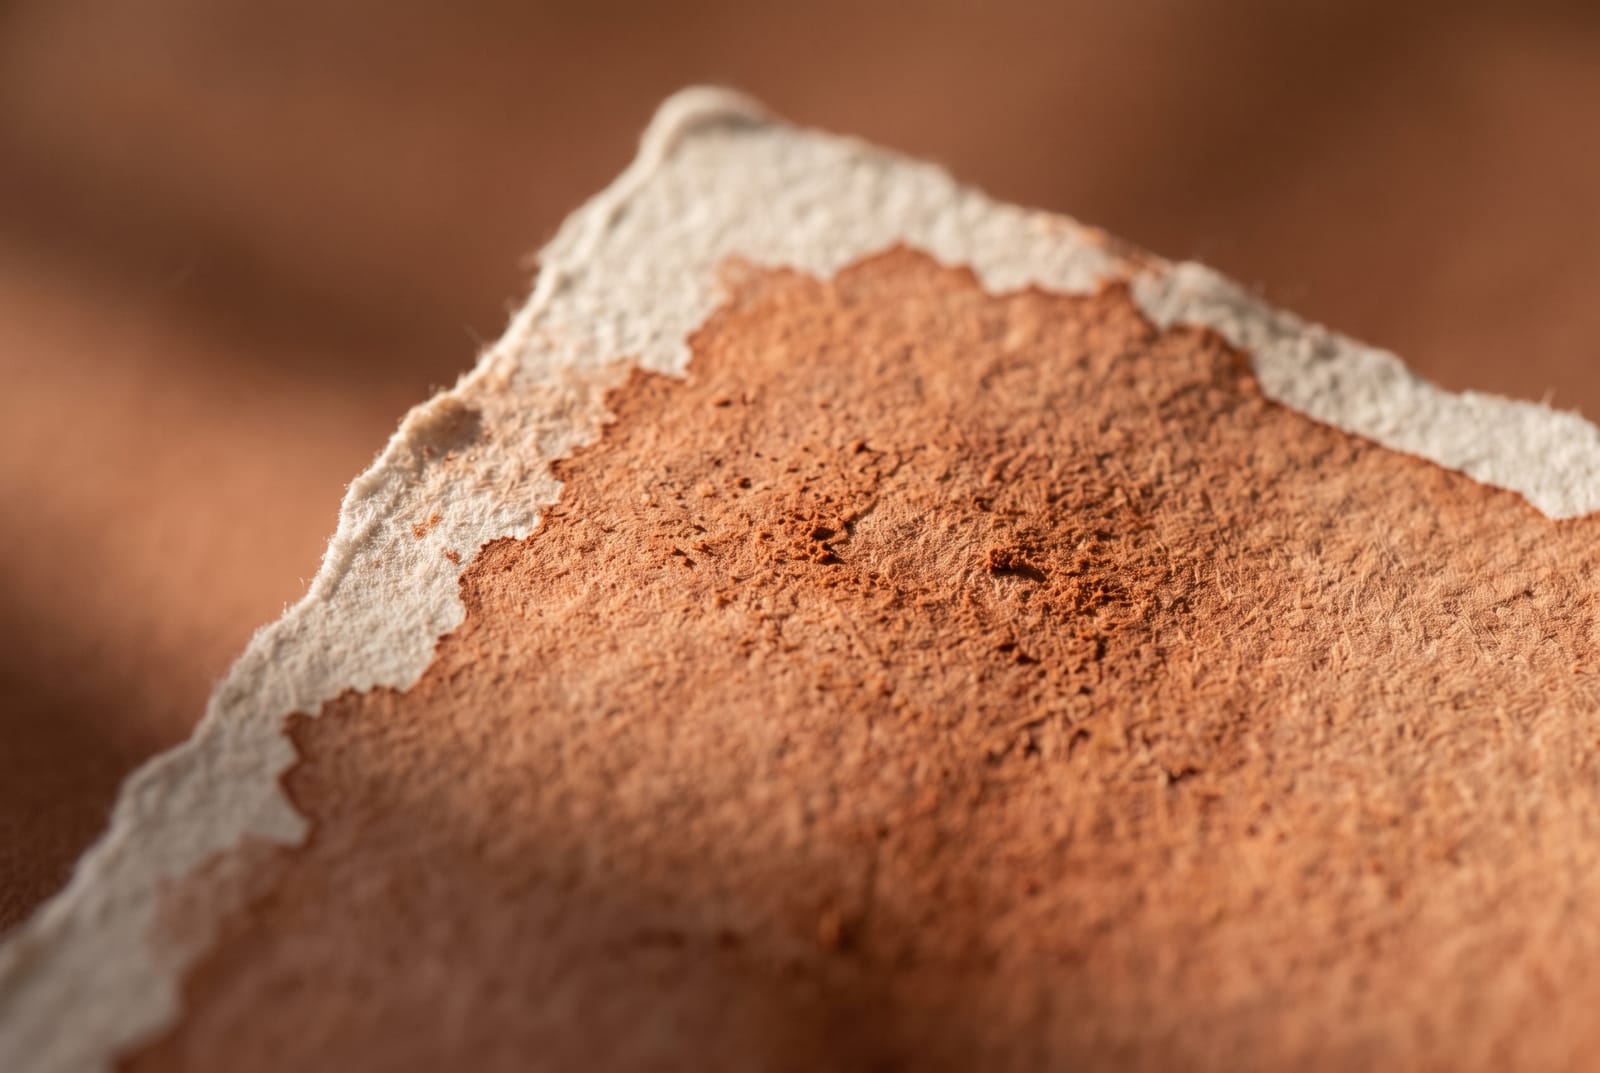
- Texture close-up. Raking light from one side shows paper tooth, brushwork and pigment.
- Edges and signature. Buyers like to see the edge and the artist's mark.
- Scale. The piece hung above a sofa or held beside a hand, with the real size in the description.
- Framed or unframed. If you sell frames, show the framed piece separately.
Scale and room scenes can be photographed for real or built from a clean photo of the piece. If you do build one, keep the art itself unchanged in color, proportion and detail, and use the lifestyle product photography guide for light and props.
Crop, straighten and clean up
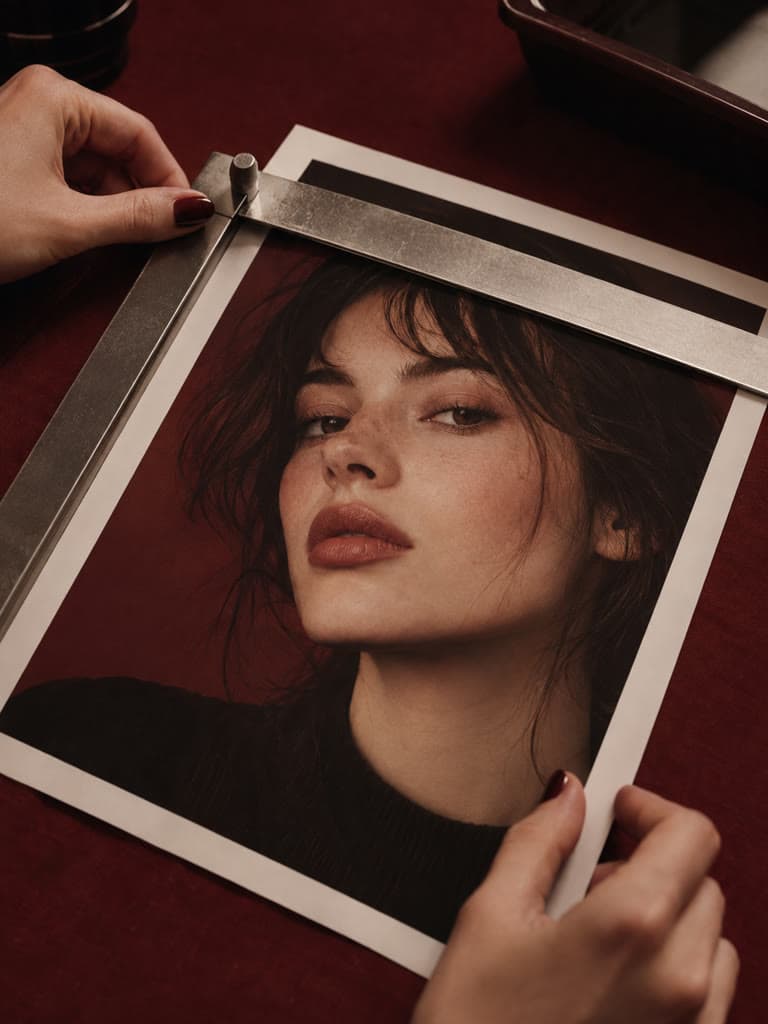
- Straighten and square. If the edges still converge slightly, correct the perspective or rotation so they are parallel to the frame.
- Crop to the edge of the work. Keep a thin margin for paper art if you like the look, or crop tight for a clean listing image. The crop tool crops to a precise frame.
- Remove the wall. If you want the piece alone on white, the background remover cuts it out of the wall.
- Fix brightness and white balance to match the original.
- Keep a full-resolution master. Do not edit your only copy.
Size and export
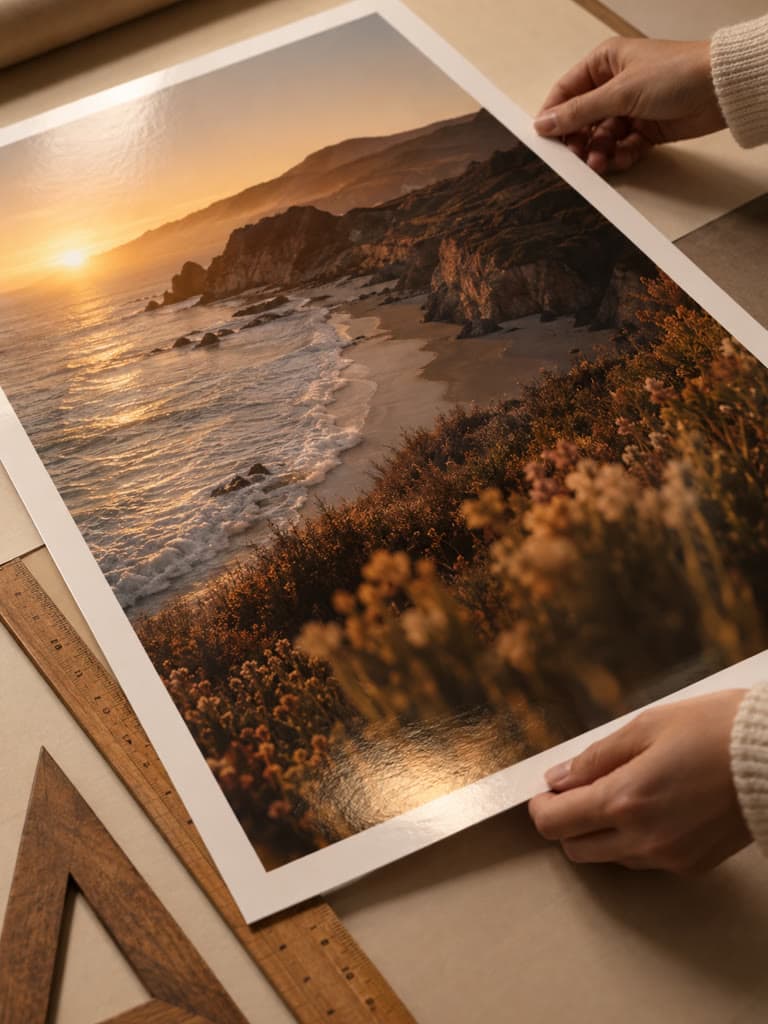
For a shop listing, the main image needs to be high resolution and the right shape. Etsy recommends photos of at least 2,000 px on the shortest side. The Etsy listing photo size guide resizes in one step.
If you are making a print file, work from the full-resolution original. Use the print size calculator to check how large it can print, and the image upscaler if you need more pixels for a larger size. Print shops often ask for a specific file type and resolution, so check theirs. For web, export a JPEG at moderate compression.
Photograph other media
- Pencil and ink on paper: Lower the light slightly to keep the white paper from clipping, and use even light to avoid shadowing in the paper texture.
- Glossy or varnished paintings: Use crossed polarizers or accept careful 45-degree light and a slight angle.
- Textured oil and acrylic: Add a raking-light shot to show impasto.
- Prints in a stack: Shoot one flat with a clean background, then a second as a stack to show multiple.
- 3D pieces such as ceramics and sculpture: Use a different setup. The product photography at home guide and DIY light box cover them.
Mistakes to avoid
- Shooting at an angle. The piece looks trapezoid.
- Using the flash. It creates glare and hot spots.
- Mixed light. Colors drift.
- Over-saturating. The buyer receives something different.
- Forgetting the margin. A crop that clips the edge of the work looks careless.
- A single photo. Add texture, scale and a framed view.
Frequently asked questions
How do I photograph a painting with my phone?
Hang or prop the painting flat against a wall, light it evenly from both sides at about 45 degrees with soft light, put the phone on a tripod centered on the painting with the lens parallel to the surface, turn the flash off, and shoot. Crop to the edge of the work afterward.
How do I avoid glare when photographing artwork?
Light the work from the sides at about 45 degrees, not from the front, and keep the camera directly in front of it. Remove glass if the work is framed, or shoot it before framing. If you must shoot under glass, turn off other lights and cover bright windows.
What is the best light for photographing artwork?
Soft, even, daylight-balanced light, either two matched lamps with diffusers at 45 degrees or open shade outdoors on an overcast day. Direct sun gives hot spots and mixed light gives color casts.
How do I get the colors right when photographing art?
Use one light color, set the white balance to match it, shoot a neutral grey or white card in the first frame, and compare the photo to the original on a calibrated screen or in daylight. Adjust only until it matches the real work.
What size should photos of artwork be for Etsy?
Etsy recommends high-resolution listing photos, at least 2000 px on the shortest side. For a print file you sell or send to a printer, keep the full-resolution original and check the size you need with a print size calculator.
Should I photograph my artwork before or after framing?
Before, whenever you can. Glass reflects, and frames cast shadows. Shoot the bare work for your scan or print file, then add a separate photo of the framed piece for the listing.