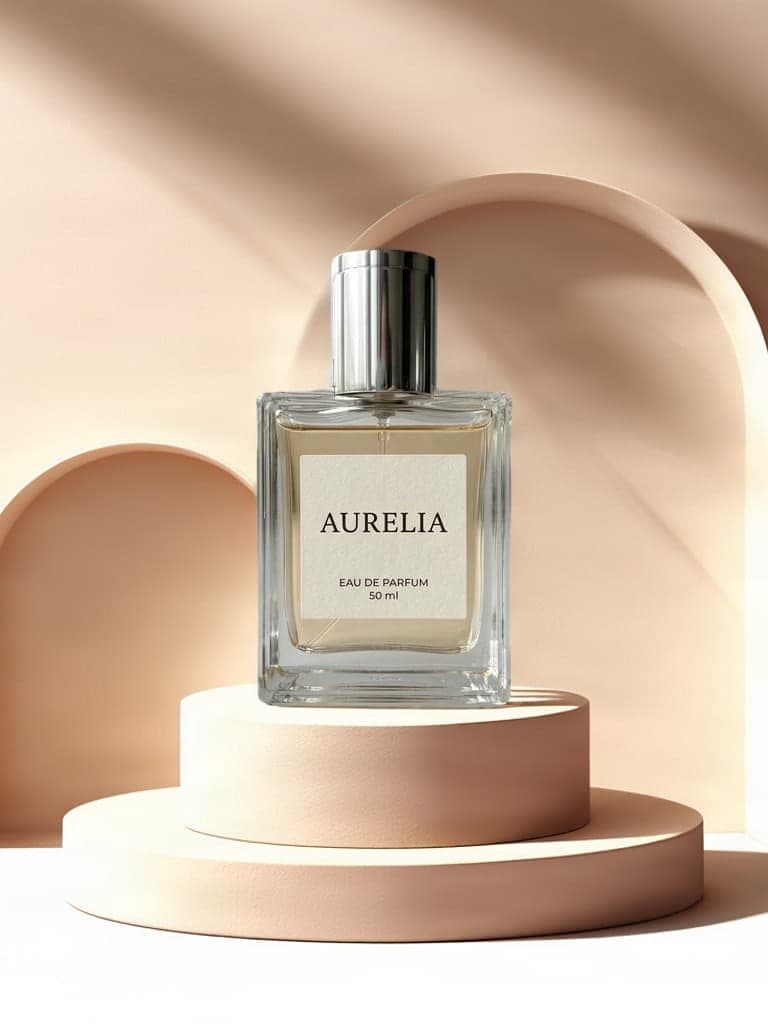
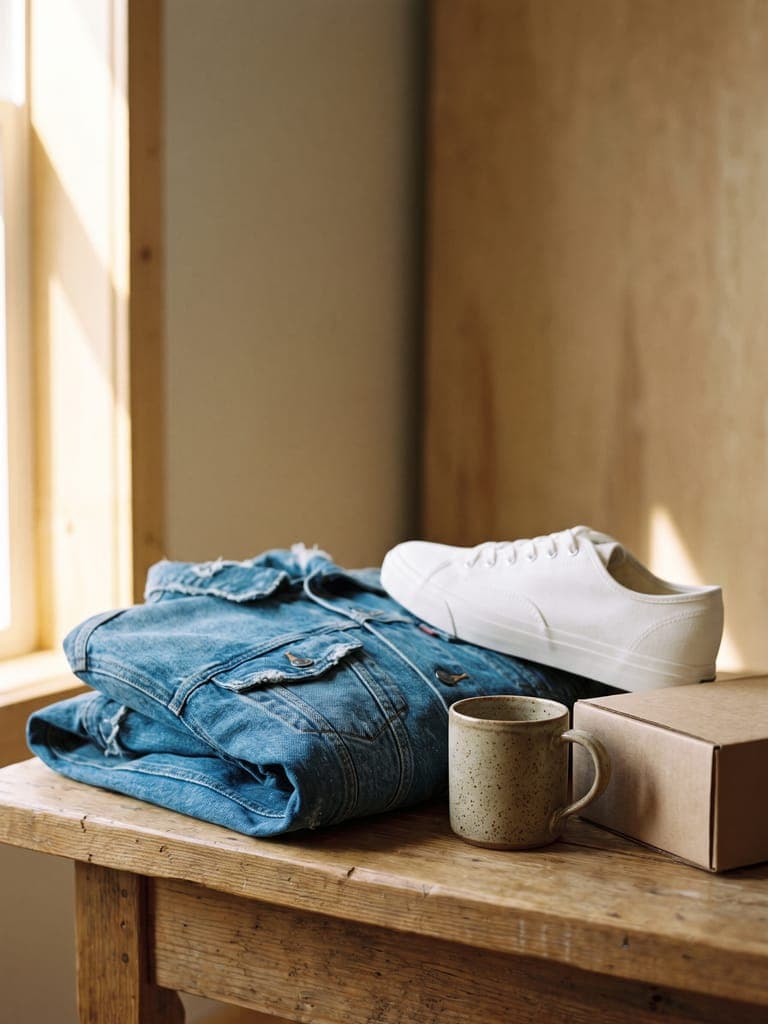
Amazon Listing Images: What to Put in Every Slot After the Main Photo
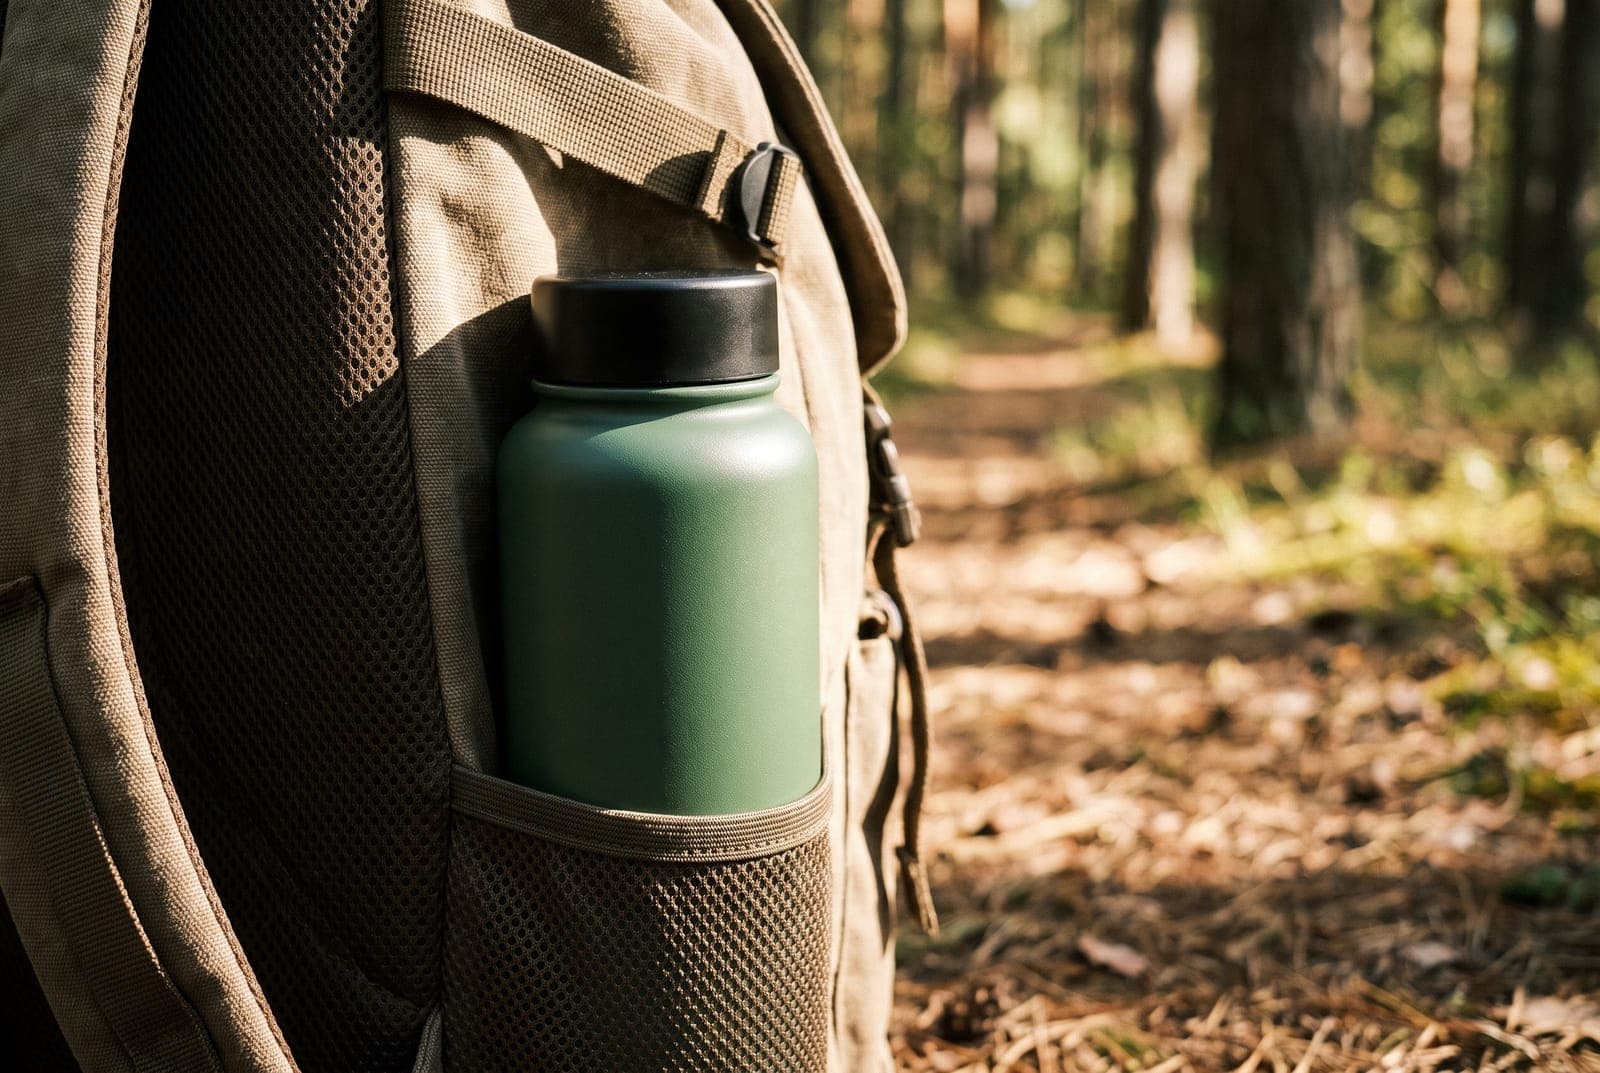
Table of Contents
Most Amazon sellers spend their effort on the main image, because that is what the rules are about. That is also why the other image slots are an easy place to win. Shoppers who click into a listing swipe through the rest of the images to decide whether to buy, and most listings treat them as an afterthought.
This guide is about the images after the main one. It does not repeat the white-background rules: for those, and for how to make a main image that passes, see Amazon product photos and the Amazon product image size guide. Here you get a plan for every other slot, how to shoot each, and how to keep them consistent.
Make an Amazon-ready main image, free in your browser
Try it freeWhat the rules say, briefly
Amazon's published product photography standards, as quoted in its Seller Central forum post and help center, say the main image needs a pure white background (RGB 255, 255, 255), the product filling most of the frame (85 percent or more) and a longest side of at least 1000 px for zoom. Additional images have more room: that is where lifestyle shots, in-use photos and infographic-style images normally go.
Amazon's requirements vary by category and change over time, so check Seller Central for yours before you export. Our numbers here are a starting point, not a substitute.
A plan for every slot
Amazon allows several images per listing, and many categories allow around nine. Treat each slot as an answer to a buyer question:
| Slot | Job | What to show |
|---|---|---|
| 1. Main | Win the click in search | The product alone on pure white, no text. See the main image guide |
| 2. Another angle | Show the shape | The back, side or top, in the same light as the main |
| 3. Benefits | Say why to buy | Two to four short benefits, with clear photos of the product beside them |
| 4. In use | Show it in life | A lifestyle photo with a real setting |
| 5. Scale | Answer "how big is it?" | A hand, a person, or a familiar object, or a dimension diagram |
| 6. Detail | Prove quality | A close-up of material, lid, stitching, finish |
| 7. What's included | Prevent complaints | Everything in the box, and what is not included |
| 8. Variations | Help choose | All colors, sizes or flavors in one frame |
You do not have to use all eight, but fill every slot you can with a photo that adds something new. A second photo that looks like the first one wastes the slot.
Slot 2: Another angle
Take the same shot as the main image, from a second angle, with the same light and background. Consistency tells the shopper they are looking at the same product, not a different listing. A turned bottle, the back of a bag, the underside of a lamp base.
Slot 3: The benefits image
This is the infographic-style slot. Keep it simple:
- Two to four benefits, each a few words.
- Large type that reads at the size of a phone thumbnail.
- A clear photo of the product, not a tiny one lost among icons.
- Claims you can support. Do not promise results, certifications or comparisons you cannot back up.
You can build the layout in any design tool. The product photo itself should still be a clean cutout, which the background remover handles.
Slot 4: The product in use
A lifestyle photo shows the buyer's life with your product in it. The product must be clearly recognizable and match the main image exactly: same shape, same color, same details.
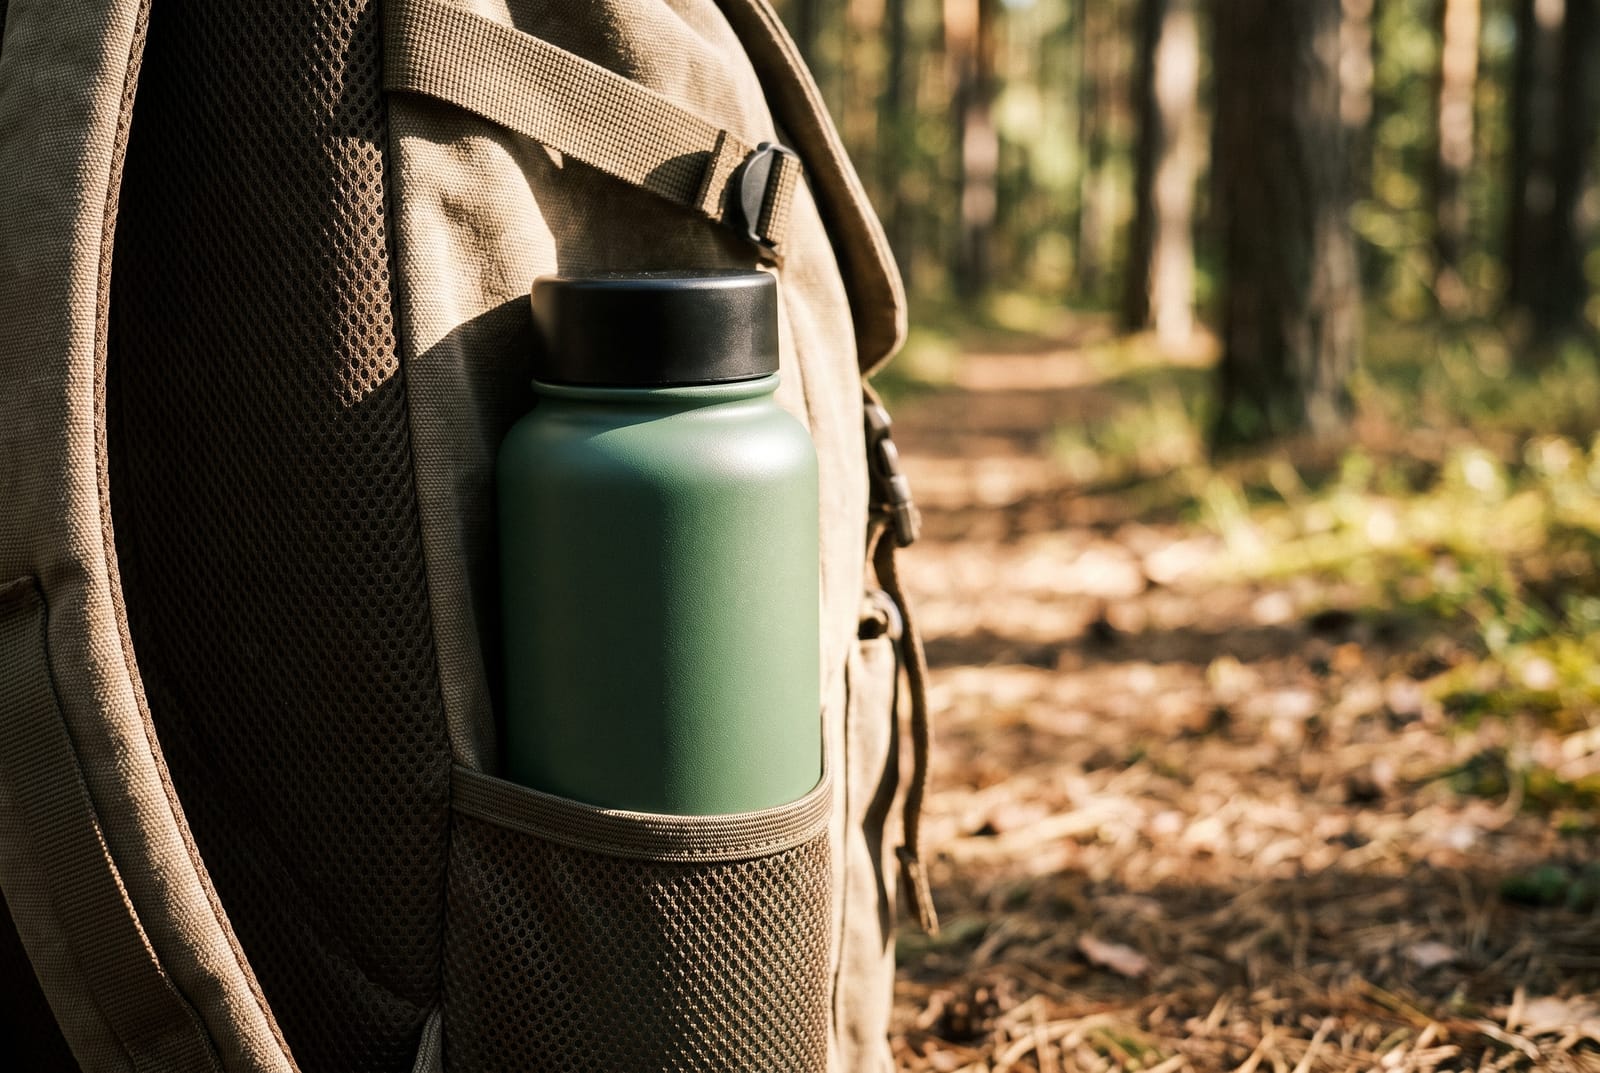
Shoot in a real setting beside a window or outdoors in open shade, with two to four quiet props. The lifestyle product photography guide walks through props and light. If you cannot build the scene, an AI scene tool can place a photo of your real product into a styled setting. See AI product photography, and check carefully that the product's shape, color, lid and label did not change, because a mismatch between the photos and the item is what leads to returns.
Slot 5: Scale
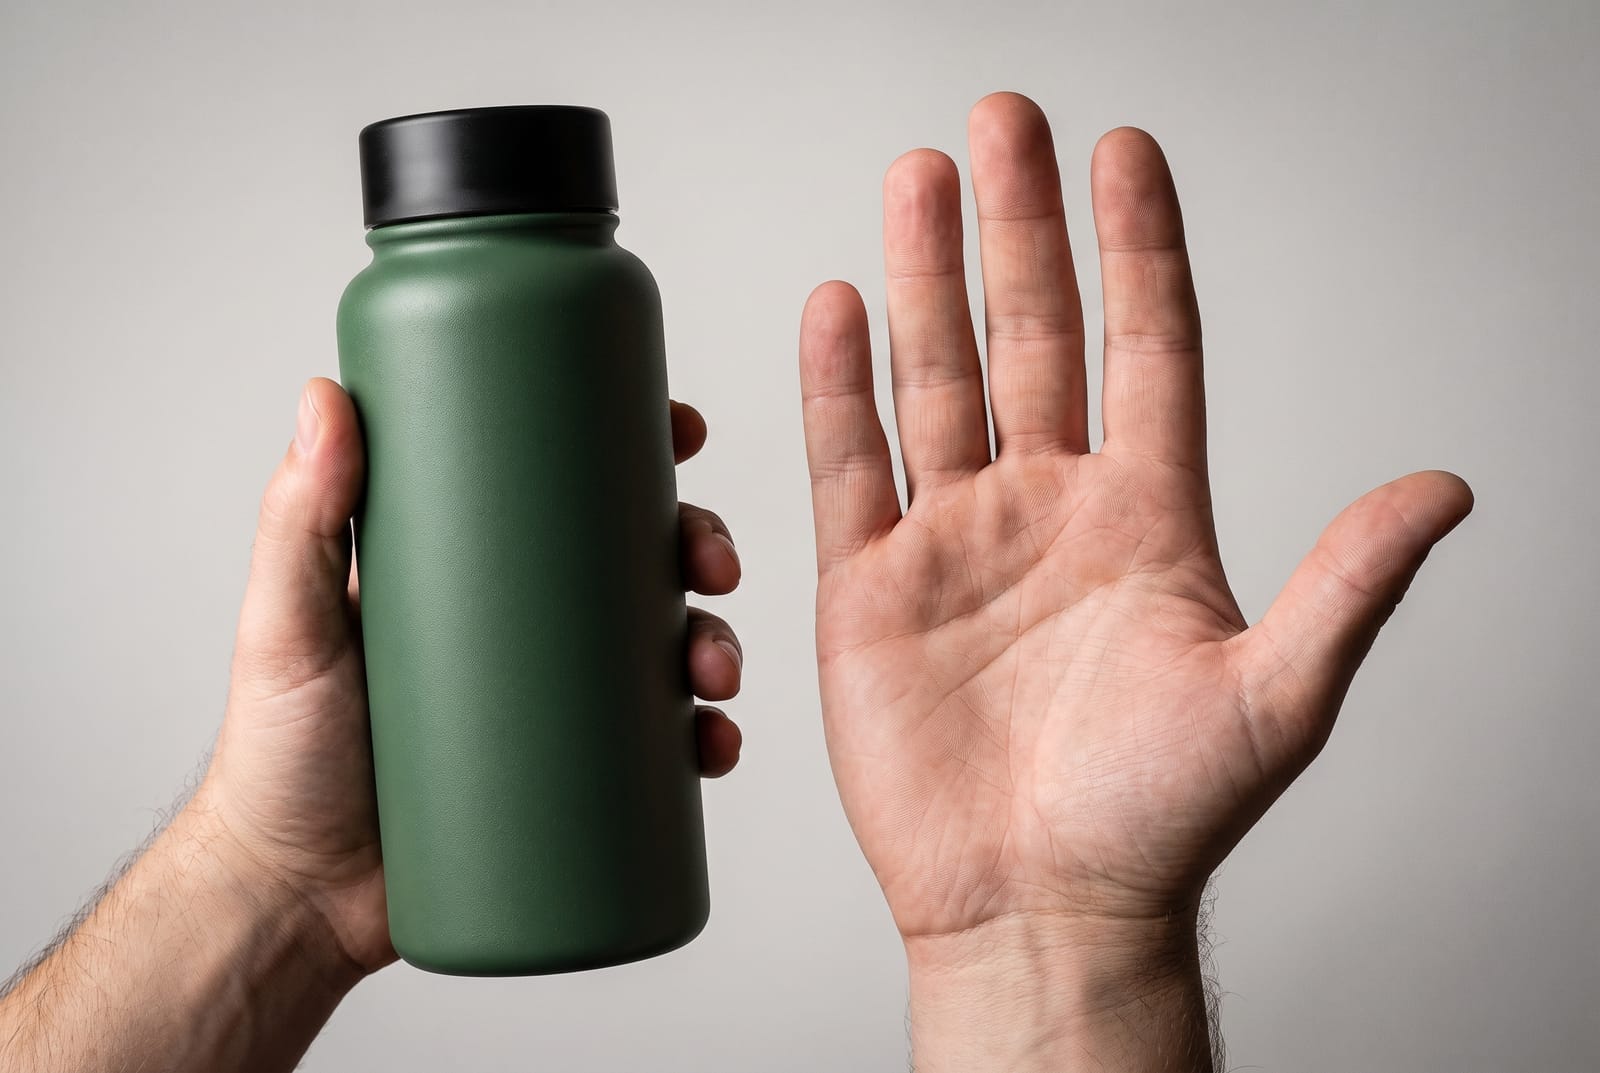
Shoppers return products that are not the size they expected. The cheapest fix is a photo that shows size plainly: a hand holding the product, a person using it, or beside a familiar object. A dimension diagram works too, with clear lines and numbers that match your listing.
Slot 6: Detail
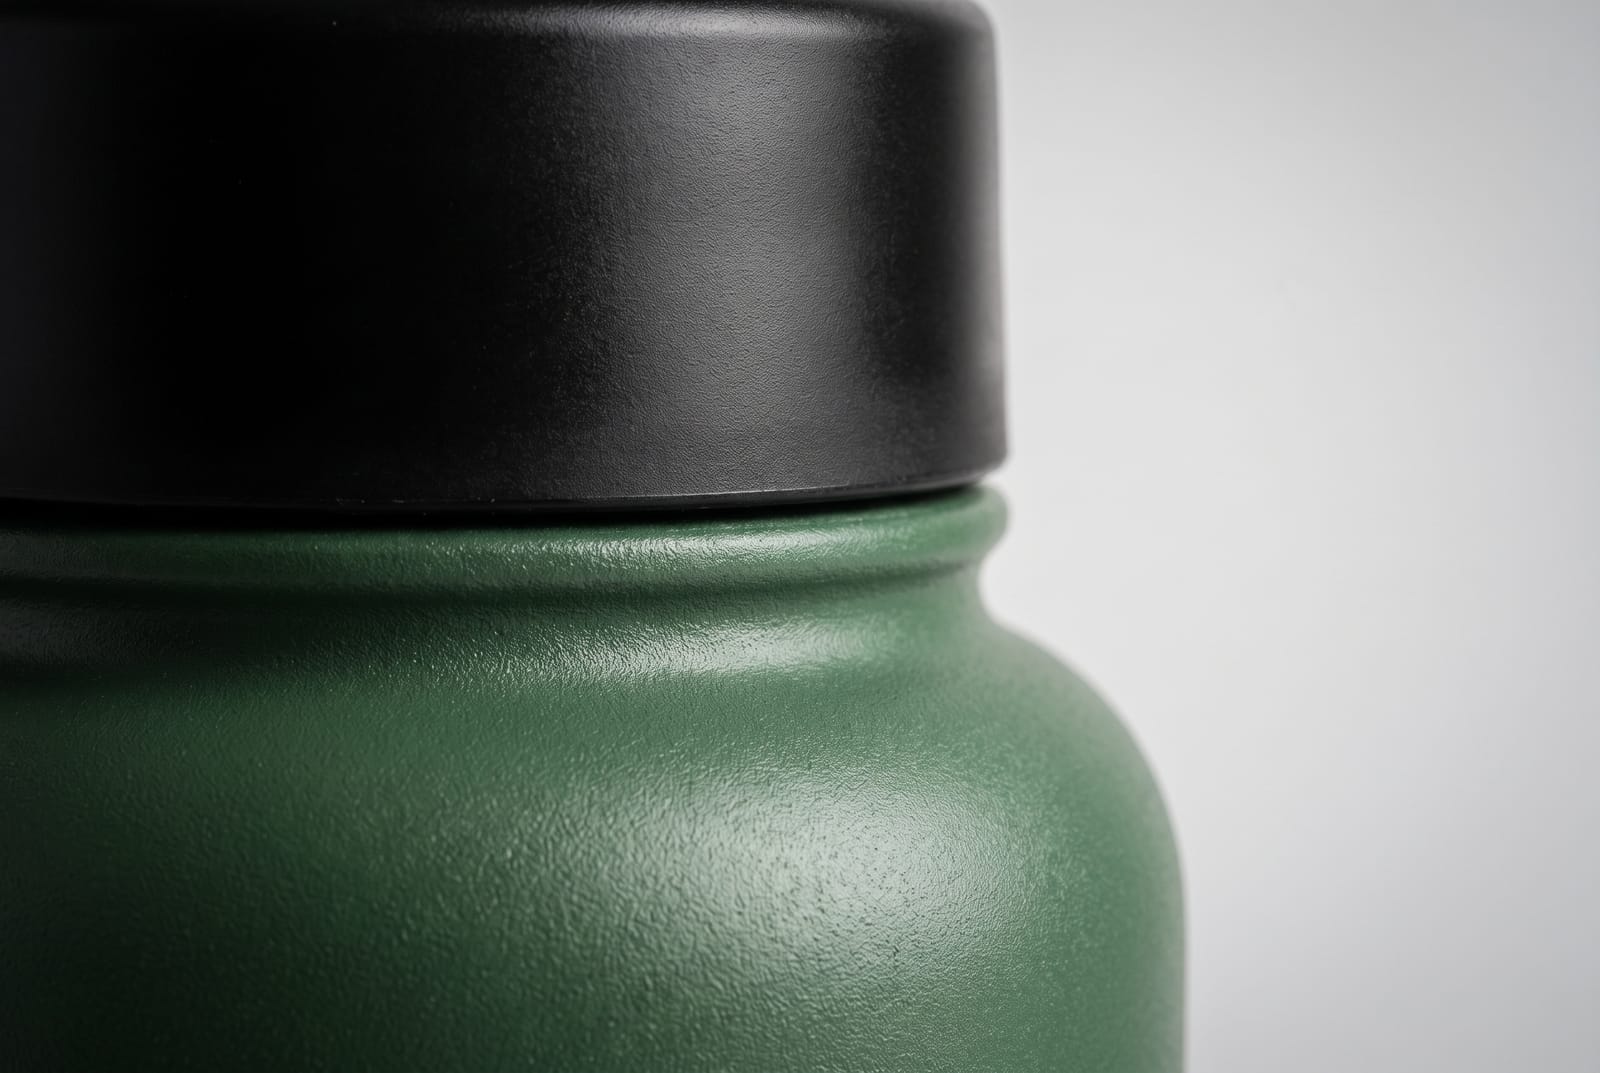
A close-up of the thing buyers cannot judge from a distance: the lid thread, the stitching, the coating, the hinge. Use window light from the side so texture shows, and a plain background. Use your phone's 2x or 3x lens from a few inches back rather than the wide lens right up close, which distorts. See the lighting guide.
Slot 7: What's included
Lay out everything in the box. If a prop or accessory is not included, say so in the image or avoid it. This image removes "I thought it came with..." complaints, and it protects your reviews.
Slot 8: Variations
If you sell several colors or sizes, show them together in one clean frame, in a consistent order, with the same light and angle. This helps the shopper choose without opening each variation.
Keep the set consistent
A set of Amazon images should look like one product shot by one photographer.
- Same product, same details. The main image and the lifestyle photos must show the same item.
- Same canvas. Export all of them at the same size and shape. A square at the recommended size works on most categories. Check your category's requirements.
- Same color treatment. Do not let one photo go warm and another cool.
- Same level of polish. One bad image drags down the rest.
The batch editor, and its Amazon sellers workflow, applies a background, canvas and size to a whole product's photos at once. Our product photography at home guide covers shooting the base photos, and the backdrop guide covers building a clean white sweep.
Mistakes that cost sales
- Only the main image is good. The rest look rushed or are missing.
- Text on the main image. It breaks the rule and can get the listing suppressed.
- Unreadable infographics. Text too small for a phone.
- A lifestyle photo with a different product. Different color, shape or version from the real item.
- Hidden scale. Shoppers guess, and returns follow.
- Over-retouching. Do not change the product's color or shape.
- Claims without proof. Avoid "best", "guaranteed" or comparisons you cannot support.
If you are deciding where to sell, read Etsy vs Amazon, and see whether you need a business license to sell on Amazon. For a product description to go with your images, the product description generator fits Amazon's limits.
Frequently asked questions
How many images should an Amazon listing have?
Use every slot Amazon gives your category. Many categories allow around nine images, but the exact number varies, so check Seller Central. A good set covers the main image, other angles, benefits, the product in use, scale, detail and what is included.
What should the second Amazon image be?
Usually a different angle or the back of the product, shot in the same style as the main image, so shoppers who tap the listing keep seeing the product clearly. Some sellers put a benefits graphic here. Test what makes your product easiest to understand.
Do secondary Amazon images need a white background?
The strict pure-white rule applies to the main image. Amazon's rules for additional images are looser, which is why lifestyle and infographic images go there. Check the current requirements for your category in Seller Central, since rules can differ.
What size should Amazon listing images be?
Amazon's guidance for the main image is a longest side of at least 1000 px so zoom works, and larger is better. Use the Amazon product image size guide for a working canvas, and keep the same size across all slots.
Can I put text on Amazon secondary images?
Infographic-style text is common on additional images, but the main image must not have text, logos or watermarks. Keep text short and large enough to read on a phone, and do not make claims you cannot support.
How do I make Amazon lifestyle images without a studio?
Shoot the product in a real setting by a window, with a few simple props and the same exact product as in the main image. If you cannot build the scene, use an AI scene tool on a clean photo of the real product, and check that nothing about the product changed.