Product Photography Ideas: 15 Shots That Make Products Sell
Table of Contents
You do not need a studio to make a product look good. You need a few repeatable shots and a clean way to finish them. These product photography ideas work with a phone, a window and a plain surface. Pick the three or four that fit your product and use them across every listing so the shop looks consistent. For the full setup, start with product photography at home.
Put your product in a new scene, free in your browser
Try it freeThe shots every product needs
1. Clean main shot on white
This is the image buyers see first in search. Put the product in the center, fill about 85% of the frame, and keep the background plain. If your photo has a busy backdrop, cut the product out with the background remover and set it on pure white with the white background tool. Marketplace rules are in the white background guide for product photos.
2. Three-quarter angle
Shoot slightly above the product at a three-quarter angle so the front and one side show. It shows shape better than a straight-on shot and works for shoes, bottles, bags and boxes.
3. Detail close-up
Move in on the texture, stitching, label or finish. This is the shot that answers "what is it actually made of?"
4. Scale shot
Put the product next to a hand, a coin or something familiar. Buyers return products that were smaller than expected, so a scale shot protects you.
5. Back, side and inside
Show every side and the inside of anything that opens. Missing angles lead to questions and lost sales.
Ideas that add style
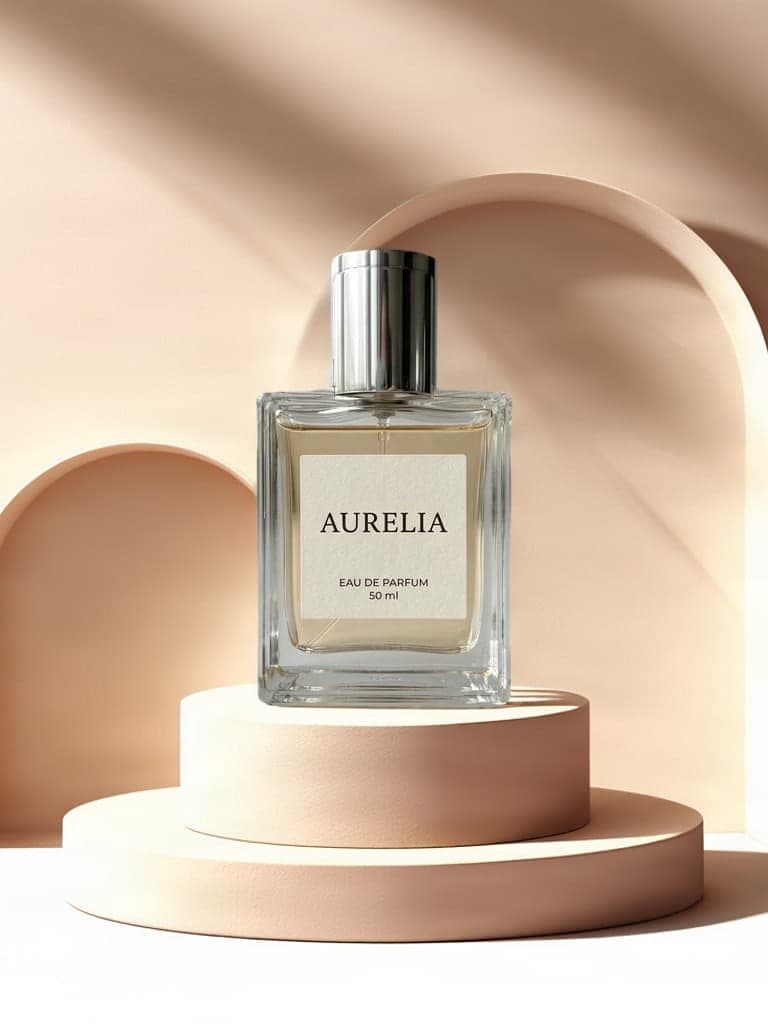
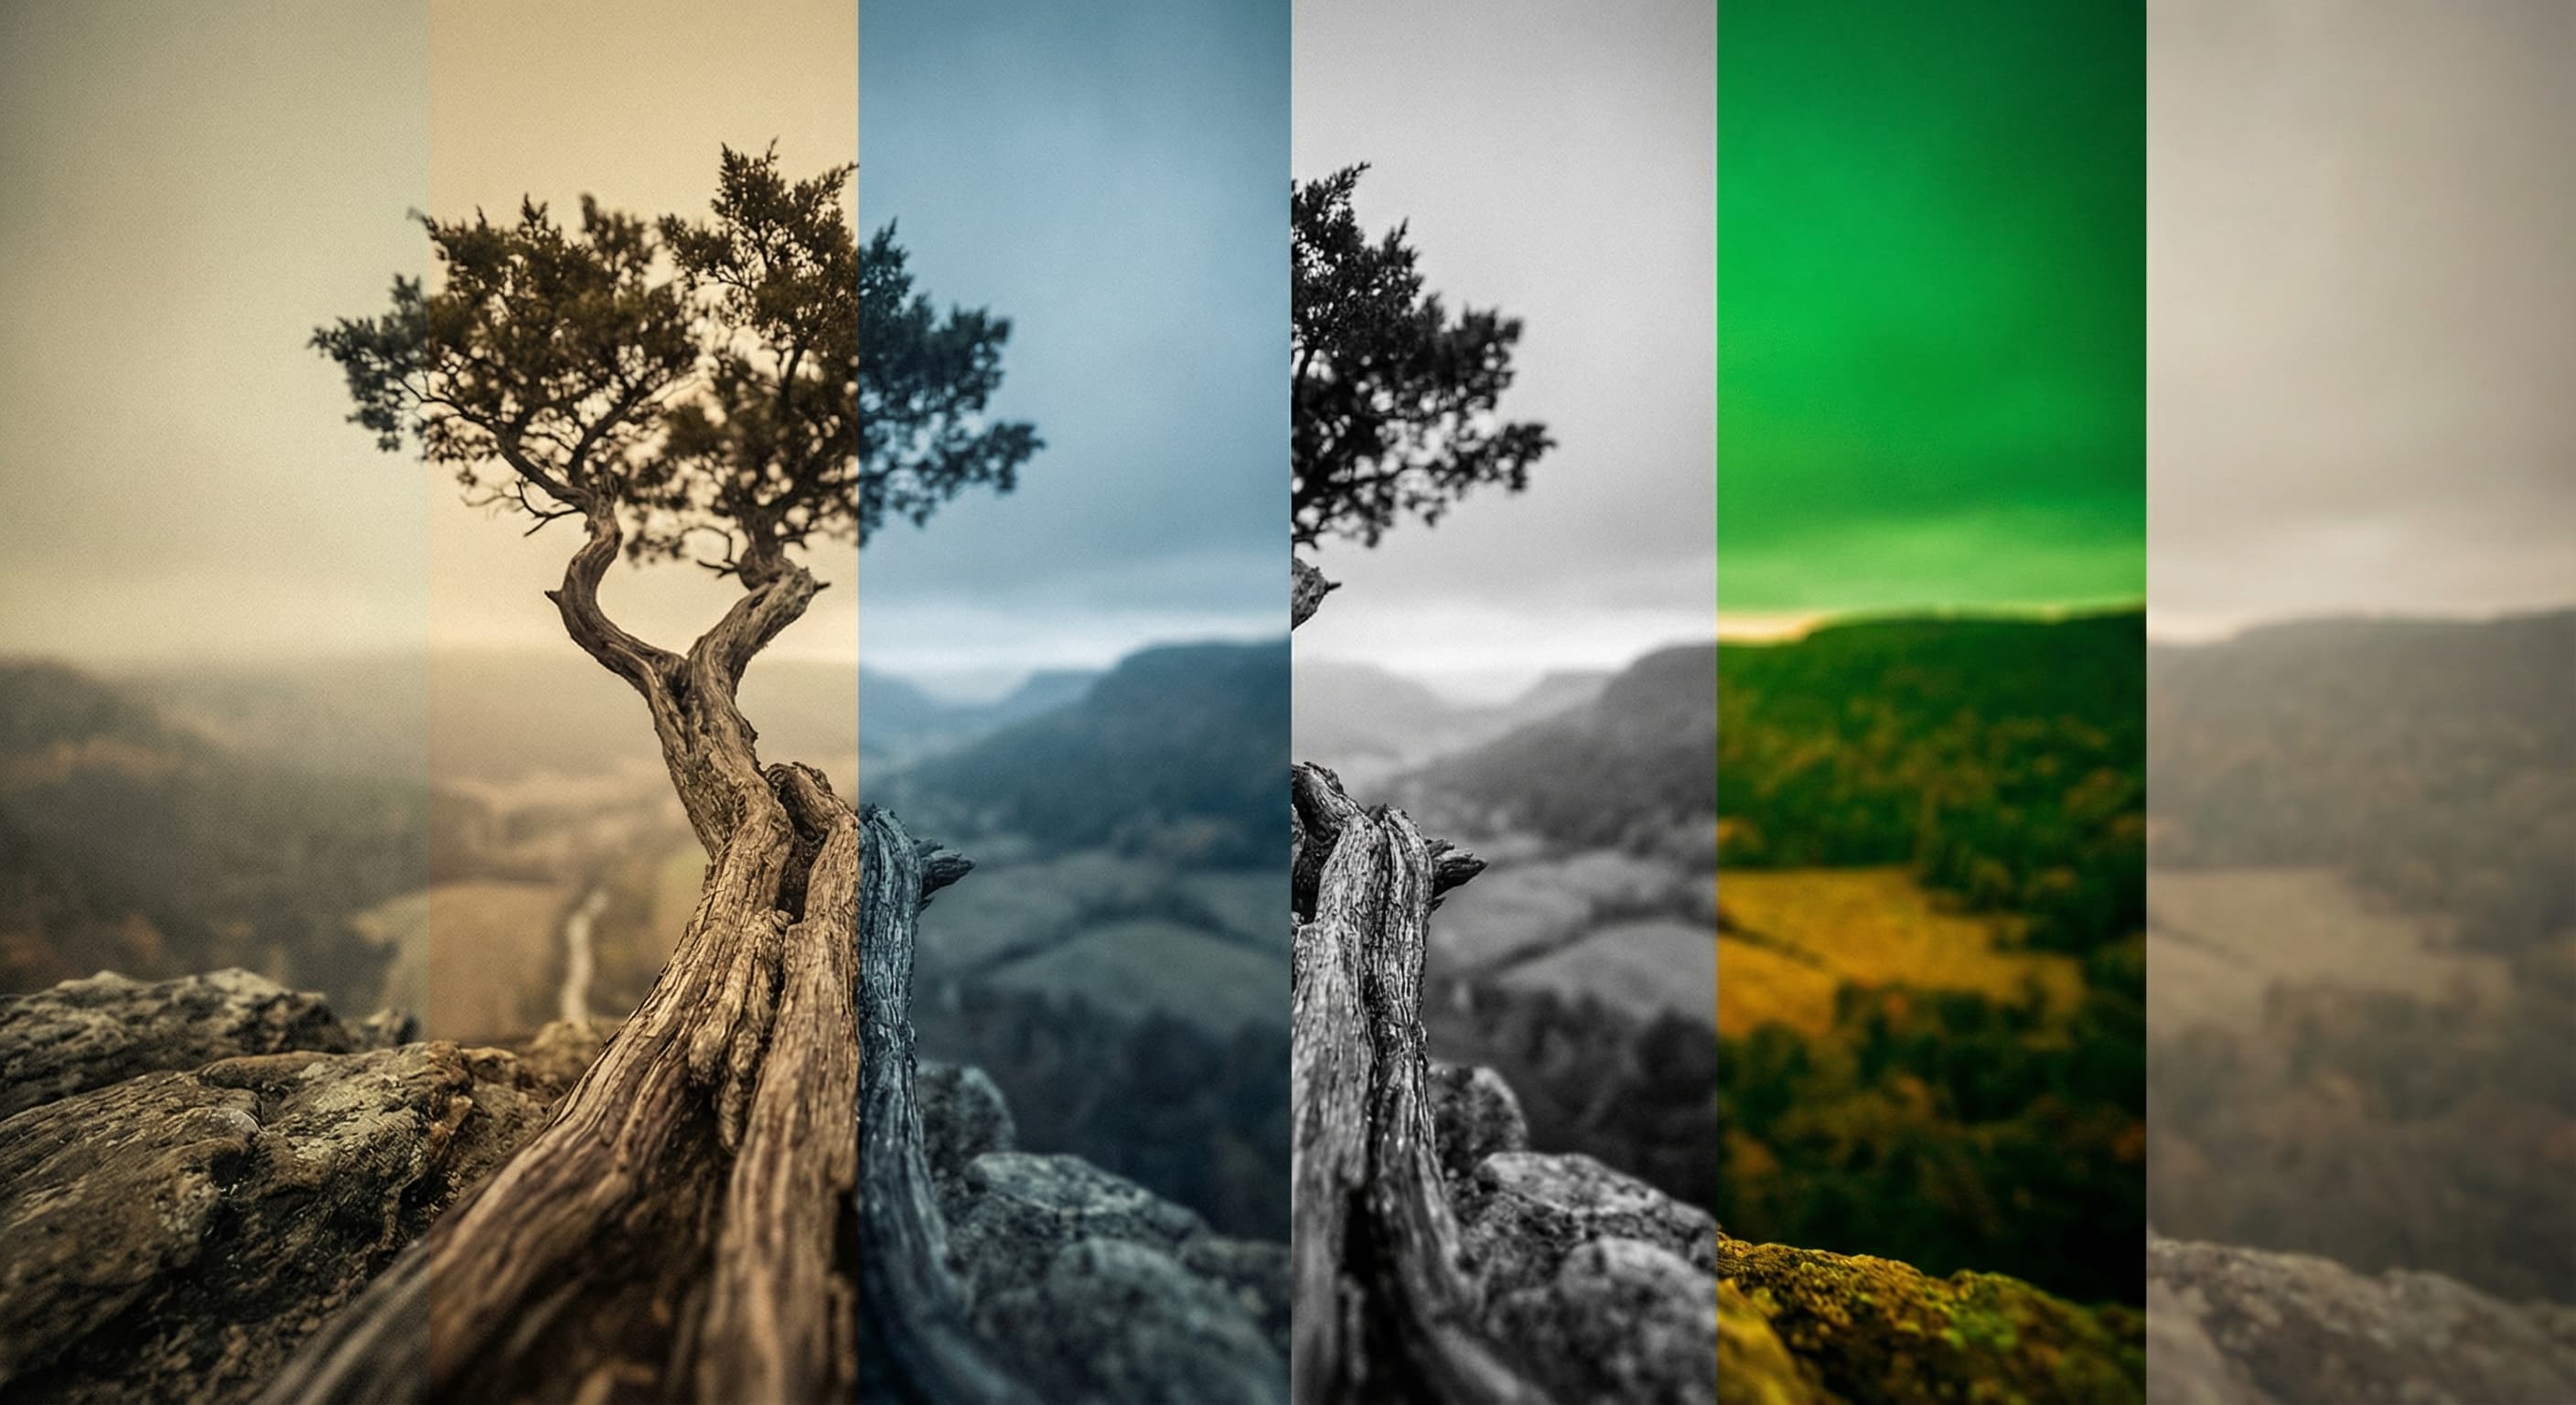
6. A colored backdrop
A solid color makes a plain product look art-directed. Warm products suit blue and purple, and earthy products suit green. Try it without reshooting using the change background color tool, or start from a blue, purple or green background.
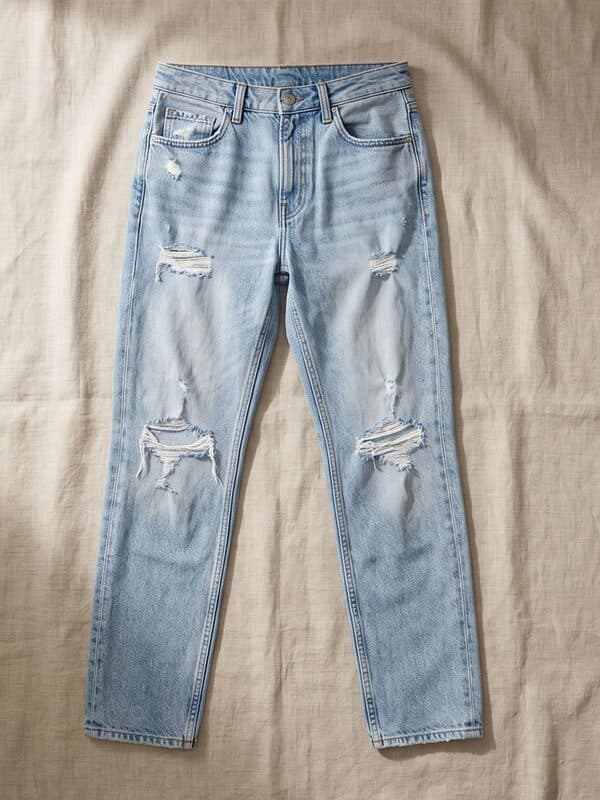
7. Flat lay
Shoot straight down on a plain surface with a few related items around the product. It suits apparel, stationery, jewelry and beauty. Keep two or three props at most. See the flat lay photo maker if you need a layout quickly.
8. Hard light and a shadow
Instead of soft, even light, let direct sun from a window cast a clear shadow across the product. It gives depth and a more editorial feel.
9. Low angle
Put the phone at table height and shoot slightly up. It makes bottles, candles and boxes look taller and more premium.
10. In-hand shot
Hold the product naturally. It shows scale and gives a social post a human feel without needing a model.
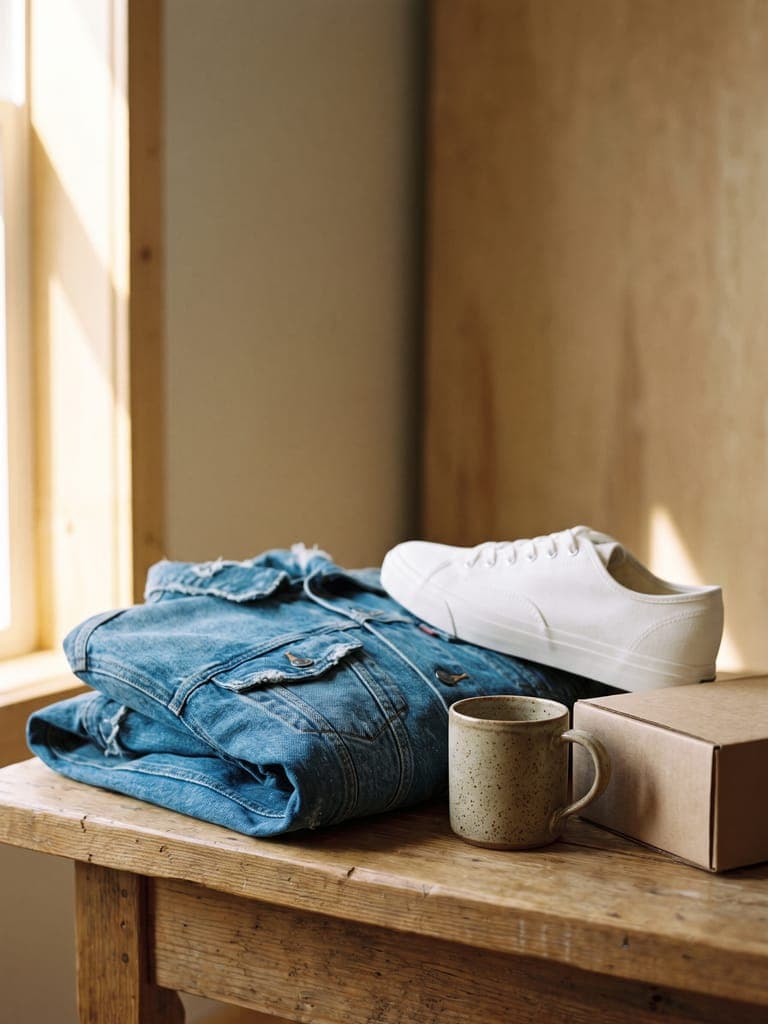
11. Lifestyle scene
Place the product where it is used: a mug on a desk, a candle on a shelf, a bag on a chair. Keep the scene tidy and the product the brightest, sharpest thing in the frame. The product staging tool can place a cutout into a styled scene.
12. Group shot
Line up a set, a color range or a bundle together. It works for variants and gift sets, and it helps sellers promote more than one item in a single post.
13. Packaging and unboxing
Show what arrives: the box, the wrapping, the card inside. For gifts and small brands it is part of the product.
14. Texture backdrop
Shoot on linen, wood, marble paper or concrete. The surface adds character, but pick one and stay with it so a shop feed looks consistent.
15. Process or making-of
A close shot of hands making, pouring or stitching works well for handmade goods and gives Instagram and Pinterest posts a story.
Edit the set so it matches
A set of photos feels professional when the background, crop and brightness match. Cut out each product, apply the same background, and export every image at the same size. If you have many photos, the batch editor applies one edit to all of them. Then resize for your platform, such as Etsy listing photos or Shopify product images.
Common mistakes
- Too many props. The product should be the subject.
- Mixed lighting. Turn off lamps and use one window.
- Tilted shots. Use a tripod or a stack of books so the horizon stays level.
- Different backgrounds across a set. Pick one and keep it.
- Skipping the sharpness check. Zoom in on the product before you export.
Frequently asked questions
What are good product photography ideas for beginners?
Start with a clean main shot on white or a plain color, then add a flat lay, an in-hand shot for scale, a close-up of texture or detail, and one lifestyle shot of the product in use. Those five cover most listings.
How do I make product photos look creative without props?
Change the backdrop color, shoot from a low or high angle, use hard window light for a strong shadow, or crop in tight on a detail. A colored background alone makes a plain product look styled.
What is the best background for product photos?
White is the safest for marketplaces and cutouts. A solid color suits social posts and shop pages, and a real surface like wood or linen suits lifestyle shots. Keep the first image simple.
How many product photos should a listing have?
Use every slot the platform gives you. A strong main image, two or three angles, a detail shot, a scale shot and one lifestyle photo is a good target.
Can I do product photography ideas at home with a phone?
Yes. A window, a sheet of white card, a plain surface and a steady phone are enough. Edit afterward to clean the background and match every image in the set.