Lifestyle Product Photography: How to Shoot Products in Real Scenes (With Props)
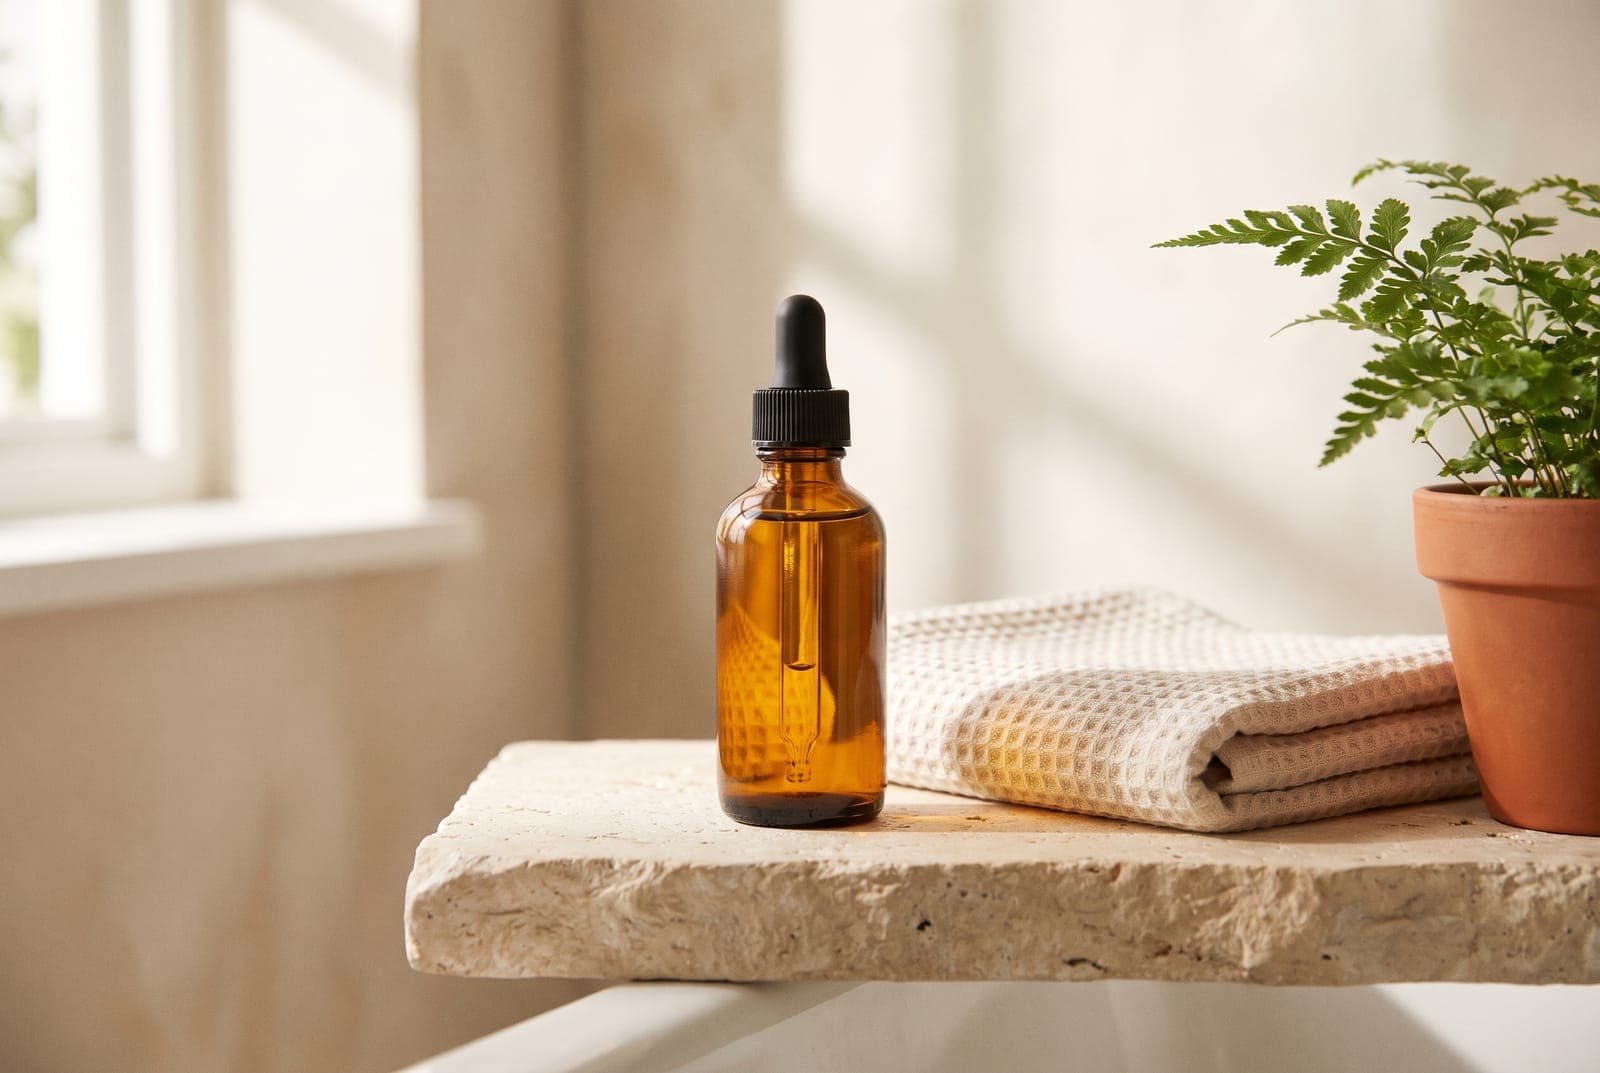
Table of Contents
A product on a white background tells a buyer what it is. A product on a bathroom shelf, a bedside table or a trail tells them what it is like to own. That second job is what lifestyle product photography does, and it is the reason a listing with a few good scene photos usually feels more trustworthy than one with only cutouts.
This guide shows how to plan and shoot lifestyle product photos at home, how to choose props, how to keep them honest, and what to do when you cannot build the scene. For the plain studio shots, start with the product photography at home guide. For a list of shot types, see product photography ideas.
Put your product in a new scene, free in your browser
Try it freeLifestyle versus studio: you need both
| Studio shot | Lifestyle shot | |
|---|---|---|
| Shows | The exact product, clearly | The product in context and in use |
| Background | Plain white or a color | A real surface and setting |
| Best for | Main image, marketplaces, catalogs | Second and later images, shop pages, social |
| Risk | Looks sterile | Props overwhelm the product |
Marketplaces often require the studio look for the first image. Amazon requires a pure white background for a main image, and eBay says white backgrounds are generally best. Use lifestyle photos in the second slot and after. The Amazon product photos guide and white background guide explain when plain is required.
Plan the scene first
Before you put the product down, decide three things:
- Who is the buyer and where does the product live? A face oil lives in a bathroom or on a dresser. A mug lives in a kitchen. A backpack lives outdoors or on a shoulder.
- What is the one feeling? Calm, bright, cozy, clean, rugged. Choose one, and let the colors and props follow it.
- What must the buyer understand? Size, use, finish. Make the scene answer that.
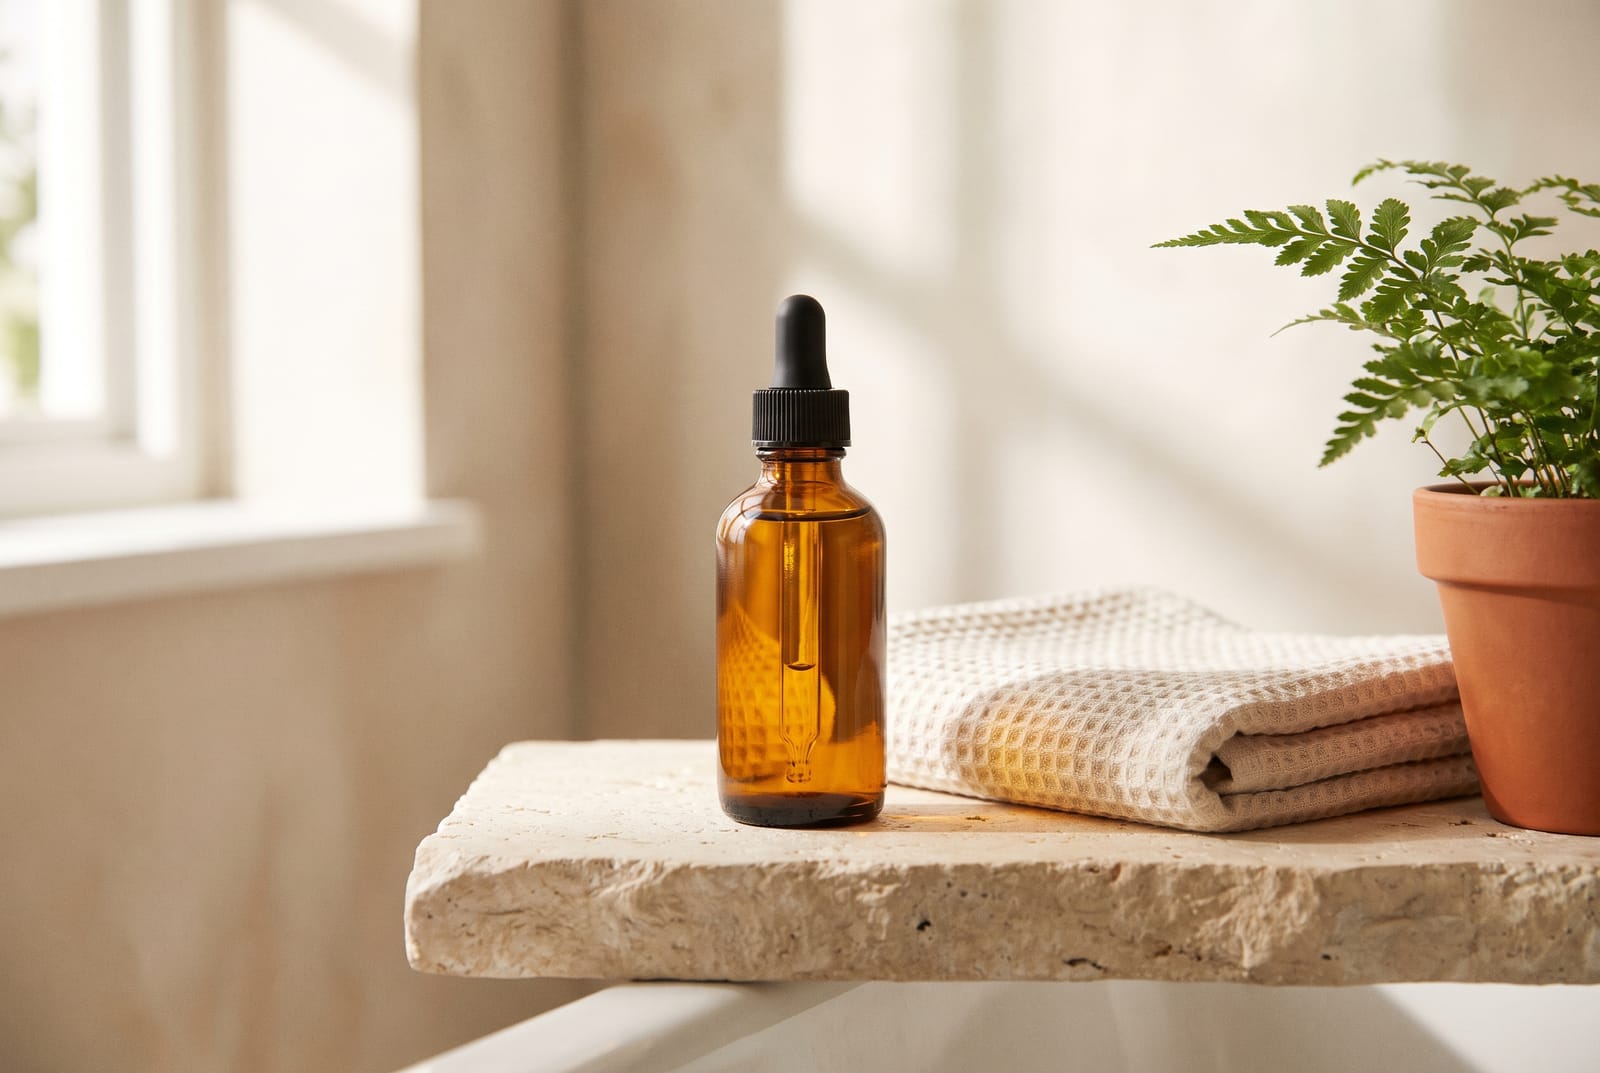
Sketch it in a sentence: "Amber bottle on a pale stone shelf, folded towel, one plant, soft morning light." If you cannot say it in a sentence, the scene is too busy.
Choose props that help
Props are the most common reason lifestyle photos fail. They either steal attention or confuse what is for sale.
- Use two to four. More than that and the eye wanders.
- Match the use. Props should be things a buyer would really have nearby.
- Match the palette. Pick colors that sit near the product's color, with one small accent at most.
- Vary height. A stack of books, a dish and a plant give depth. Props at one height look flat.
- Keep them quieter than the product. Lower contrast, matte, out of the sharpest plane.
- Do not imply they are included. If a towel or plant is a prop, do not let it look like part of the purchase, or say in the description what ships.
- Avoid logos and legible text on props, since they add clutter and can raise rights issues.
Cheap prop sources: linen napkins and towels, a few books, a ceramic dish, a glass, dried or live greenery, a wood board, a tray, a plain mirror, a plank of wood. Raid your own home first.
Build the scene
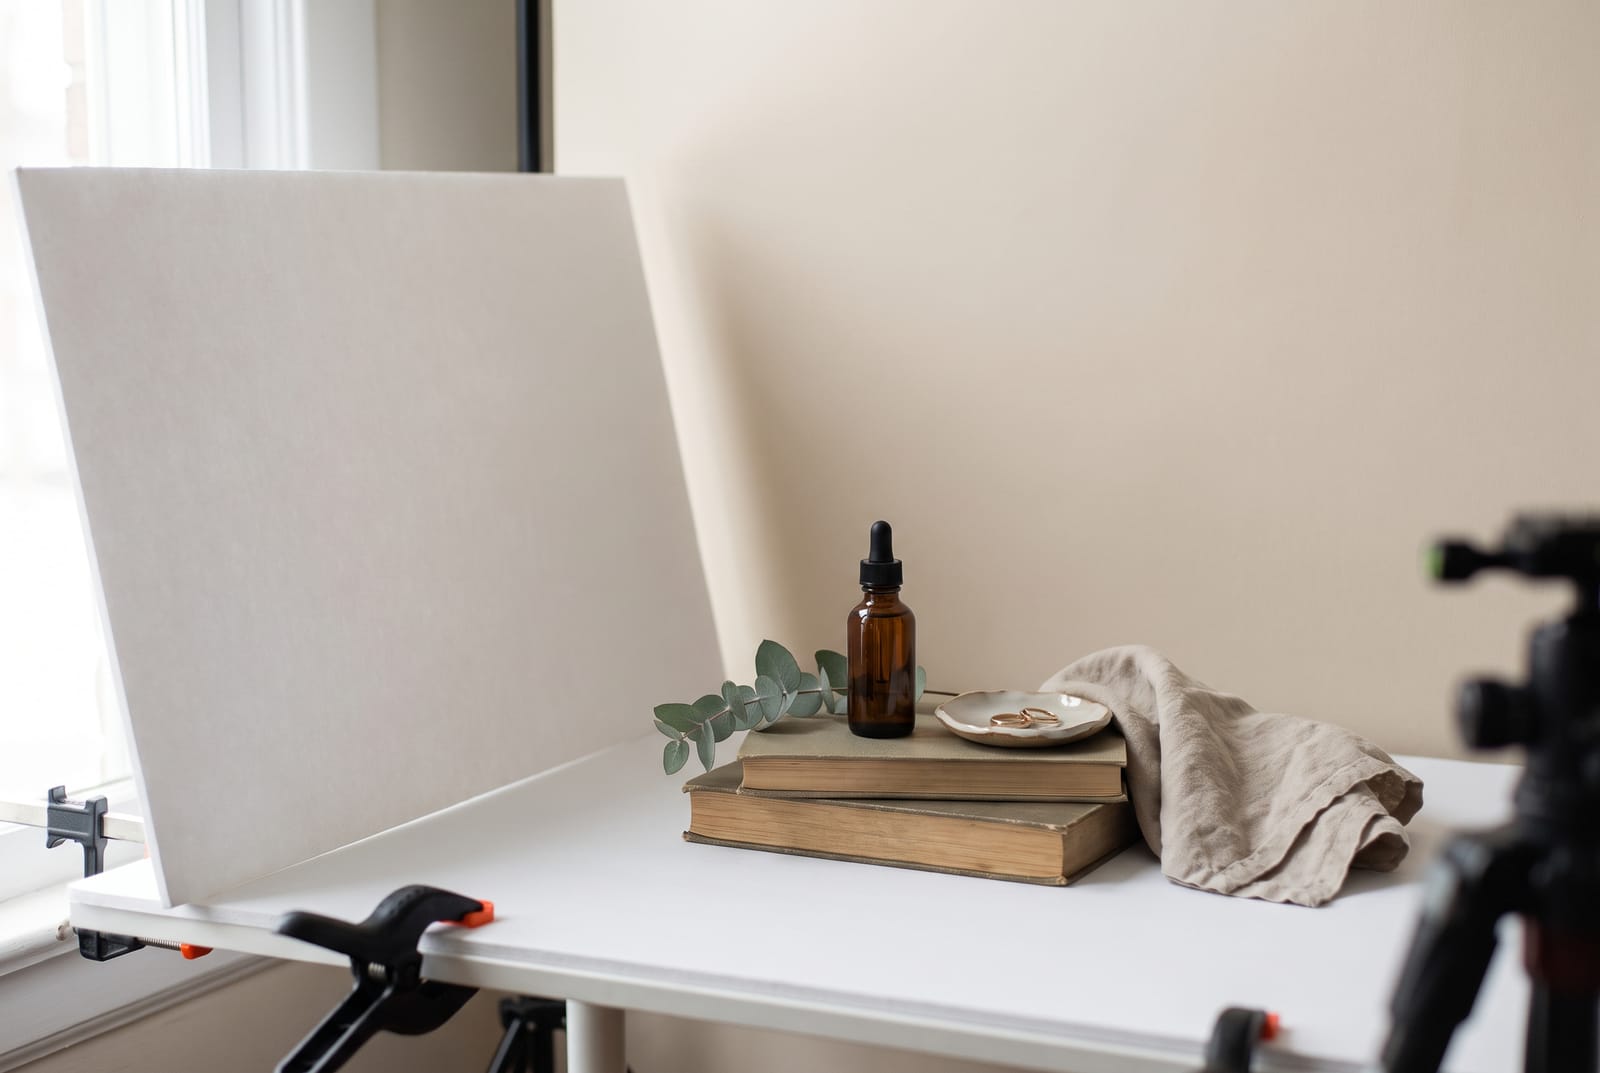
- Find the light. Go to the window. Soft, indirect daylight is the base for almost every lifestyle photo. Put the scene beside it, with the light coming from the side. See the lighting guide.
- Pick the surface. A real table, shelf, stone or fabric. Clear everything that is not in the plan.
- Place the product first, at the position of strongest focus, about a third of the way into the frame.
- Add props around it, behind and to the side, and lean a few at different heights.
- Bounce light. Lean a white foam board or sheet on the shadow side so the shadows are soft. This is the single biggest quality upgrade for the cost.
- Shoot from the buyer's point of view. Eye level for a shelf or table, from above for a flat lay.
- Keep depth of field shallow. Use portrait mode or move closer so the background softens, but check the product is sharp, including edges and labels.
Add a human touch
A hand in the frame gives scale and use. A drop from a dropper, a hand holding a mug, a bag on a shoulder. Keep the hand clean and the nails tidy, with natural poses. Keep the product in the sharpest plane.
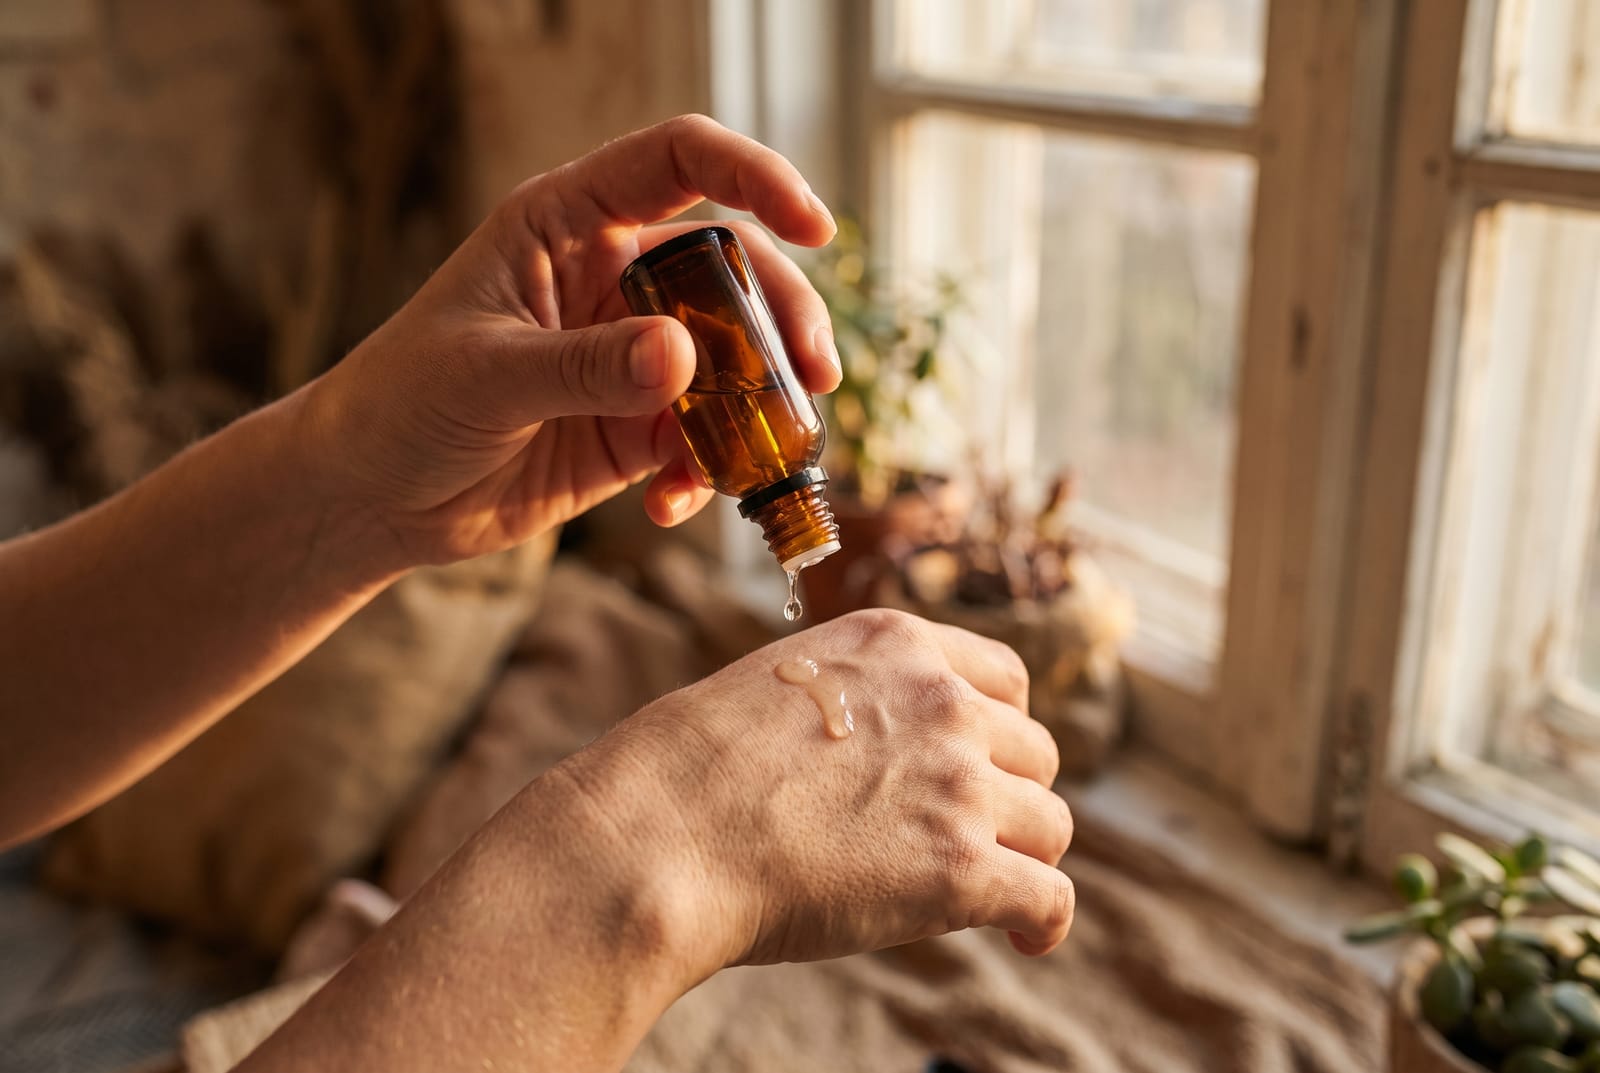
If you show a person, do it in a way that is not misleading about size, fit or results. A bottle held in a hand is honest. A "before and after" skin photo is a claim that needs proof, so leave it out unless it is genuine.
Studio and lifestyle, side by side
Here is the same product shot both ways: flat studio light on a white sheet on the left, and a bedside scene with a book, water and linen on the right. The studio shot is clearer on what is for sale. The scene is easier to want.
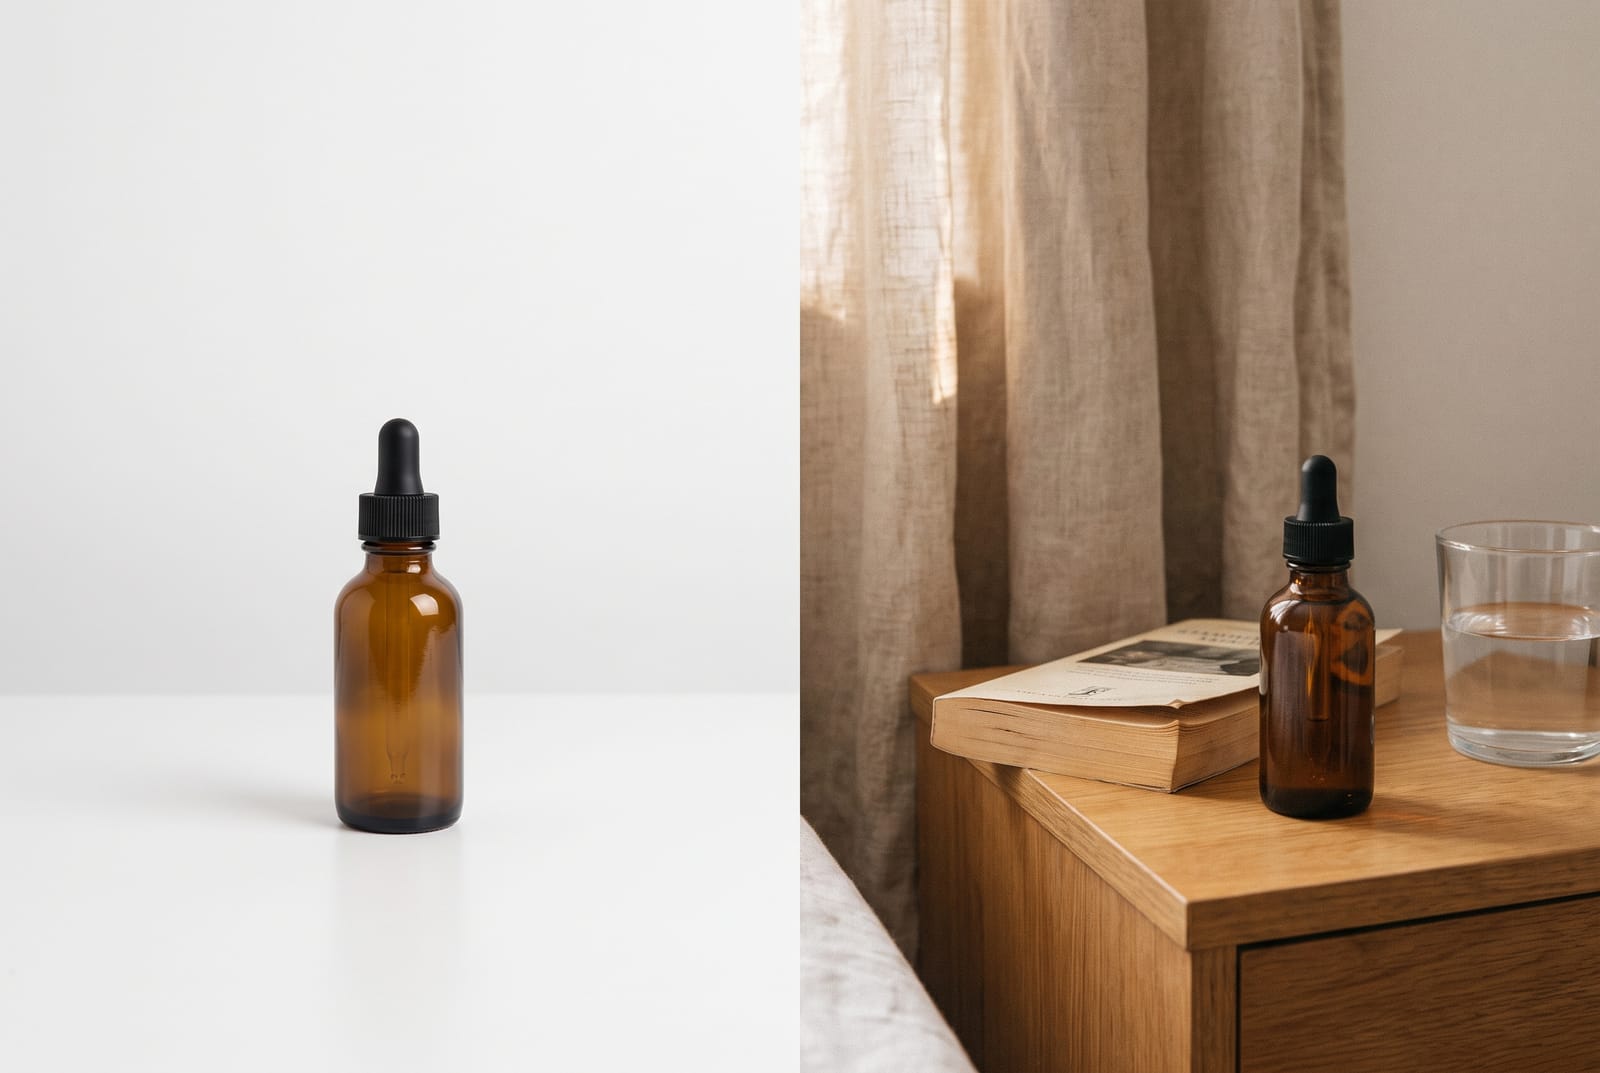
A listing needs both. The studio shot goes first, and the scenes support it.
Edit the set so it matches
Different scenes should still look like one shop.
- Use the same brightness and white balance approach across the set.
- Keep the saturation natural. Do not change the product's color.
- Crop to the same ratio for the platform.
- For the studio shot, clean the background with the background remover if it is not perfect.
The product photo editor guide shows a one-photo workflow, and the batch editor applies it across a catalog.
When you cannot build the scene
You may not have the space, the props or the time. An AI scene tool can take a sharp photo of your real product and place it in a styled setting. You still need a good source photo: clear, well-lit and straight on. Keep these checks:
- The product must not change. Shape, color, label, proportions and details stay the same as the real item.
- Check the edges and shadows. A product that floats or has a halo looks fake.
- Check the scale. A bottle must not look the size of a vase.
- Keep the claim honest. A scene should not suggest features or results the product does not have.
Our AI product photography page walks through it. The product staging tool is the alternative if you want to build the scene around the product. For marketplaces, see how to add a realistic shadow.
Common lifestyle photo mistakes
- Too many props. The product gets lost.
- A mismatched light. A photo lit from a window that is not visible in the scene looks off.
- A cluttered background. Even blurred, it pulls focus.
- Color clash. Props that fight the product's color.
- No studio shot. The listing has nothing clear to open with.
- Misleading scale. The buyer is surprised on delivery.
For beauty items, read beauty product photography, and for clothing, clothing product photography. If you sell on Etsy, see Etsy product photos.
Frequently asked questions
What is lifestyle product photography?
It is photography that shows a product in a real setting or in use, such as a bottle on a bathroom shelf or a bag on a shoulder, instead of isolated on a plain background. It helps buyers picture the product in their own life.
What is the difference between lifestyle and studio product photography?
Studio photos isolate the product on a plain background to show exactly what it is, and are what marketplaces want for main images. Lifestyle photos add context, scale and mood. Most listings need both.
What props should I use for product photography?
Use few, quiet props that fit the product's use and color: a towel or plant for bathroom items, a book and a glass for a bedside, a napkin and dish for kitchenware. Props should support the product and never compete with it. Stay away from props that suggest the product includes them.
How do I take lifestyle product photos at home?
Pick one real corner with good window light, clear it, add two or three props, shoot the product at eye level or from above, and bounce light into the shadows with a white board. Take a plain studio shot as well so the listing has a clear main image.
Can AI make lifestyle product photos?
Yes. AI can place a photo of your real product into a styled scene. Start from a sharp, well-lit photo of the product, keep its shape, color and details accurate, and review the result for edges, shadows and any changes to the product.
Can I use lifestyle photos as my main marketplace image?
Usually not. Amazon requires a pure white background for main images, and eBay says white backgrounds are generally best. Etsy and Shopify are more flexible. Use lifestyle photos as the second and later images.