Add a Shadow to a Product Photo
Cut out the product, put it on white and add a shadow so it looks grounded. Pick Soft, Hard or Floating, then set the intensity and the direction.
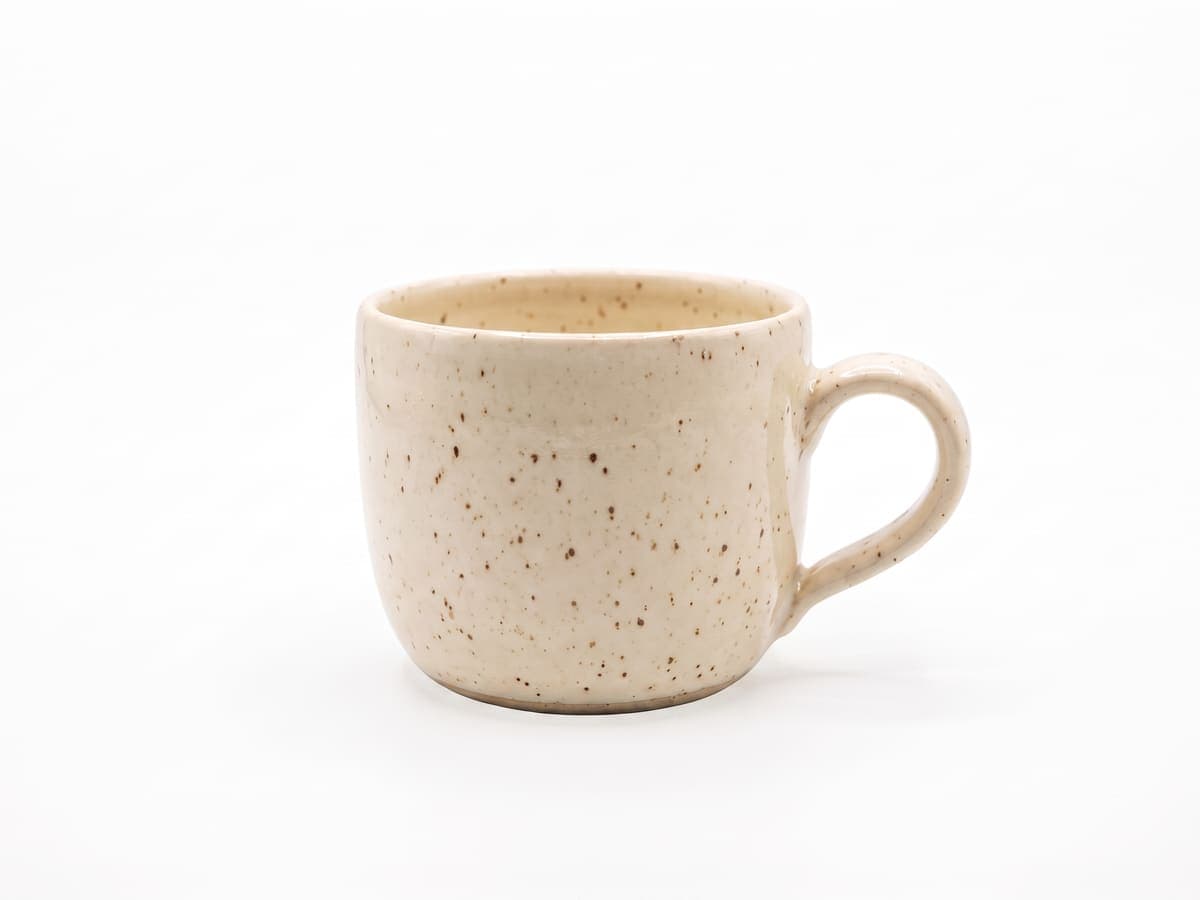
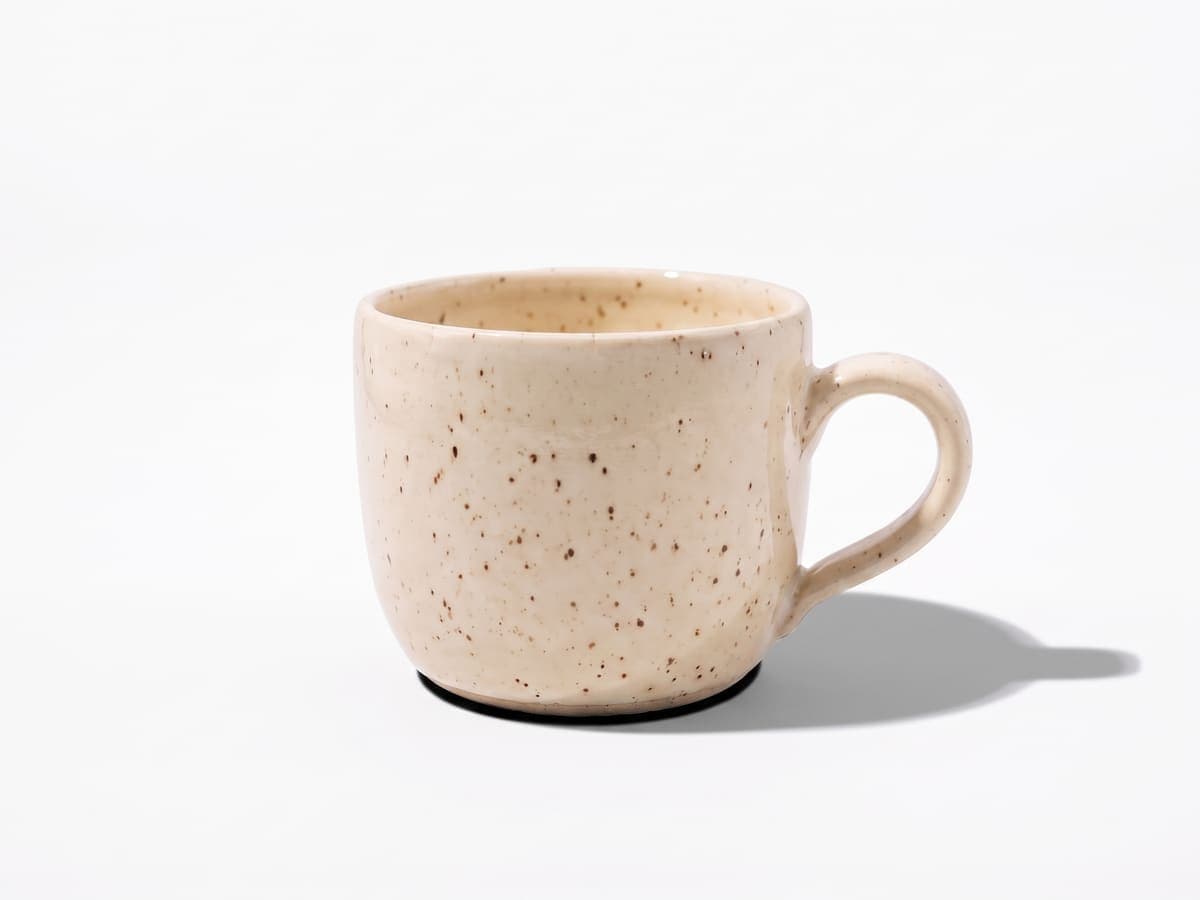
Flat cutout versus a grounded product
Both photos have the same mug on the same white. The only difference is the shadow, and it is what makes the second one look photographed instead of pasted.
Three shadow styles, and when to use each
The shadow is drawn from the product’s own outline, so it follows the shape of the item instead of being a generic blur.
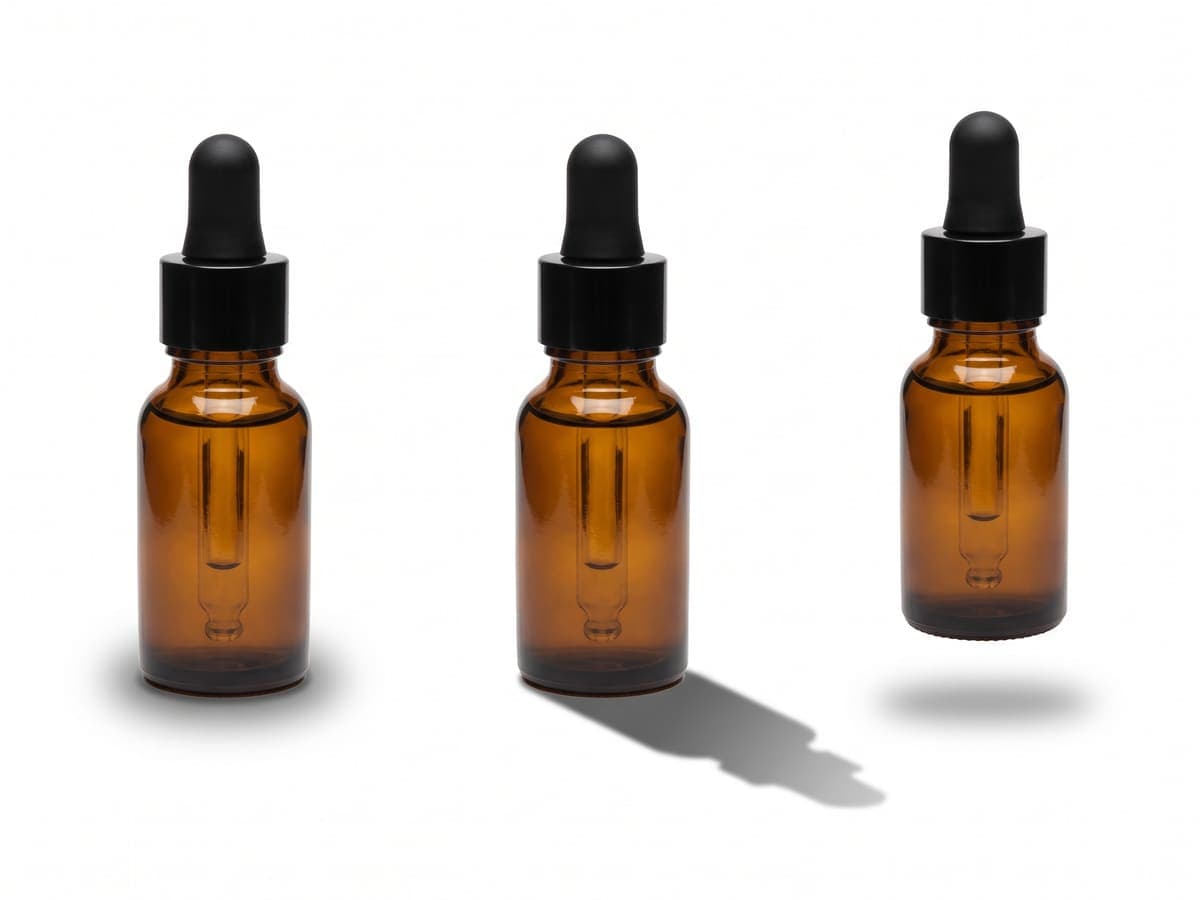
- Soft: a gentle contact shadow just under the product. The safe choice for most listings.
- Hard: a sharper, directional shadow that suggests a single light. Good for lifestyle shots and brand pages.
- Floating: the product lifts off the surface with the shadow below. Works for lightweight items like jewelry and accessories.
Soft, hard and floating, side by side
Same product, three shadow styles. From left: a soft contact shadow, a hard directional shadow, and a floating product with its shadow below.
Check the marketplace before adding one
Some marketplaces want a flat cutout on pure white for the main image, and the rules differ by category. A soft shadow close to the product is widely used, but a long or colored shadow can fail an automated check. Read the current image policy for your marketplace, and keep a shadow-free version for any slot that requires one.
Direction and intensity
Set the direction to match the light in the rest of your catalog. If every product casts its shadow toward the lower right, a collection page reads as one shoot. Lower the intensity for pale products so the shadow supports the product instead of competing with it.
How to add a shadow to a product photo
- 1
Step 1: Upload the product photo
The background is removed first, so the shadow can be drawn from the product’s outline.
- 2
Step 2: Keep the white background
The tool opens on pure white. A shadow reads best on white or a light backdrop.
- 3
Step 3: Pick Soft, Hard or Floating
Adjust intensity and direction until the product sits naturally. The preview matches the download.
- 4
Step 4: Download the JPG
Save the result. Do the same for every product with the same settings so the set matches.
Upload the photo, let the background be removed, then choose Soft, Hard or Floating in the shadow options. The shadow is drawn from the product’s shape and can be adjusted before you download.