Poshmark Photos: Cover Shot, Portrait Size and Photo Tips That Sell Faster
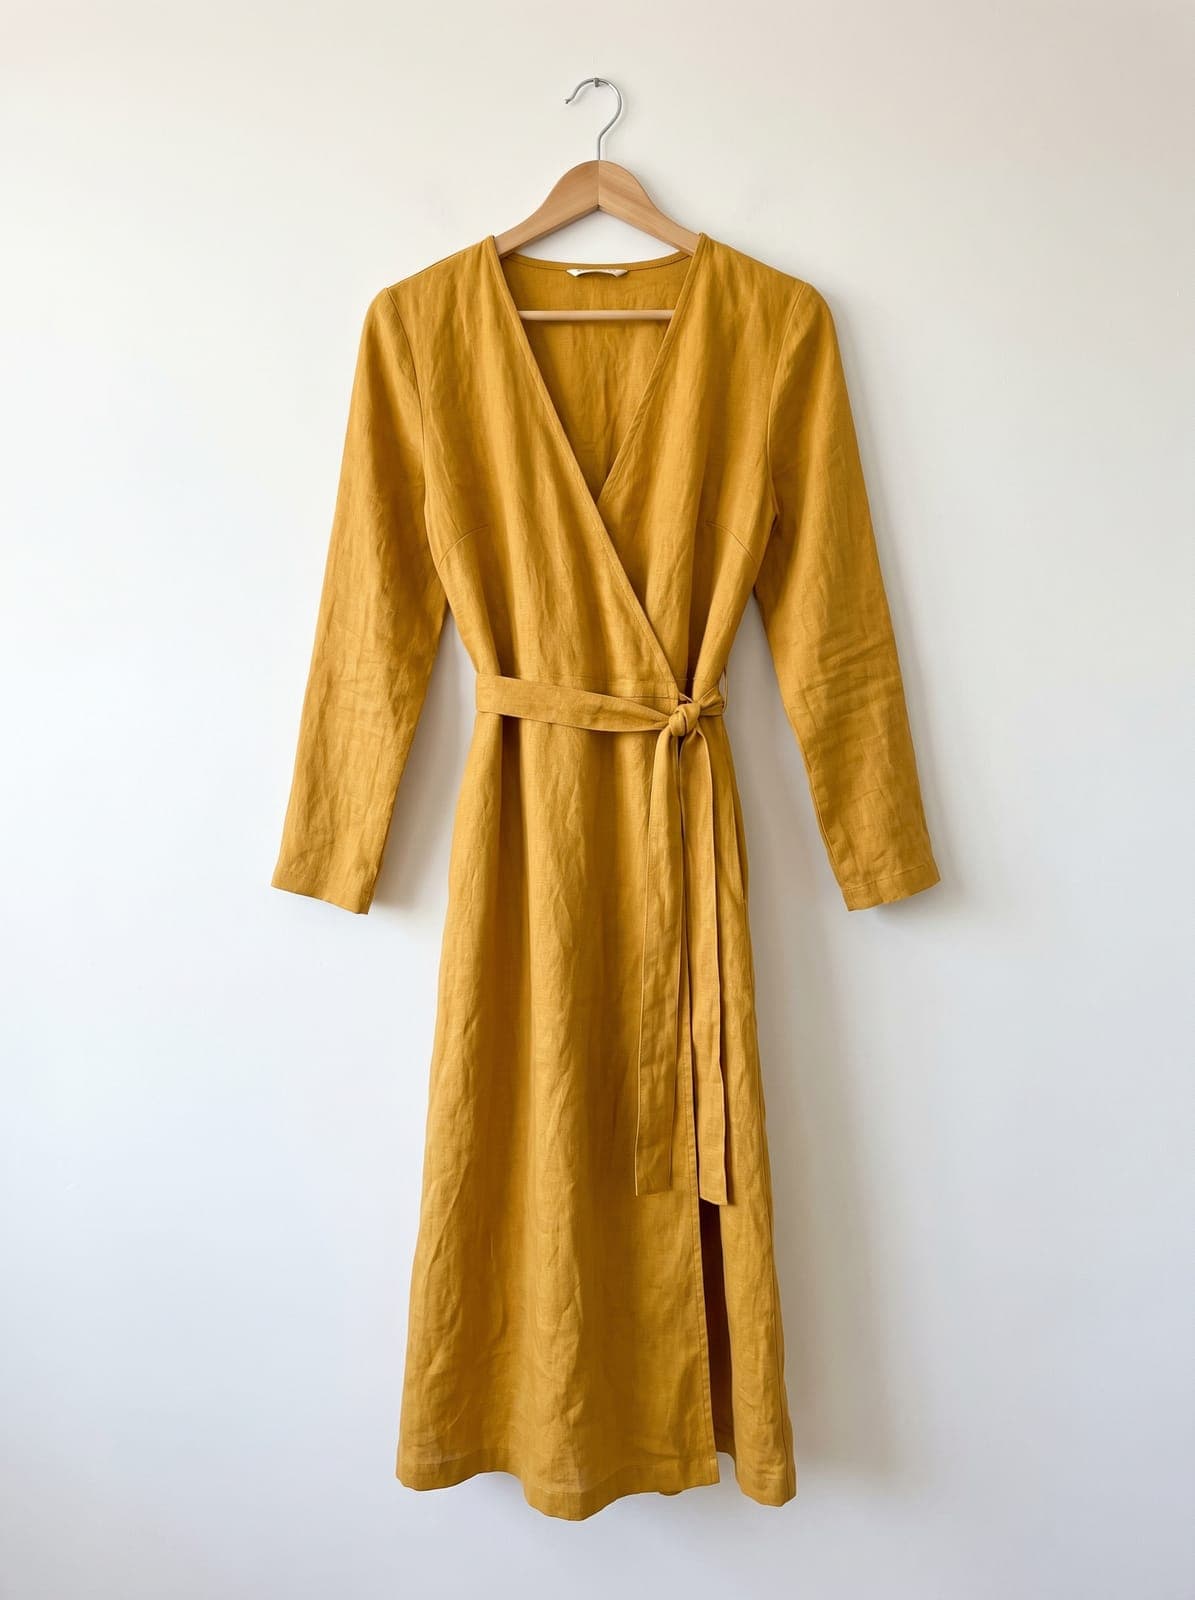
Table of Contents
Poshmark is a feed of tiles, and the first photo is the tile. Buyers scroll fast, and the cover shot decides whether they tap. In 2026 the tile also changed shape: Poshmark moved from square cover photos to a portrait frame. That changes how you should shoot and crop.
This guide covers the current portrait format, how to take a clean cover shot and the detail photos behind it, and how to edit and crop with your phone. If you are new to the platform, see how to sell on Poshmark first. For clothing technique in general, read clothing product photography.
Crop for the Poshmark cover shot, free in your browser
Try it freeWhat Poshmark says about photos
Two official sources are worth knowing:
- Poshmark's blog post on portrait photos says listing photos now display in portrait format, a 3:4 ratio, where cover photos used to display square (1:1). It adds that existing listings need no changes, that the original square photos are preserved on the listing details page, and that updating cover photos is optional.
- Poshmark's help article, How to list, covers uploading up to 16 photos and 1 video.
Poshmark does not publish a pixel size or file-size limit that we could find, so treat any specific number you see in a blog as a working suggestion, including ours. Older Poshmark advice about square 1000 x 1000 photos is from before the portrait change.
Shoot in portrait
Hold the phone upright, in its default orientation, as Poshmark recommends. A 3:4 frame suits clothes, which are taller than they are wide, and it fills the feed tile. A few rules from the same guide are worth following:
- Fill the frame with the item, leaving a small margin at the edges.
- Center the item vertically so it displays well in the feed.
- Show the full item. Do not cut off hems, sleeves or straps.
- Use bright, even light so color and detail are true.
- Keep backgrounds clean, with nothing distracting in view.
- Keep the angle and framing consistent across photos.
If you shoot square out of habit, the photo gets cropped and the item may lose its hem or straps. Shoot portrait from the start, or leave room around the item and crop later.
The background
Poshmark recommends a clean background. Pick one and stay with it:
| Background | Good for | Watch out for |
|---|---|---|
| White wall or door | Hanging dresses, jackets, tops | Marks and shadows |
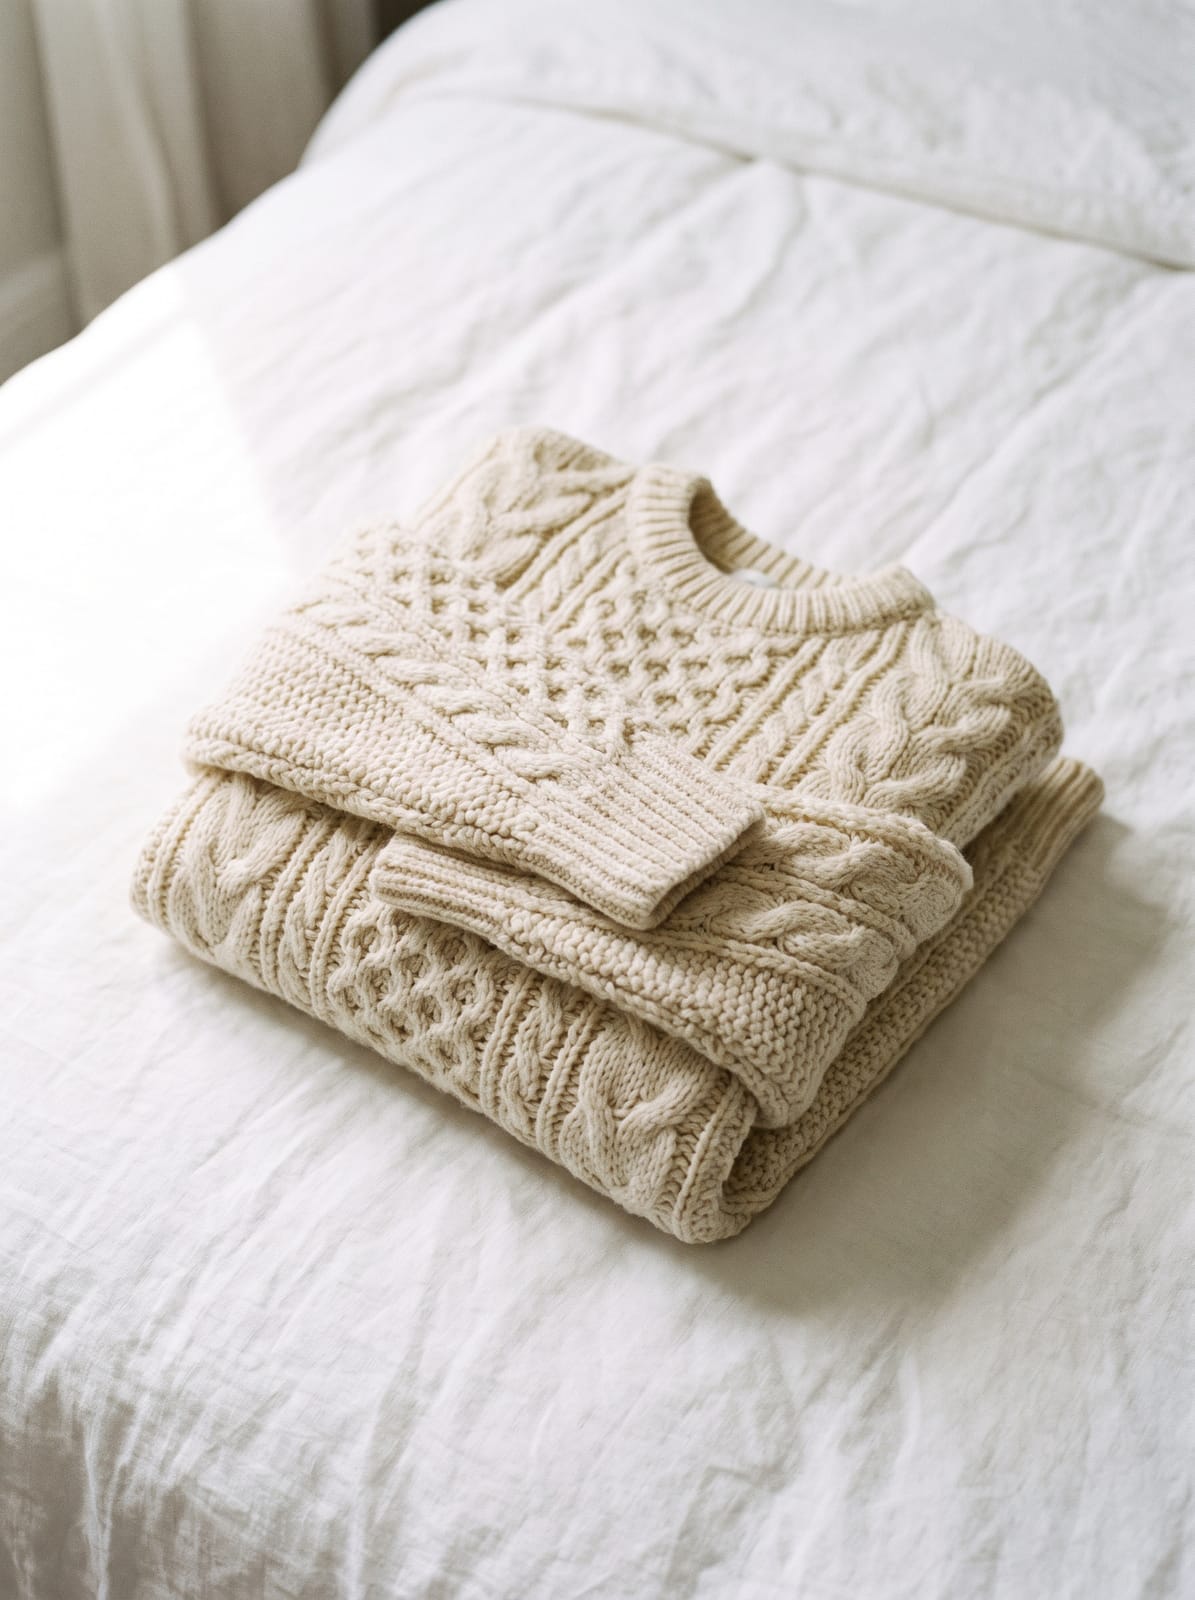
| White sheet, floor or foam board | Flat lays | Wrinkles, shadow edges |
| Light wood floor | Shoes, bags | Grain competing with the item |
| Plain colored wall | A recognizable closet style | A color that clashes with items |
Whichever you choose, shoot the whole closet the same way, so the grid reads as a store. More options in backdrops. For a more casual, grid-based look, see Depop photos.
Shoot the cover shot
The cover shot is first and it is the one that matters most.
- Prep. Steam the item, remove lint and tags, and close zippers and buttons.
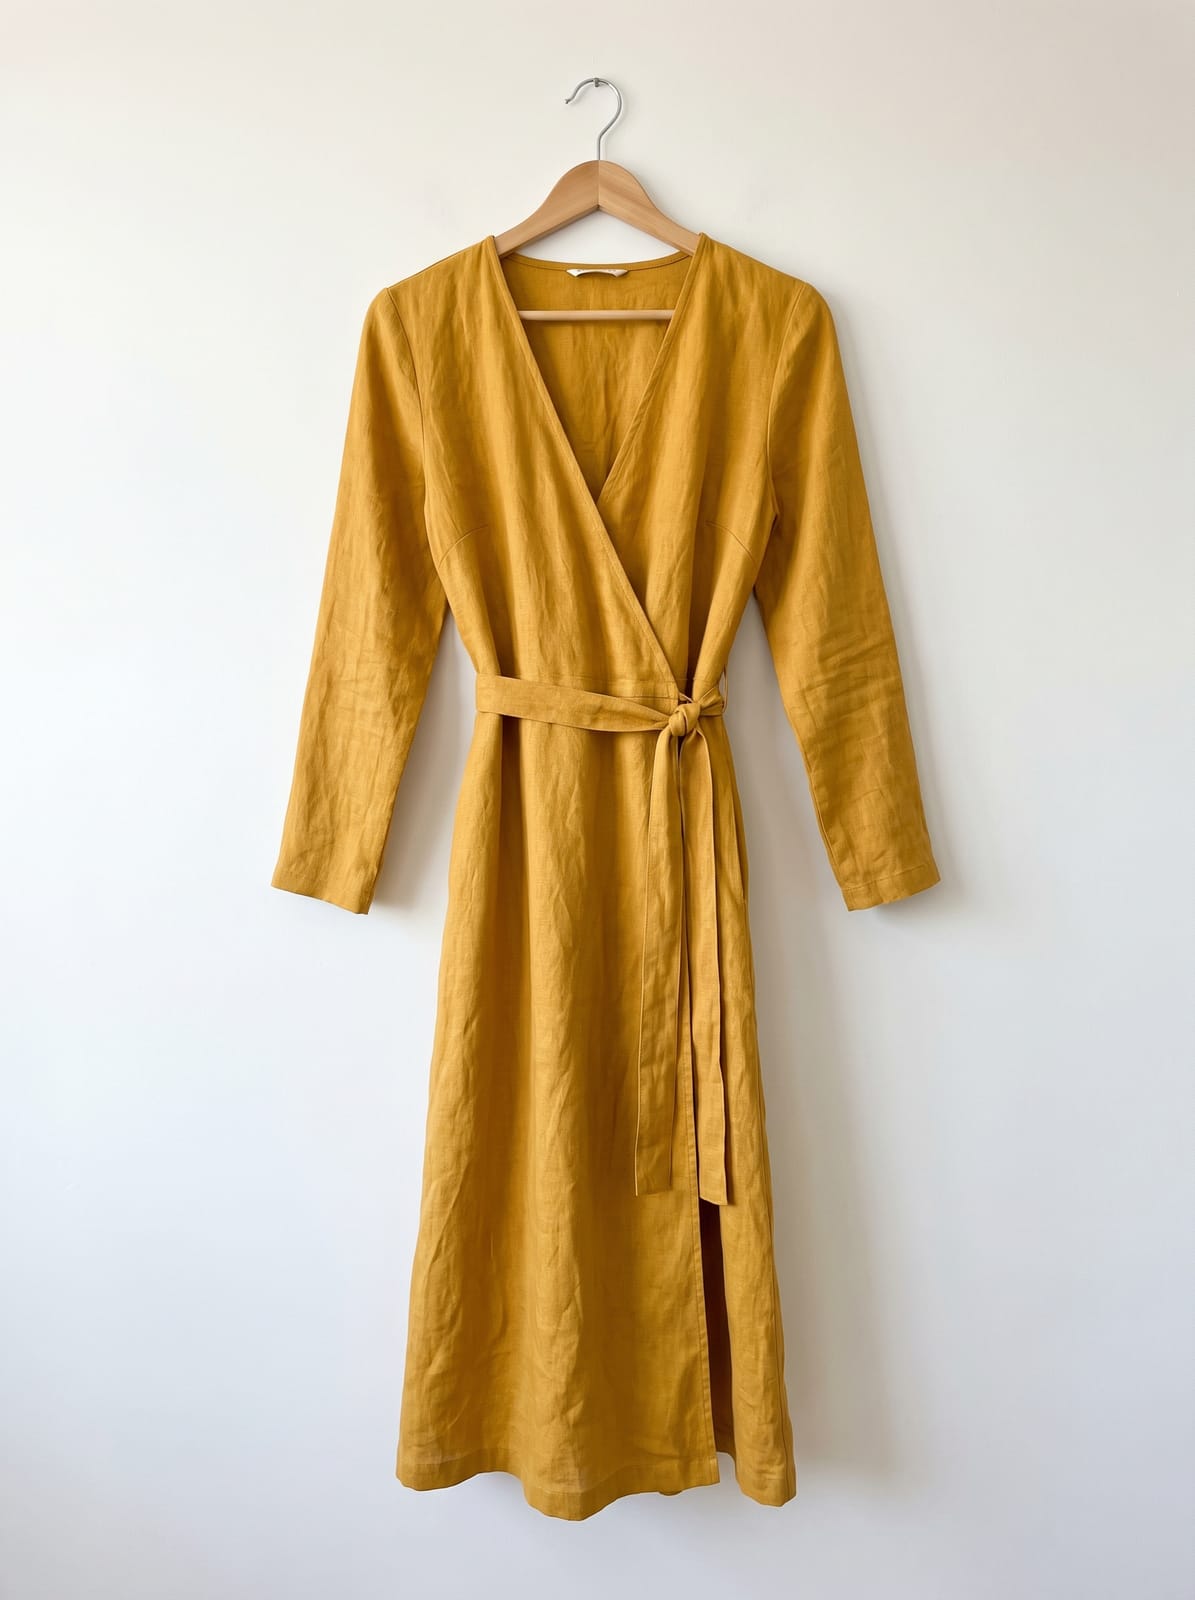
- Hang it or lay it flat. On a wooden or plain hanger against a plain wall, or flat on a clean sheet, shot straight above with the phone parallel to the surface.
- Light it. A window with no direct sun, flash off. Turn off room lights to avoid mixed color. See the lighting guide.
- Frame in portrait. Center the whole item with a small margin all around.
- Hold steady. A tripod or a stack of books, and the timer.
- Check it small. Look at the photo at the size of a feed tile. If you cannot tell what it is, reshoot.
Shoot the detail photos
You can add up to 16 photos, so use them. Buyers ask the same questions every time. Answer them in the photos:
- Back. Always.
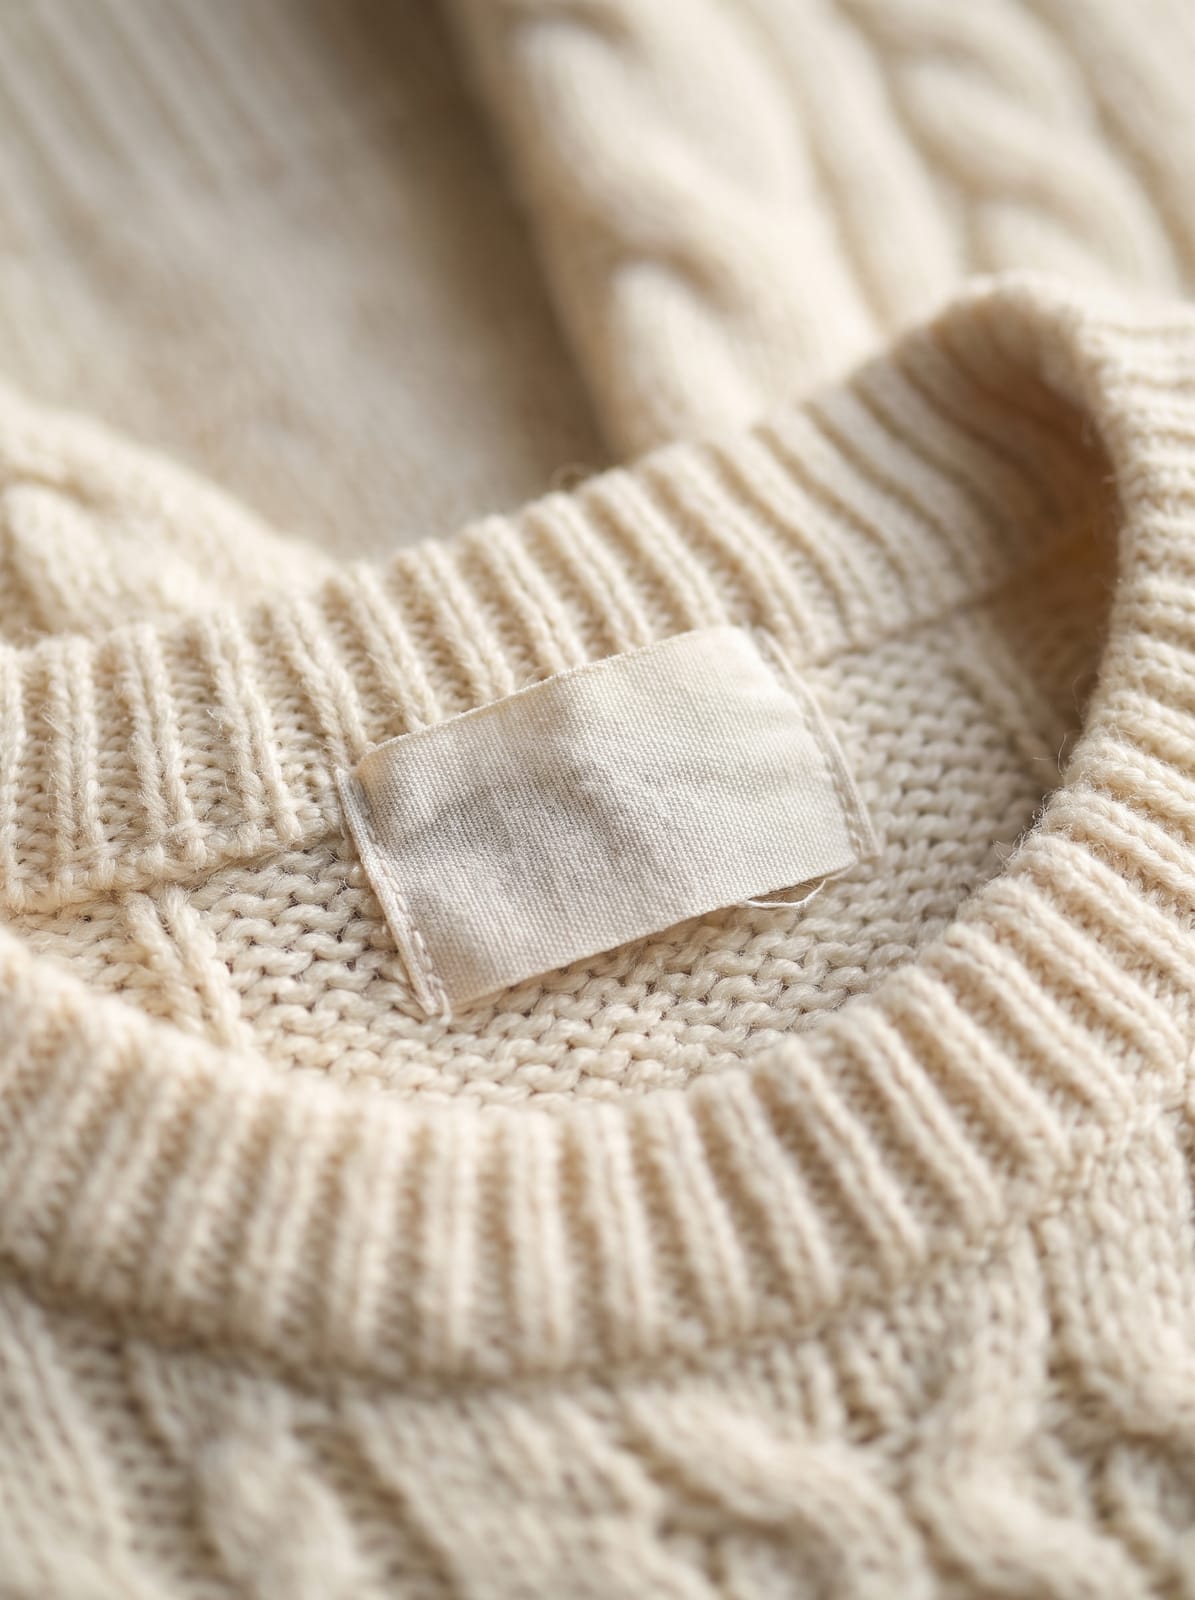
- Tag and size. A close, readable photo of the brand tag and the size tag.
- Fabric content tag. Shows material and care.
- Detail. Buttons, stitching, print, hardware or texture.
- Flaws. Every one, up close.
- Worn or on a form. Helps with fit, if you can.
- Measurements. A tape measure laid on the item, or listed in the description.
Tags and flaws
A tag photo closes the question of size, brand and material before a buyer has to message you. Take it flat, in daylight, with the text readable.
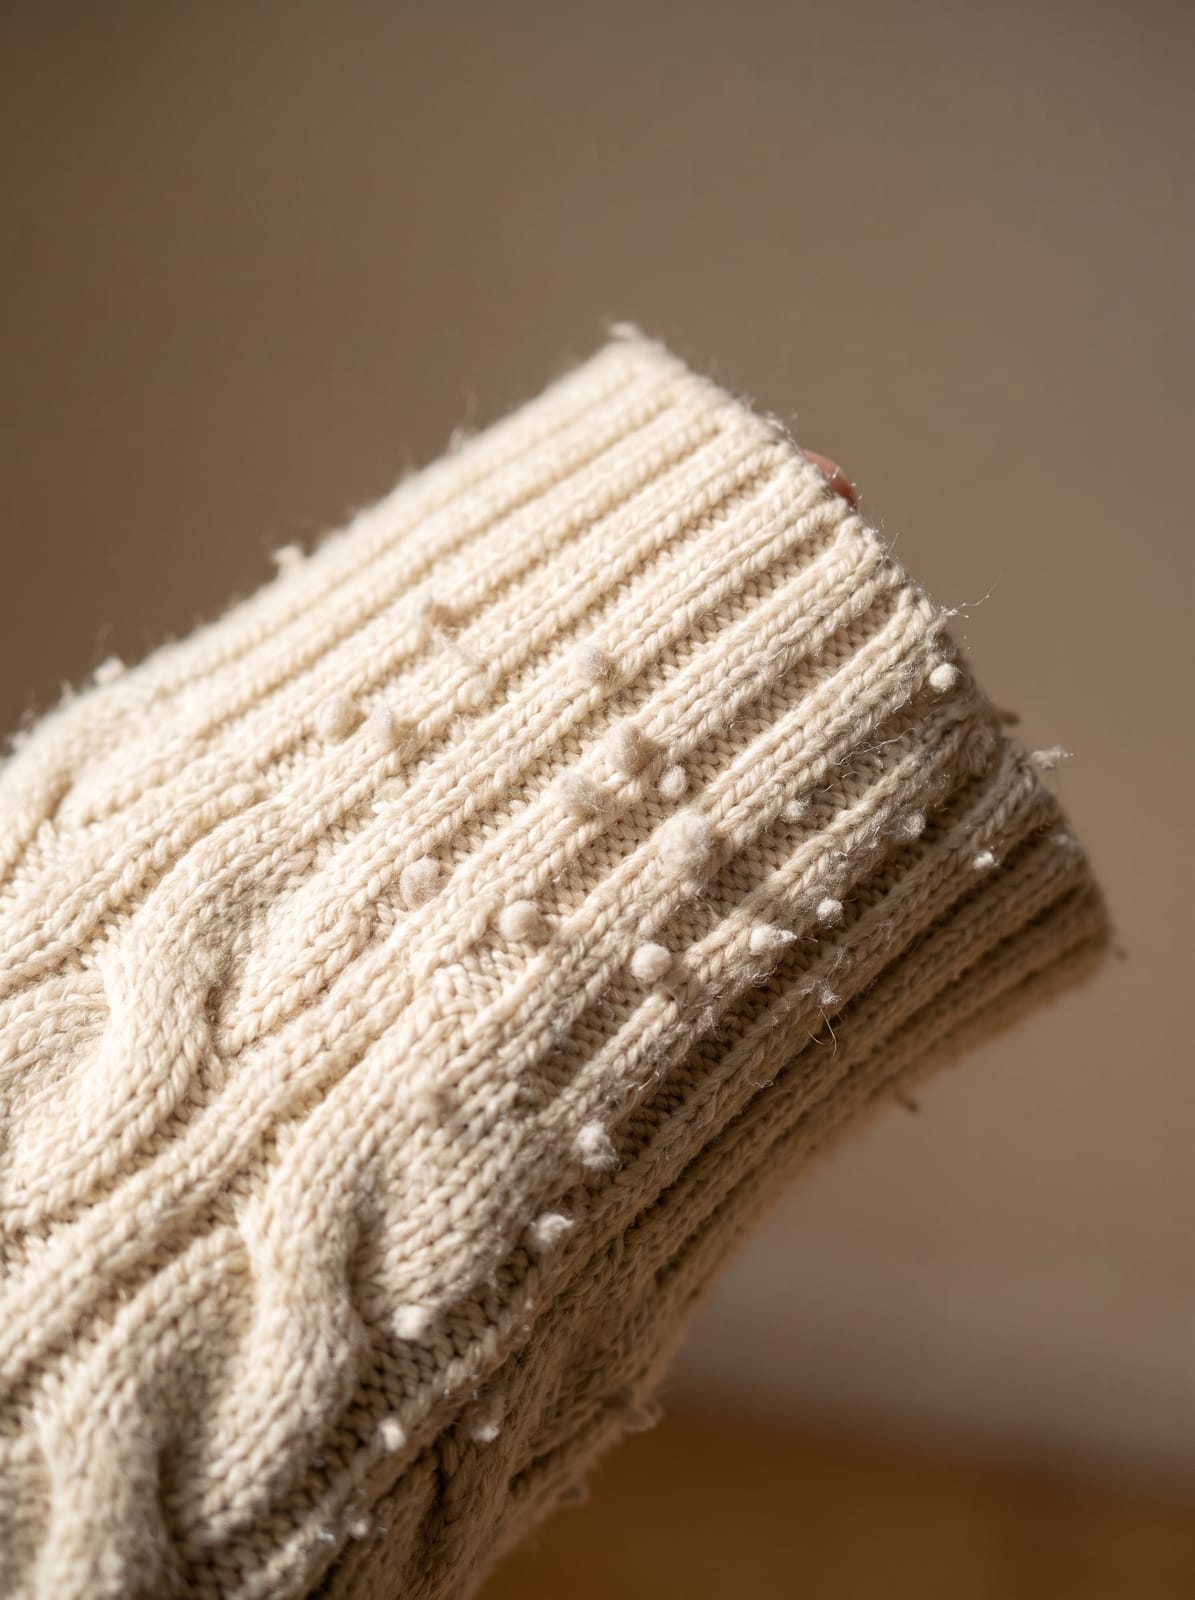
Flaws are not optional. A photographed flaw plus a line in the description protects you from "not as described" disputes, and shows buyers you are honest. Raking light, with a window or lamp at a low angle, makes pilling, snags and stains easy to see.
Edit and crop
- Crop to 3:4. Use the Poshmark cover photo size guide to crop to the portrait format in one step, with the item centered.
- Straighten. Level the photo, especially on hanging shots.
- Brighten. Raise exposure until a white wall looks white. Do not push so far that the fabric color changes.
- Check color. Compare the photo to the item in daylight. Color mismatch is a top reason for returns.
- Clean the background. If the wall or floor is messy, cut the item out and put it on a plain white background using the background remover or white background maker. Do not hide flaws or alter the item.
- Use the same edit for every cover shot. A batch editor applies one look to a whole closet.
If you want to skip the shoot, the ghost mannequin generator turns a photo of a garment on a form or a person into a hollow, worn look on white. Read ghost mannequin photography first to see what a clean input looks like.
Common Poshmark photo mistakes
- Square crops of portrait clothes. The hem or straps get trimmed. Shoot portrait.
- Cluttered rooms. Beds, laundry and mirrors in the background pull focus.
- Wrinkled items. Steam first.
- Hidden flaws. They come back as disputes and returns.
- Dim photos. Use window light.
- Different framing every time. The closet looks unplanned.
For other marketplaces, see eBay listing photos and Etsy product photos.
Frequently asked questions
What size should Poshmark photos be?
Poshmark now shows listing photos in a portrait 3:4 frame, and its own guide says to shoot in your phone's default portrait orientation. Poshmark does not publish a required pixel size, so a canvas such as 1200 x 1600 px is a safe working size.
How many photos can you put on a Poshmark listing?
Poshmark's help center says you can add up to 16 photos and 1 video to a listing. The first photo is your cover shot, which appears in search and your closet.
What is the best background for Poshmark photos?
Poshmark recommends a clean, uncluttered background. A plain white wall, a white sheet or a light floor keeps the item in focus. Pick one background and use it for every cover shot so your closet looks cohesive.
Do I have to change my old square Poshmark photos?
No. Poshmark says existing listings need no changes and the original square photos are kept and shown on the listing details page. Updating cover photos to portrait is optional.
Should I show flaws in Poshmark photos?
Yes. Photograph every stain, hole, pull and sign of wear up close and describe it in the listing. It prevents disputes and returns.
Should I use a mannequin or a hanger for Poshmark photos?
Either works if the item is smooth, centered and fully visible. A hanger on a plain wall or a flat lay on a clean sheet are the cheapest. A worn shot helps with fit. Keep the same angle and framing across your closet.