Product Photography Backdrops: What to Use and How to Set One Up
Table of Contents
A backdrop is the surface behind and under your product. It decides how clean the photo looks, how much editing you need afterwards, and whether a set of photos looks like one shop. This guide is about the physical backdrop: which material to pick, how to set it up, and what goes wrong. It is part of the product photography at home series.
If your goal is specifically a pure white background for a marketplace listing, the workflow and requirements for that live on our white background for product photos page. Here we focus on the set.
Pick a backdrop material
| Material | Good for | Watch out for |
|---|---|---|
| White or light poster board | Small products, the cheapest start | Creases and scuffs show; replace when marked |
| Seamless paper roll | Medium and larger items, a consistent look | Tears at the edges; keep it off the floor |
| Foam board | Rigid, easy to stand up as a back wall | Edges can show; hide them behind the curve |
| Fabric (muslin, linen, felt) | Soft lifestyle looks | Wrinkles; steam or iron first, and it can add texture to the photo |
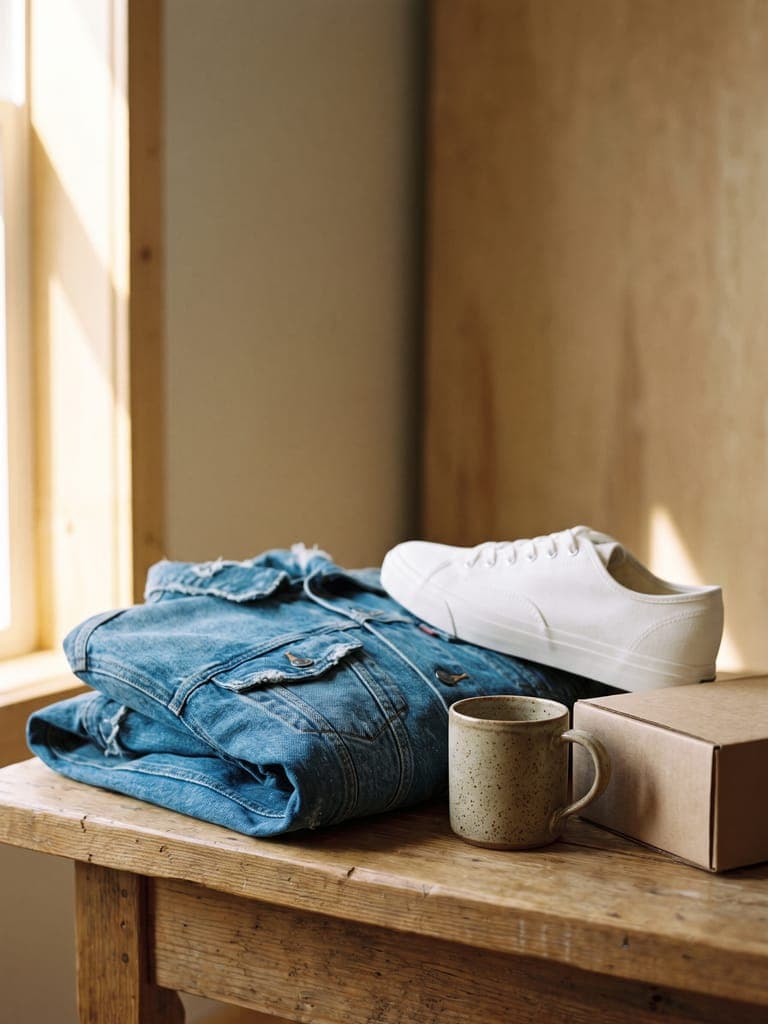
| Wood, tile or marble surface | Lifestyle and flat-lay shots | Pattern can compete with the product; use for secondary images |
| Black card or velvet | Glass, silver and pale products | Shows dust and lint; needs a white fill card in front |
| Colored paper | Social posts and brand shots | Colors bounce onto the product; keep a neutral card between them if the product is shiny |
Build a sweep
A sweep is a backdrop that curves from the wall down onto the table with no visible corner, so the background fades smoothly behind the product.
- Tape the top edge of the paper or board to the wall, a little above the height of the product.
- Let it curve down onto the table and out toward the camera. Do not fold it; a crease will show as a line.
- Tape it down at the front edge and off to the sides, outside the frame.
- Place the product on the flat part of the sweep, at least a hand's width in front of where it curves up.
- Light the product and the backdrop from the side with soft light. See lighting.
For items you can hold in a box, a DIY light box has a built-in sweep.
Keep the product off the wall
Distance is the cheapest fix there is. The farther the product is from the backdrop, the softer and fainter its shadow on the background, and the less color bounces onto it from the backdrop. If a shadow is part of the look you want, keep it close and make it deliberate.
Choose the backdrop for the product
- Dark product: a light backdrop gives edge contrast.
- Light or white product: use light gray or a pale color so the edge does not melt away.
- Reflective product: a neutral backdrop, away from the product, avoids picking up color. Black can add depth to glass and metal.
- Colorful product: keep the backdrop neutral so the product is the only loud color.
- Several products in one shop: pick one backdrop for the whole range. Consistency is worth more than a perfect match for each item.
Camera and exposure with a backdrop
Phones expose for the average of the scene, so a mostly light backdrop can turn gray and a mostly dark one can look washed out. Tap the product to focus, lock exposure, and nudge brightness until the backdrop looks the way you want while the product still has detail. Check the result on a bigger screen if you can.
When the backdrop is not perfect
A wrinkle, a patch of uneven light or a cluttered corner does not need a reshoot. Remove the background and swap in a clean one, then resize to your marketplace's size (a bulk resizer does a whole folder at once): Etsy, Amazon, Shopify or eBay. If you do not want to build a set at all, AI product photography places a product in a ready-made scene.
Backdrop mistakes to avoid
- A visible seam or horizon line. Curve the sweep instead of folding it.
- Wrinkled paper or fabric. Steam or iron fabric, and replace creased paper.
- Product too close to the backdrop. You get a hard shadow on it and color spill onto the product.
- Busy patterns on the cover image. Keep patterns for secondary shots.
- Backdrop darker than intended. If the phone exposes for the product and the backdrop gets less light, it turns gray. Light both.
- Colored backdrop spill. Strong colors reflect onto glossy products.
- Different backdrops across the main images of a shop. The catalog looks uneven.
Frequently asked questions
What backdrop is best for product photography?
A plain, light, matte surface is the most flexible: a sheet of poster board or seamless paper curved from the wall onto the table. Use a darker or colored backdrop only when the product needs contrast.
What can I use as a DIY product photography backdrop?
Poster board, a roll of paper, a foam board, a pressed linen or muslin sheet, a wooden board or a floor tile all work. Choose something matte and smooth, because glossy surfaces reflect your lights.
How big should a backdrop be?
Large enough to fill the frame behind and around the product with some to spare. A sheet of poster board suits small items, a paper roll suits larger ones, and a pinned fabric sheet suits big products.
Why do my photos show a line behind the product?
The backdrop is folded or the wall meets the table in frame. Tape the paper high on the wall and curve it down onto the table so there is no corner.
How far should the product be from the backdrop?
About a hand's width or more for small items. More distance means softer shadows and less color spill. Move it closer only if you want a visible shadow.
Do I need a backdrop if I can remove the background later?
Not a perfect one. A clean, plain surface still makes the cutout more accurate and the light more consistent, but you can remove the background afterwards and place the product on any color.