Product Photography at Home: A Step-by-Step Guide for Sellers

Table of Contents
You do not need a studio, a DSLR or a lighting kit to take product photos that sell. You need steady light, a clean background, a phone held still, and a short editing pass. This guide walks through the whole setup in the order you will actually do it, and links to a deeper guide for each step.
If you only have ten minutes: put the product on a table next to a window, turn off every lamp in the room, put a white sheet of paper or card behind and beside the product, hold the phone still, tap the product to focus, and shoot. Then remove the background or put it on pure white and export at the size your marketplace wants.
The home product photography setup
A workable setup has four parts. Each one maps to a guide in this series.
| Part | What it does | Guide |
|---|---|---|
| Light | Shows shape, texture and true color | Product photography lighting |
| Light box (optional) | Softens light and removes reflections on small items | DIY light box for product photography |
| Backdrop | Keeps the buyer's eye on the product and makes editing easy | Product photography backdrops |
| Category know-how | Jewelry and clothing each need their own tricks | Jewelry photography, Clothing and flat-lay photography |
Step 1: Pick a spot and set up the table
- Choose a table or desk next to the largest window in your home, ideally one that is not in direct sun while you shoot. If sun is pouring in, hang a thin white sheet or a sheet of parchment paper over the glass to soften it.
- Turn off overhead lights and lamps. Window light is cooler than most household bulbs, and mixing the two is the most common cause of products that look yellow or orange.
- Place the product about a hand's width from the backdrop so it does not cast a hard shadow onto it.
- Put a white card, a sheet of foam board or even a folded sheet of printer paper on the side opposite the window. It bounces light back into the shadow side so the product is not half in darkness.
Step 2: Set up the backdrop
A seamless sweep, where the surface curves up from the table into the wall behind with no visible line, is the classic look. A sheet of white poster board taped to the wall and curved down onto the table does the job. See the backdrop guide for materials and setup. For a pure white marketplace background, see white background for product photos.
Step 3: Get your phone settings right
- Clean the lens with a soft cloth. A smudge is one of the most common causes of hazy product photos.
- Turn the flash off. Flash flattens the product and creates hot spots on glossy surfaces.
- Turn on the grid so you can keep the product level and centered.
- Use the 2x or telephoto lens where your phone has one. Wide lenses stretch objects near the edge of the frame. Standing back and using a longer lens gives a more natural shape.
- Tap the product to focus. On iPhone, press and hold to lock focus and exposure. Most Android camera apps offer a similar tap-and-hold lock. Then slide the exposure control until a white background looks white rather than gray.
- Shoot at the highest quality your phone offers, and avoid digital zoom. Crop later instead.
- Keep the phone still. Lean it against a stack of books, use a cheap phone tripod, or set the 3-second timer so tapping the shutter does not move it.
Step 4: Shoot a shot list, not one photo
Marketplaces give you several image slots, and buyers use them to decide. Aim for:
- A clean front shot on a plain background, the one that becomes your main or cover image.
- A back and a side view.
- A close-up of the detail buyers will ask about: stitching, texture, engraving, a clasp, the label.
- A scale shot with a hand or a familiar object so size is obvious.
- One lifestyle shot showing the product in use.
Keep the product's angle, distance and crop the same across a set. A consistent set looks like a shop. See lighting for how to keep the light the same across a whole session.
Step 5: Edit and export
Good editing is mostly restraint.
- Straighten and crop so the product is centered with even margins. Most marketplaces prefer the product to fill most of the frame.
- Brighten slightly until a white background reads as clean white, without losing detail in the product's own highlights.
- Remove the background if the shot was taken on a cluttered surface. Instasize's background remover cuts the product out and the white background tool places it on pure white. If you want a soft ground shadow back, see product photo shadow.
- Resize and compress to the marketplace's spec, then export as JPEG. Check the size guide for your platform: Etsy, Amazon, Shopify, eBay.
If you have a lot of products, use the batch editor so every photo gets the same cutout, canvas and size, or the bulk image resizer if all you need is one size across a folder.
Marketplace image requirements
Each marketplace has its own size and background rules, and they change. Check the current numbers in the size guide for your platform before you export: Etsy, Amazon, Shopify and eBay. For Amazon's main-image rules, see Amazon product photos.
Before and after: what the edit does
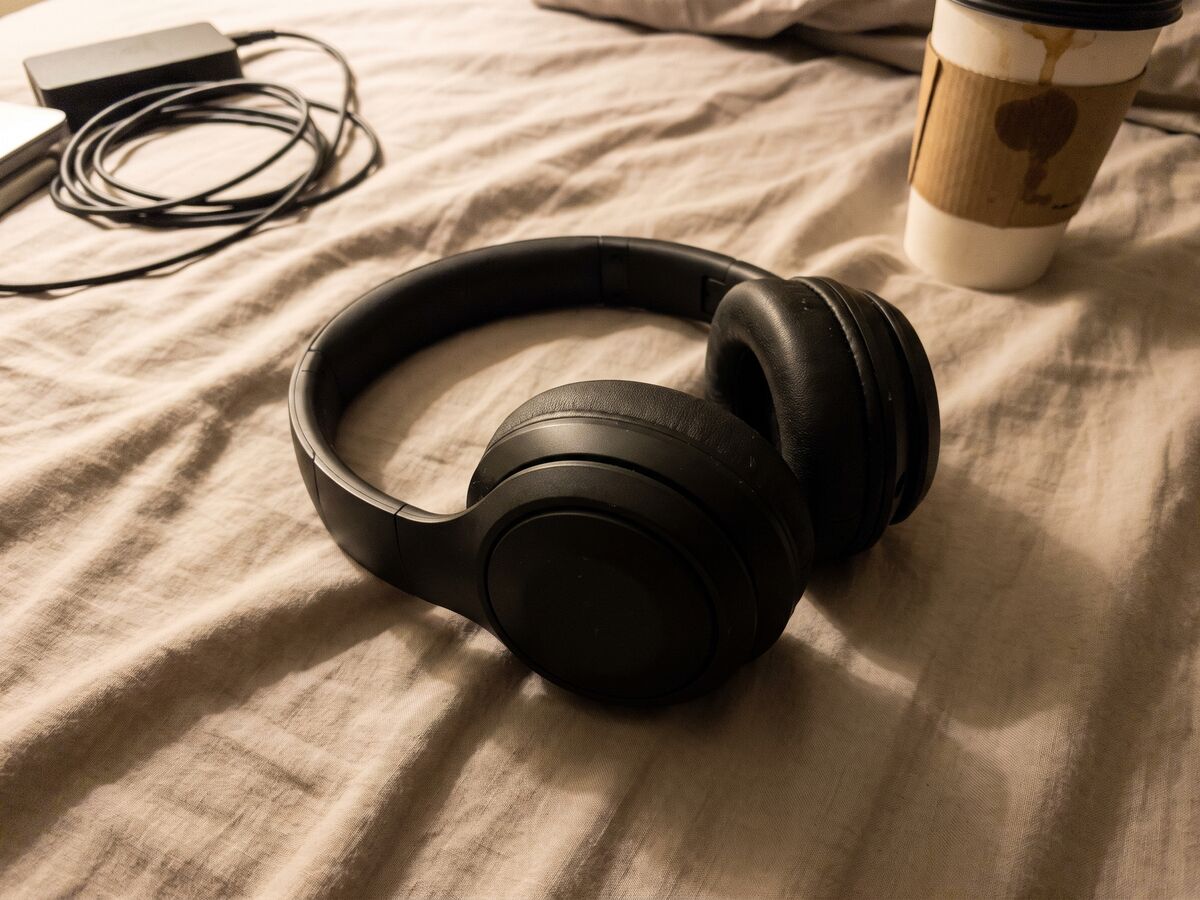
The first photo below was shot on an ordinary surface with a phone. The second is the same photo after a cutout and white background, with no reshoot.

Common product photography mistakes
- Mixed light. A window plus a warm lamp gives two color temperatures in one shot. Use one light source.
- Direct sun. Hard sun gives harsh shadows and blown highlights. Diffuse it or move away from it.
- Phone flash. It flattens detail and makes plastic, metal and glass glare.
- Shooting too close with a wide lens. The product looks distorted. Step back, use 2x, crop in editing.
- Cluttered edges. Anything in the frame competes with the product, and it makes a clean cutout harder.
- A different look for every photo. Different distance, angle and brightness across a listing makes a shop look inconsistent.
- Over-editing. Heavy filters change the product's color, which leads to returns and bad reviews.
- Uploading raw phone files. They are often large. Resize and compress to the marketplace spec.
Want to skip the shoot?
If you do not have a good spot to shoot, AI product photography places your product in a clean studio or lifestyle scene from a single phone photo. You still start with a sharp, well-lit photo of the product, so the steps above still apply.
Frequently asked questions
How do I take product photos at home with my phone?
Shoot next to a window with the room lights off, put a white card or sheet behind and beside the product, turn the flash off, hold the phone still with a tripod or stack of books, tap the product to focus, and take front, side, detail and scale shots. Then crop, brighten slightly and export at your marketplace's size.
What is the best lighting for product photography at home?
Soft window light with no direct sun is the best free option. Place the product beside the window, add a white card on the opposite side to fill in shadows, and turn off lamps so the color stays consistent. See the lighting guide for artificial-light options.
Do I need a light box?
No, but one helps with small, shiny items like jewelry, because it surrounds the product with soft light and reduces reflections. A cardboard DIY light box takes about half an hour to build.
What background should I use for product photos?
White or very light gray is the safest default and is what Amazon asks for on its main image. Use it for your first image, then add colored or lifestyle backgrounds for the other slots. See the backdrop guide.
How much does product photography cost?
Studio pricing varies widely by location and is usually charged per image or per product, with extra for styling and editing. Doing it yourself costs close to nothing if you already own a phone: the materials in this guide are a window, paper or foam board, and optionally a tripod. Start with your hero products and decide later whether hiring a photographer is worth it for the rest.
What size should product photos be?
It depends on the marketplace, so export from the matching size guide rather than guessing. Shoot at your phone's full resolution and crop afterwards so you have pixels to spare.