Ghost Mannequin Photography: How to Shoot and Edit the Invisible Mannequin Look
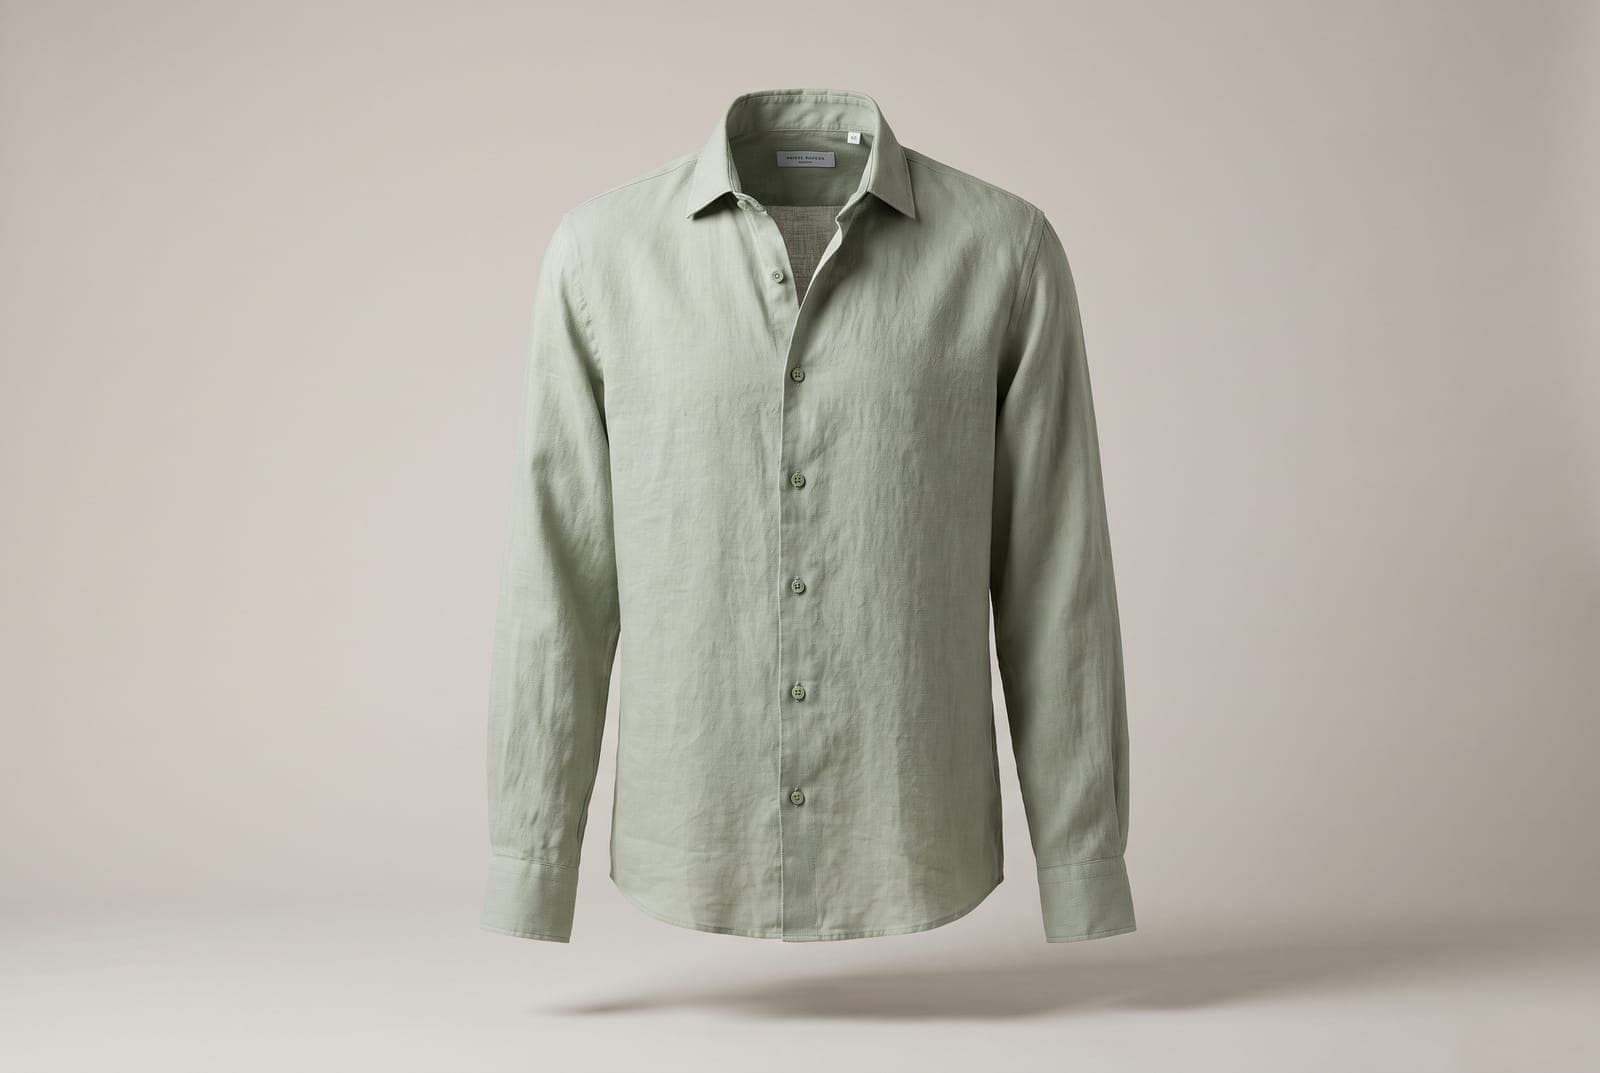
Table of Contents
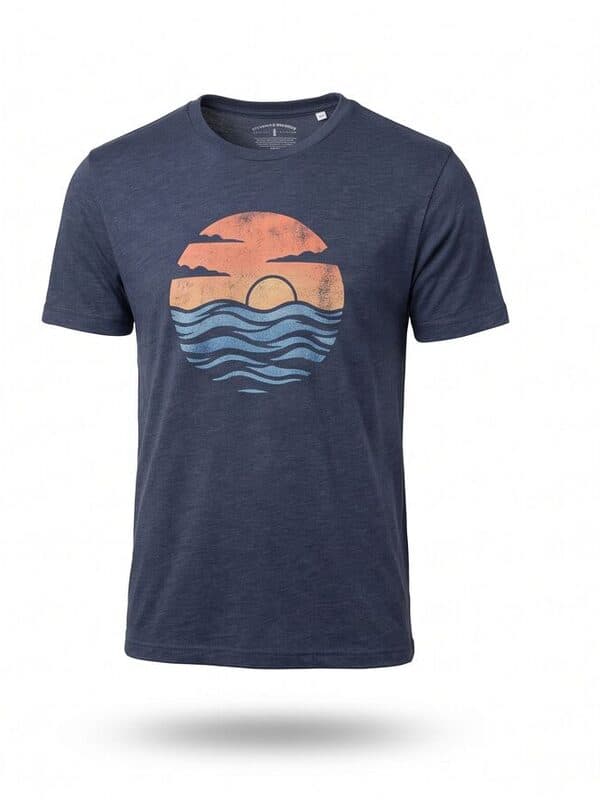
Ghost mannequin photography is the clothing photo where a shirt, jacket or dress holds its shape with nobody inside it. No stand, no neck post, no body. You see the real cut and drape of the garment, and the inside of the collar, which is what makes it look like the garment is worn by an invisible person rather than a flat shape.
It is not magic. It is two or three photos of the same garment merged in editing. This guide covers what you need, how to shoot each frame, how to merge them by hand, and the one-photo shortcut.
Make a ghost mannequin photo, free in your browser
Try it freeWhen ghost mannequin is the right choice
Flat lays and hanger shots are fine for most resale. Ghost mannequin earns its extra effort when fit and structure sell the piece:
- Blazers, jackets, button-ups and structured dresses that look limp when laid flat.
- A shop where every cover photo should look the same, so the grid reads as a brand.
- Items you plan to list on several marketplaces, where one clean white-background photo travels everywhere.
If you sell tees, sweaters and jeans, a flat lay is quicker and just as clear. For secondhand sites with a casual look, see the Depop photo guide.
What you need
- A mannequin or dress form. A white or light grey torso is easiest. A removable neck and arm pieces make the neck shot simple, but you can also use a basic dress form and lift the collar away.
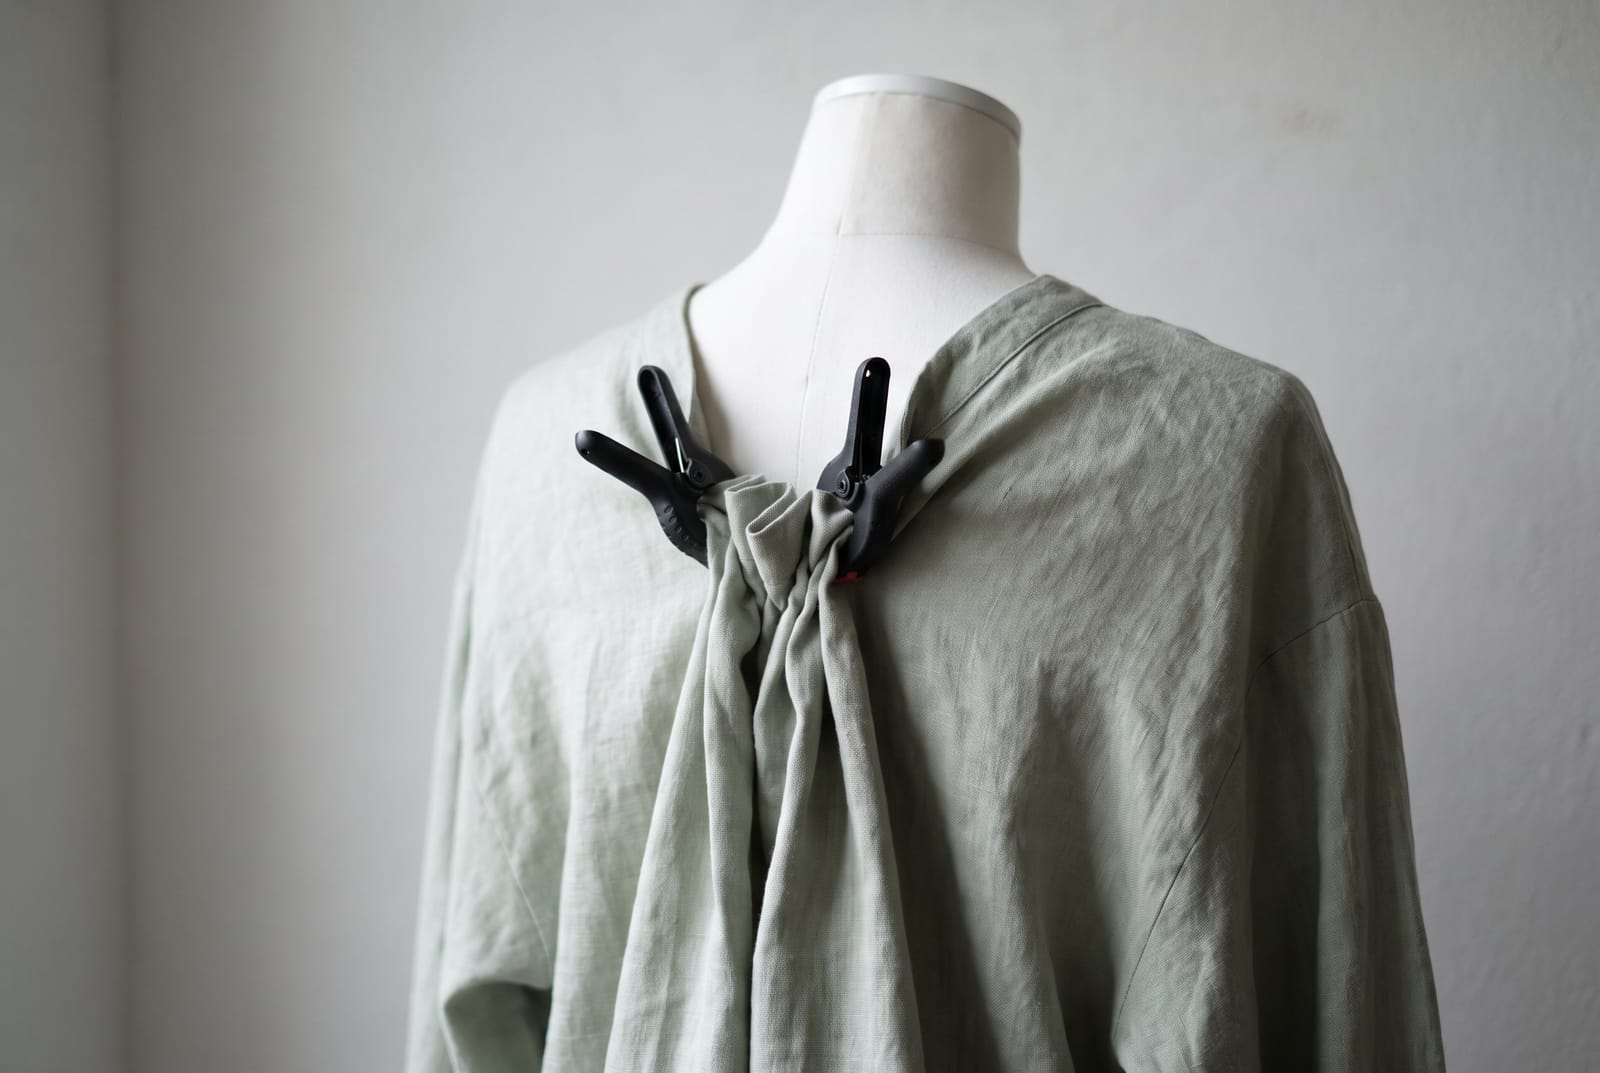
- Clamps or clips and a few pins. Binder clips or spring clamps pull the fabric snug at the back so the front hangs smooth. Tape and tissue paper help fill shoulders and sleeves.
- A steamer or iron. Wrinkles are the first thing buyers see and the hardest to retouch.
- A phone and something to hold it still. A tripod is best. A stack of books works if the phone cannot move.
- Soft, even light. A window with no direct sun, with a white sheet or foam board on the shadow side. The product photography lighting guide covers it in detail.
- A plain backdrop. A white or light wall or a roll of paper. A clean backdrop makes the cutout easier, and it is what marketplaces want. See backdrops.
Step 1: Prep the garment
- Steam or iron the garment fully, including the collar and cuffs.
- Remove tags, pins and lint. Button or zip it the way it would be worn.
- Put it on the mannequin and smooth the shoulders. Pull the fabric at the back with clamps so the front has no slack and sits flat against the form. The clamps will be hidden from the front camera.
- Pad the sleeves and chest lightly with tissue or a rolled towel if they collapse. Keep padding inside the garment and out of the neckline.
Step 2: Set up the camera once and do not move it
Everything depends on the frames lining up. Put the phone on a tripod at chest height, square to the garment, a few feet back. Use the 2x or 3x lens instead of the wide lens up close, which bends the edges of the garment. Turn on the grid and make sure the horizon lines are level.
Lock focus and exposure by tapping the garment and holding. If your phone allows it, lock white balance, or at least avoid auto changes between shots by keeping the light constant. Turn off flash.
Mark the mannequin's base position with tape so you can put it back if it gets knocked.
Step 3: Shoot the frames
You need these frames, in this order, without moving the camera:
- Front on the mannequin. The whole garment in frame with room around it. This is the main shot.
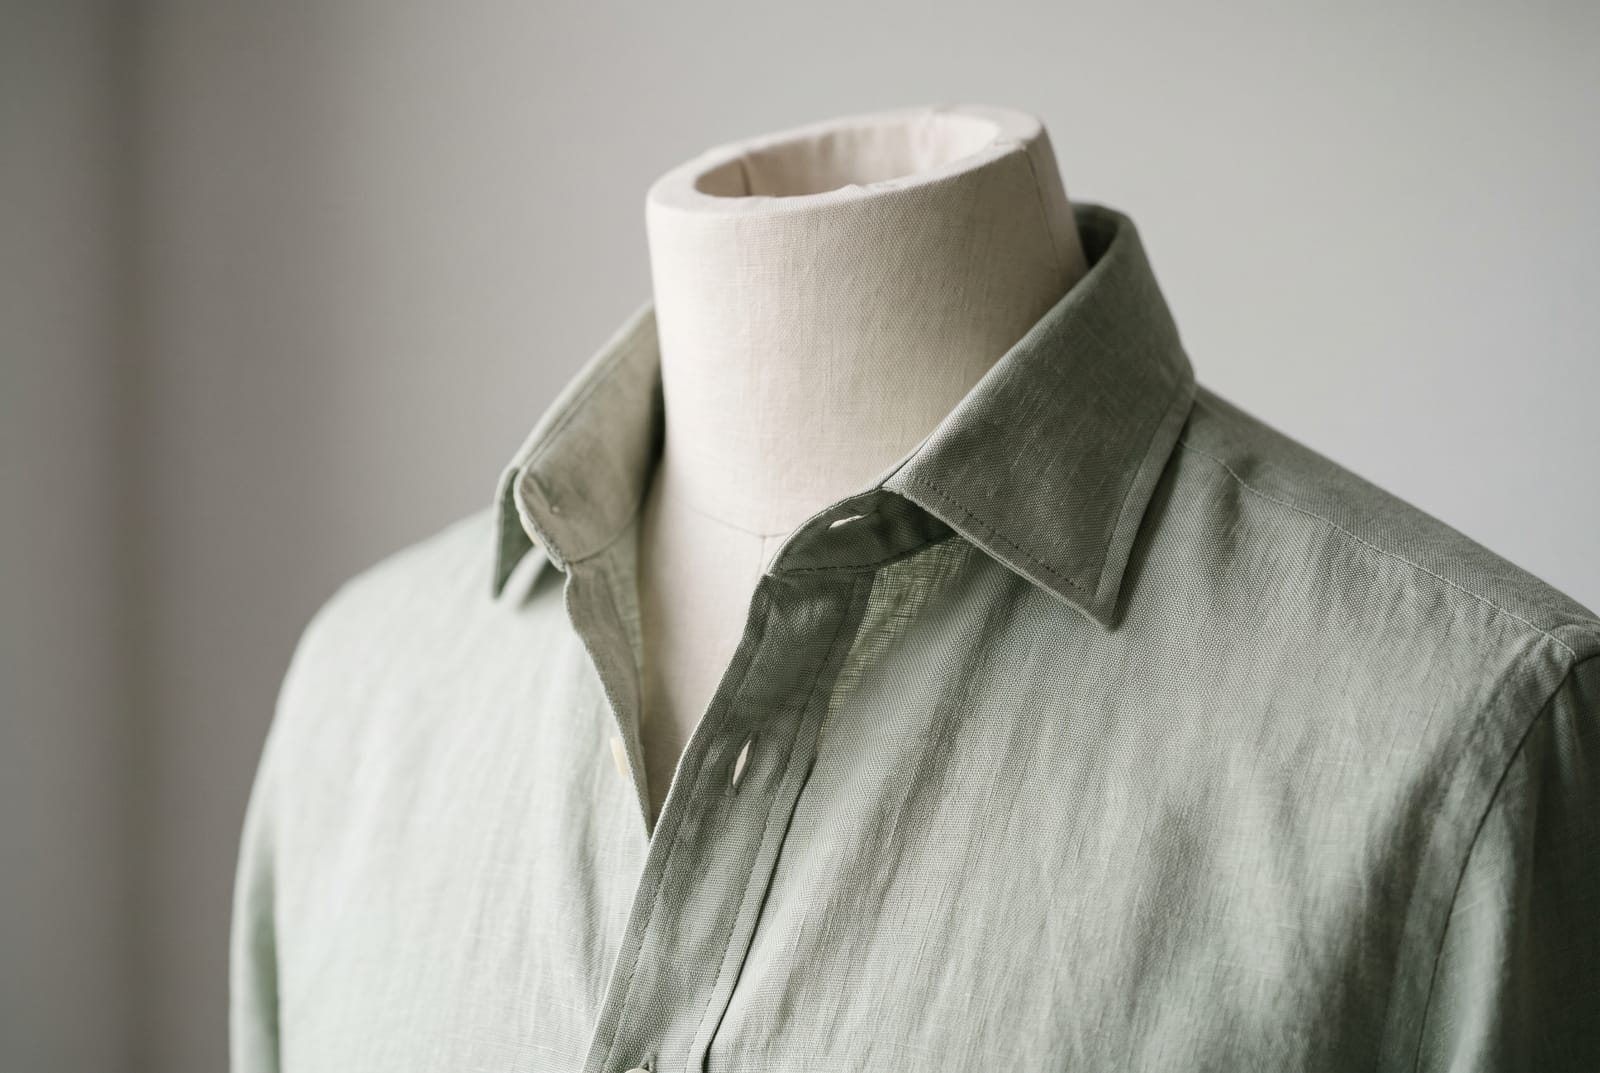
- Neck shot, mannequin neck removed. Lift the garment slightly, take the neck post out, and let the collar stand open as it would on a body. Shoot the same framing. This frame gives you the inside back of the collar and the label area.
- Optional extra frames. For jackets, an open-front shot shows the inside lining. For pants or skirts, a waistband shot shows the inside back of the waist. For long sleeves, a cuff shot with the sleeve opened can help.
Take a second set of each with slightly different padding. You will pick the cleanest frame in editing.
Step 4: Merge the frames
In any editor that supports layers, the method is the same:
- Put the neck shot at the bottom and the front shot above it.
- Cut the garment out of the front shot, removing the mannequin from the neck opening, the armholes and below the hem. Use a layer mask rather than erasing so you can fix mistakes.
- In the neck opening, let the bottom layer show through so you see the inside back of the collar instead of the mannequin's neck.
- Match brightness and color between the two layers. The inside of the collar should be slightly darker than the front, since it is in shadow, but not a different color.
- Retouch the shoulder line and hem so they look natural. A ghost mannequin garment should have a believable thickness. Do not over-smooth it flat.
- Put it on a white background. Add a soft contact shadow if you want it to feel grounded, or none for a pure cutout.
This is 15 to 30 minutes per garment by hand once you have done it a few times. For a rack of items that adds up, which is why most shops either batch it or use a tool.
The one-photo shortcut
If you do not want to shoot a neck frame and merge layers, the Instasize ghost mannequin generator builds the look from a single front-facing photo of the garment on a mannequin or person. It removes the form, fills in the hollow neck and gives you the garment on white in two variations. You can show or hide the inside of the neck and keep or remove the soft shadow.
Check two things before you list the result: the inside of the neckline, and the hem and cuffs, since those are the areas a single photo cannot fully show. Prints, patches and stripes come from your photo, and colors should match the garment you shot. If the garment's color or details look different from the real item, do not use it, since a misleading photo leads to returns.
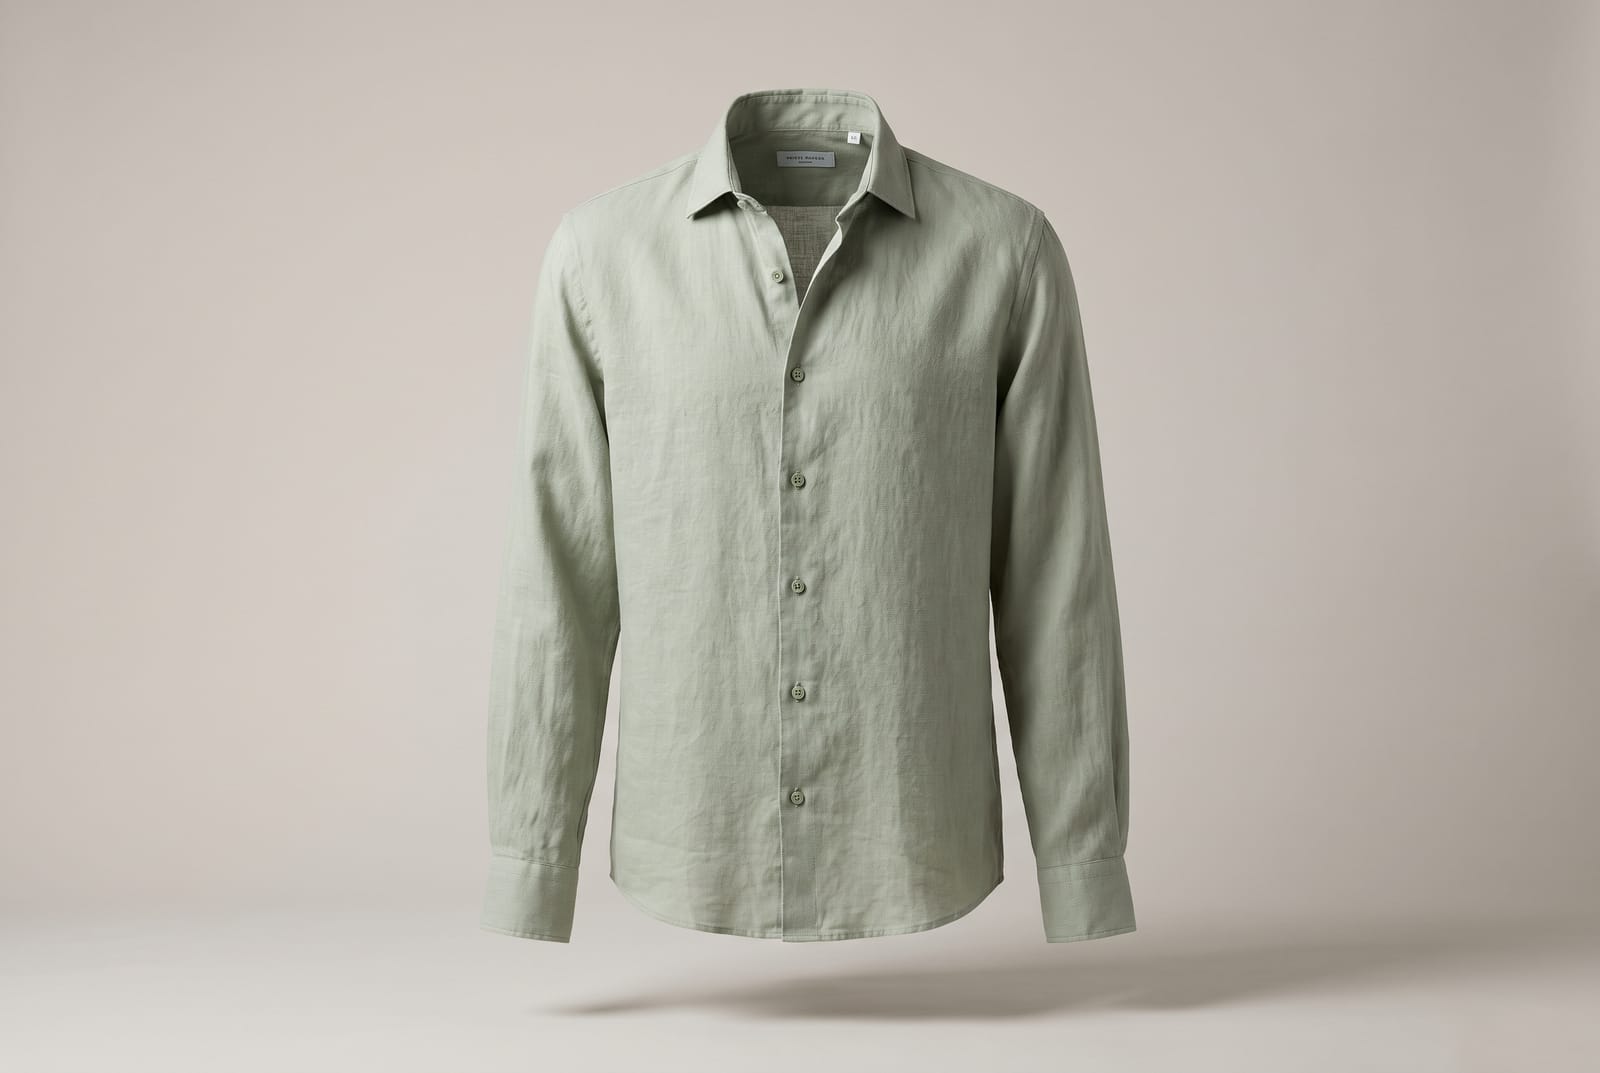
For the shoot itself, a shot from the front with the whole garment in frame and even light gives the cleanest result in either method. Our batch editor can then apply the same canvas and size to every garment in a collection.
Fix common ghost mannequin problems
| Problem | Cause | Fix |
|---|---|---|
| Collar looks flat or sewn shut | No neck shot, or the neck shot is a different angle | Reshoot the neck frame with the camera untouched |
| Shoulders look lumpy | Padding bunched in the sleeves | Re-pad with a flat layer and steam again |
| Colors differ between layers | Light changed between shots | Shoot both frames in one session, with the same window light |
| Visible mannequin edge or clamp | Rough mask | Zoom in at 200% and refine the mask edge |
| The garment looks too perfect | Over-retouching | Keep a little natural fabric fall at the hem and cuffs |
| Garment looks tilted | Camera not square | Level the phone with the grid before the first shot |
Sizes and exporting
Marketplaces have their own rules. Amazon's main image should sit on pure white. Etsy, eBay and Poshmark each state their own size and shape for listing photos. Check your platform's size guide: Etsy, eBay, Poshmark and Amazon. Export as JPEG for a white background, or PNG if you want to keep a transparent cutout for later use.
Frequently asked questions
What is ghost mannequin photography?
It is a clothing photo that shows a garment filled out as if someone were wearing it, with no mannequin or body in view. It is usually built from two or three shots of the same garment merged in editing, so the inside of the collar shows.
Do I need two photos for a ghost mannequin shot?
The classic method uses at least two: the garment on the mannequin, and the garment with the mannequin's neck removed to capture the inside back of the collar. You then merge them. An AI tool can recreate the look from a single photo, but you should check the neckline it fills in.
What mannequin is best for ghost mannequin photography?
A neutral white or light grey torso form with a removable neck and arms is easiest, because you can take the neck shot without moving the garment. A plain dress form works for tops if you can lift the collar away from the neck post.
Can I do ghost mannequin photography with a phone?
Yes. What matters is that the phone does not move between shots. Use a tripod or a stack of books, lock focus and exposure, and use the 2x or 3x lens from a few feet back instead of the wide lens up close.
Is a ghost mannequin photo better than a flat lay?
It shows fit and drape that a flat lay cannot, which helps on fitted or structured pieces. Flat lays are faster, cheaper and consistent, and work well for tees, sweaters and jeans. Many shops use ghost mannequin for the cover photo and flat lay or detail shots for the rest.
How do you remove the mannequin from a clothing photo?
Cut the garment out from the mannequin, then place a second photo of the inside back of the collar behind the front shot so the neck opening looks hollow. Retouch the shoulder line and hem edges. A ghost mannequin tool does these steps automatically.