How to Remove a White Background in Photoshop (4 Methods, Including White-on-White Products)
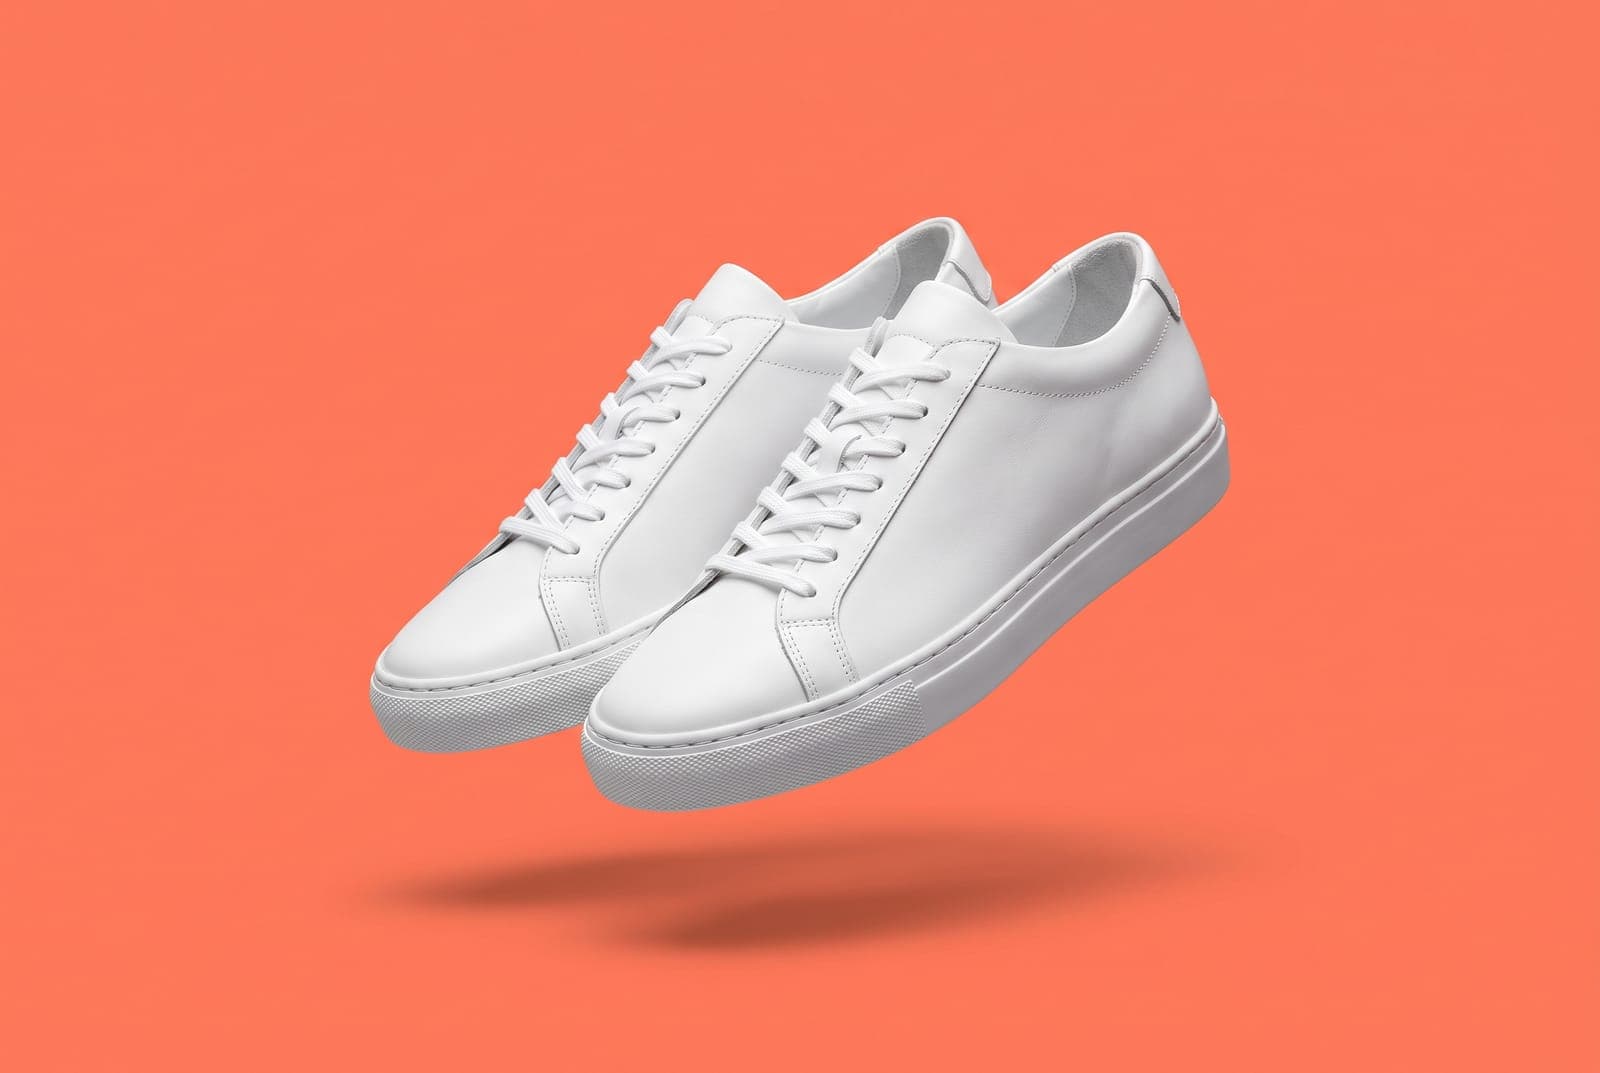
Table of Contents
Removing a white background in Photoshop takes about a minute if the subject has nothing white in it, and much longer if it does. A black logo on white is a one-click job. A white sneaker on a white floor is not, because "remove everything white" removes the shoe too.
This guide covers four methods, which to use for which image, how to fix the usual halo around the edge, and how to export a transparent file. For the full picture of removing white from any image, including free browser methods, see how to remove a white background from an image. For logos specifically, there is a logo guide, and for vector artwork the Illustrator version.
Menu names below are from current Photoshop releases. Adobe changes the interface from time to time, so see Adobe's Photoshop user guide if an item has moved.
Remove the background without Photoshop, free in your browser
Try it freePick the method first
| Your image | Best method |
|---|---|
| Photo of a person, pet or product | Remove Background or Select Subject |
| White product, white shirt, white label | Select Subject, then fix the edge by hand |
| Logo, icon or line art on flat white | Magic Wand or Color Range |
| Signature or scanned drawing | Color Range, or Magic Wand with a low tolerance |
| Soft shadow you want to keep | Select Subject, plus a separate shadow layer |
Method 1: Remove Background (fastest)
- Open the image in Photoshop.
- Open Window > Properties if the panel is not showing.
- In Quick Actions, click Remove Background.
- Photoshop selects the subject and adds a layer mask that hides everything else.
- Zoom in to 200 percent and check hair, glass, thin straps and edges.
This works on a photo with a clear subject, including products. Because it uses subject detection and not color, white parts of the subject are kept, though thin or low-contrast edges may need touch-up in step 6 below.
Method 2: Select Subject, then a layer mask
This gives you more control than the quick action.
- Choose Select > Subject.
- If the selection is off, switch to the Object Selection tool and drag a box around the subject.
- Click Select and Mask in the options bar.
- Use the Refine Edge Brush on hair and fine edges, and set the output to a layer mask.
- Click OK.
If you want a soft natural edge, leave a feather of under a pixel. Heavy feathering makes a cutout look glued on.
Method 3: Magic Wand (logos and flat artwork)
- Double-click the Background layer to turn it into a normal layer.
- Pick the Magic Wand.
- Set Tolerance low, for example 10 to 30, and turn Contiguous on.
- Click the white area and press Delete.
Contiguous on means it selects only the white that touches the point you clicked. For white that is trapped inside shapes, like the hole in a letter, click that area too. Turn Contiguous off if you want every similar pixel in the image removed at once, which is only safe when nothing white belongs to the subject.
This is the right method for logos, icons and line art, and the wrong one for photos.
Method 4: Color Range
- Choose Select > Color Range.
- Click white with the eyedropper in the preview.
- Adjust Fuzziness until the white is selected and the subject is not. Lower Fuzziness is stricter.
- Click OK, then press Delete (or add a layer mask over the inverted selection to keep it reversible).
Color Range gives smoother edges than the Magic Wand on soft shadows and gradients, but it still works on color alone, so it cannot tell white background from white subject.
The white-on-white problem
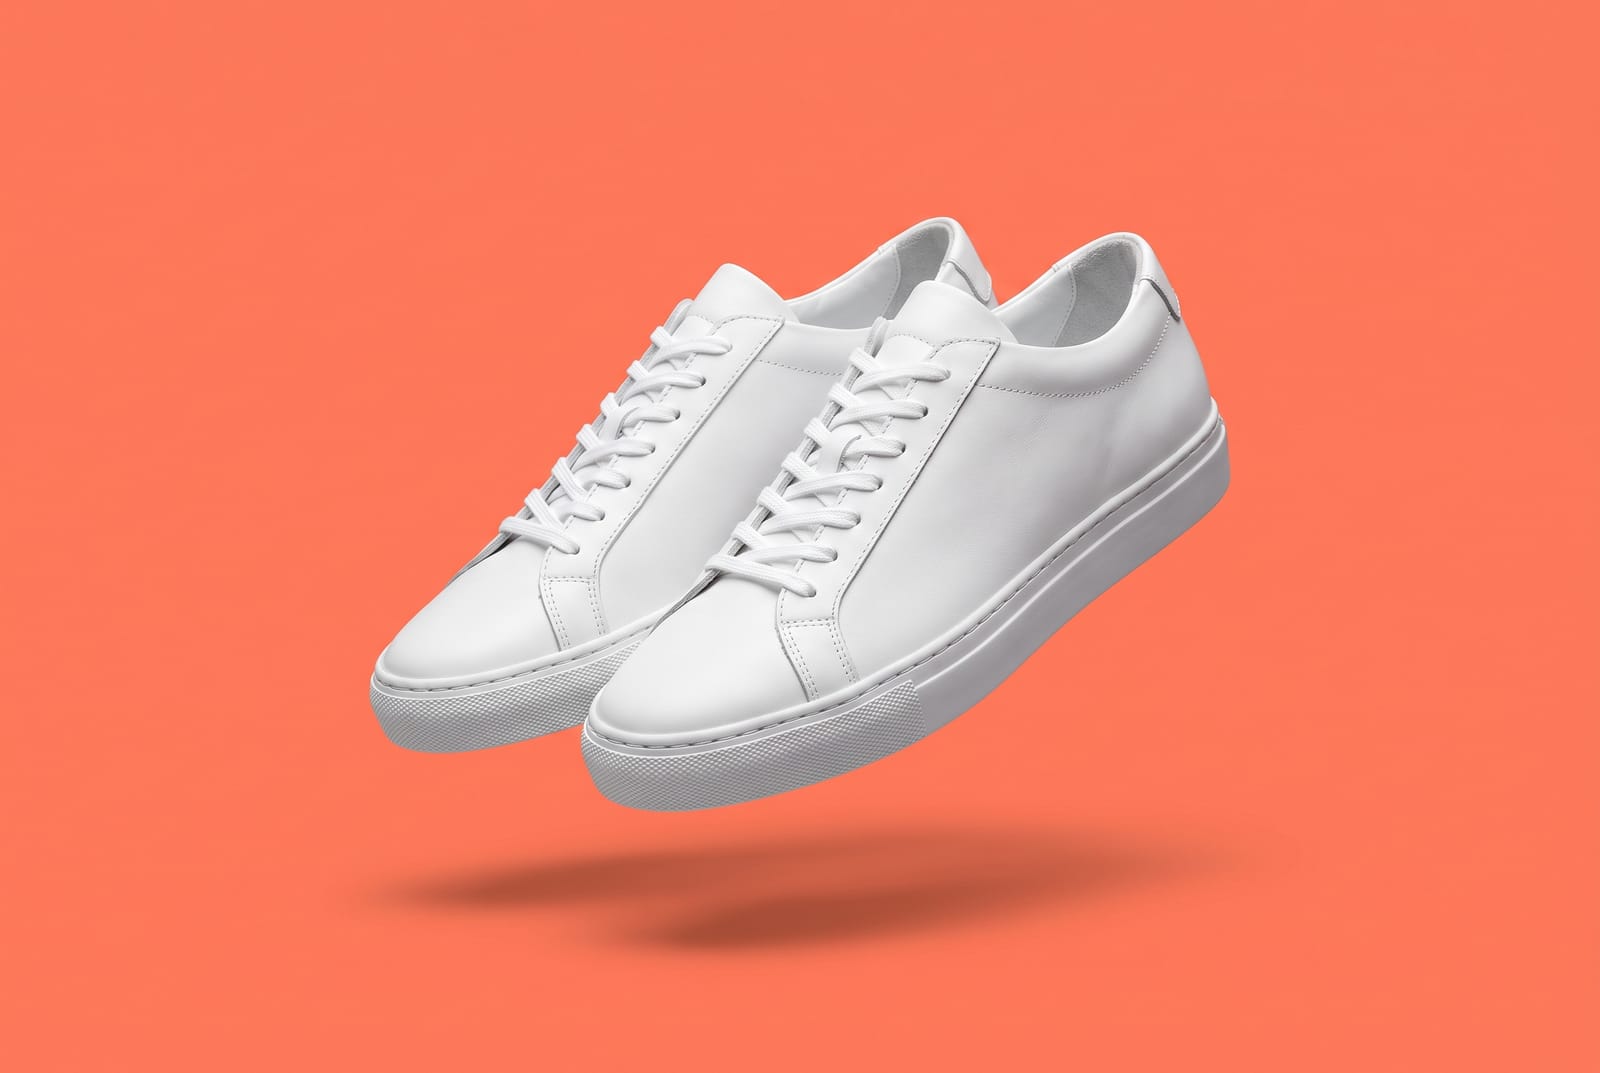
Any white product, such as a white sneaker, mug, shirt or box, on a white background defeats color-based methods. Both of these look like the same thing to the Magic Wand and to Color Range.
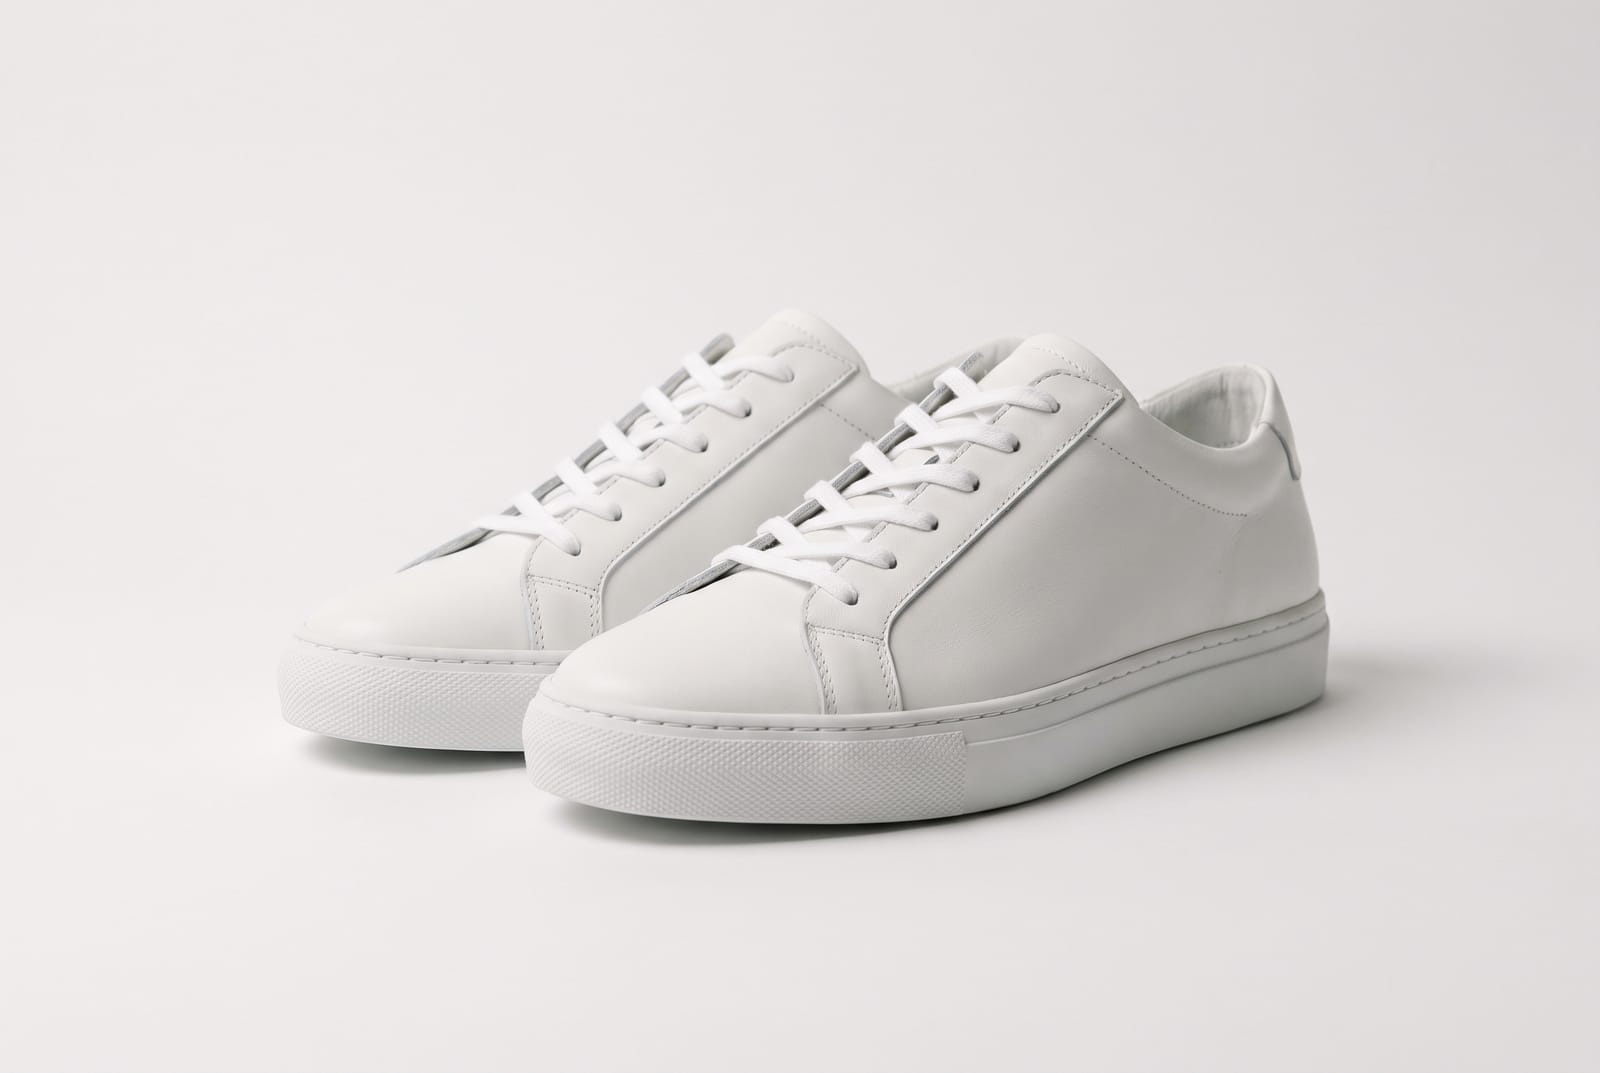
Use the subject-based methods (1 and 2). Then fix the places where the shoe's edge is the same brightness as the backdrop:
- Add a layer mask to the cutout.
- With the mask selected, paint with a small soft black brush to hide leftover background, and white to bring back parts of the product that were cut.
- Put a dark or colored layer under the cutout so you can see what you are doing.
- Zoom to 200 percent along the soles and laces.
If you can reshoot, a slightly darker background or a bit more light on the product separates the edge. See the backdrop guide and the lighting guide.
Fix the white halo
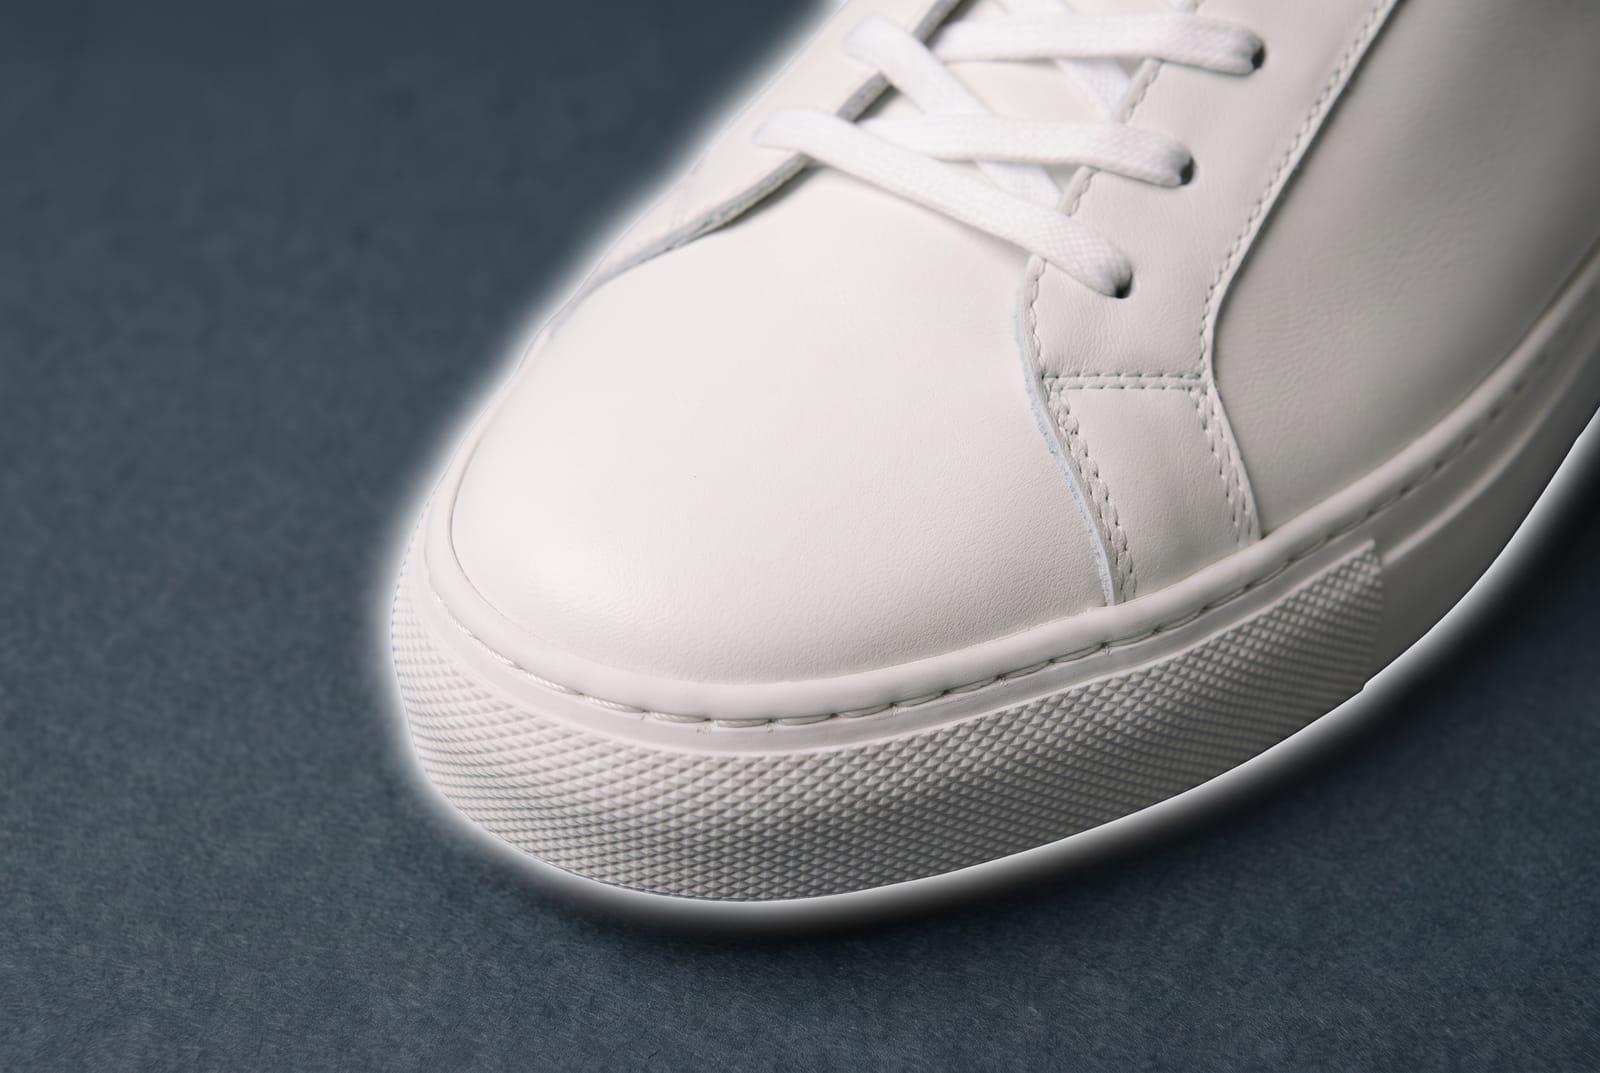
A halo is a thin light outline left around the cutout. It comes from edge pixels that were blended with the white background. Place the cutout on a dark background and it shows.
Ways to remove it:
- Contract the selection. Before you mask, choose Select > Modify > Contract by 1 to 2 pixels, then Select > Modify > Feather by 0.5 to 1 pixel.
- Remove White Matte. With the cutout layer selected, choose Layer > Matting > Remove White Matte. Defringe does a similar job.
- Paint the mask edge. Use a small black brush at low hardness along the fringe.
- Start from a bigger file. A high-resolution source has a thinner halo.
Always check the cutout on a dark background and on a mid-grey one before you export.
Keep or rebuild the shadow
A soft contact shadow stops a product from looking like it floats. The cutout methods above remove the original shadow, since it is part of the "background".
To add a new one: make a new layer under the product, paint a soft dark ellipse with a low-opacity brush where the product meets the ground, set the layer to Multiply, and lower the opacity until it is subtle. Our product photo shadow guide shows the common styles.
Export a transparent PNG
- Hide any solid background layer so the checkerboard shows.
- Choose File > Export > Export As.
- Set the format to PNG and turn Transparency on.
- Export.
Do not save as JPG, which cannot store transparency and puts white back. If the destination wants a white background, such as an Amazon main image, put a white layer under the cutout and export a JPG. See the white background guide for marketplace needs.
Do many photos at once
For a catalog, record your steps in the Actions panel and run File > Automate > Batch on a folder. It works best when your photos are shot the same way, with the same framing. For products shot on different backgrounds, subject-based removal in a browser tool is often faster to set up. The batch editor cuts out and resizes a whole folder in one go.
Skip Photoshop
If you do not have Photoshop, or you just need one clean cutout, the Instasize background remover removes the white background in your browser and exports a transparent PNG. It uses subject detection, so white parts of the subject are kept. Background removal is an AI feature and is part of the paid plans, and Pro starts with a free trial. The transparent PNG maker goes straight to that output, and the white background maker does the reverse.
Whichever tool you use, a clean source helps. Start with a sharp photo from the product photography at home guide, and keep the original file, since a transparent PNG cannot be turned back into the source photo.
Frequently asked questions
What is the fastest way to remove a white background in Photoshop?
Open the image, go to Window > Properties and click Remove Background in Quick Actions. Photoshop finds the subject and adds a layer mask. Check the edges, then export as PNG to keep the transparency.
How do I remove a white background in Photoshop with the Magic Wand?
Double-click the Background layer to unlock it, pick the Magic Wand, set a low Tolerance, turn Contiguous on so it only selects white connected to the edge, click the white area, and press Delete. Use it on logos and flat artwork, not on photos with white inside the subject.
How do I remove the white halo around a cutout in Photoshop?
Contract the selection by a pixel or two and feather it slightly before masking. After the cutout, try Layer > Matting > Remove White Matte or Defringe. Check the result on a dark background so the fringe is visible.
How do I remove a white background from a white product?
Do not use the Magic Wand, since it will delete the white parts of the product too. Use Select Subject or the Remove Background quick action, then fix the edge by hand with a layer mask and a soft brush.
How do I save a Photoshop image with a transparent background?
Export it as PNG with transparency on. JPG cannot store transparency and fills empty areas with white.
Can I remove a white background without Photoshop?
Yes. An AI background remover cuts out the subject in your browser and exports a transparent PNG. It handles white-on-white subjects that color-based tools struggle with.