How to Remove a Shadow From a Photo (Faces, Products, Documents)
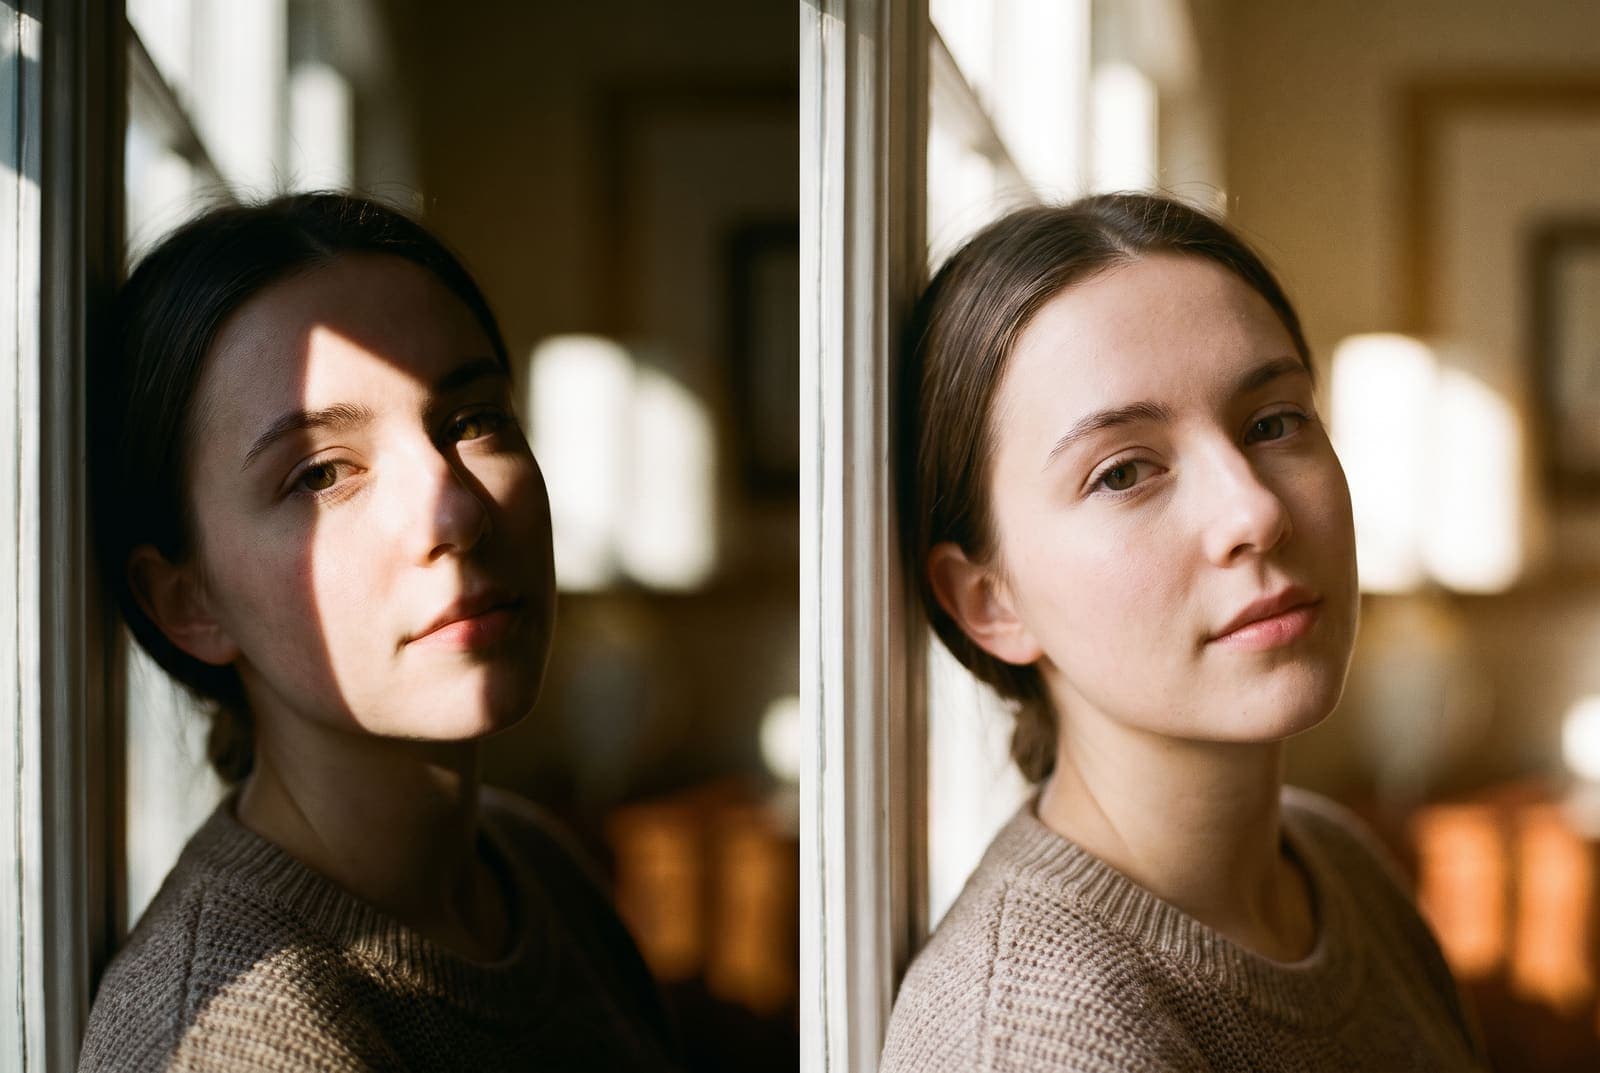
Table of Contents
Shadows are the number one reason a good moment ends up in a mediocre photo. A hat brim across your eyes, your own silhouette on the table, a harsh stripe from a tree branch. Removing them depends on what kind of shadow you have, because the right fix for a face is the wrong fix for a table.
This guide sorts shadows into types, shows which tool to use for each, and ends with the shooting habits that stop most of them before they start.
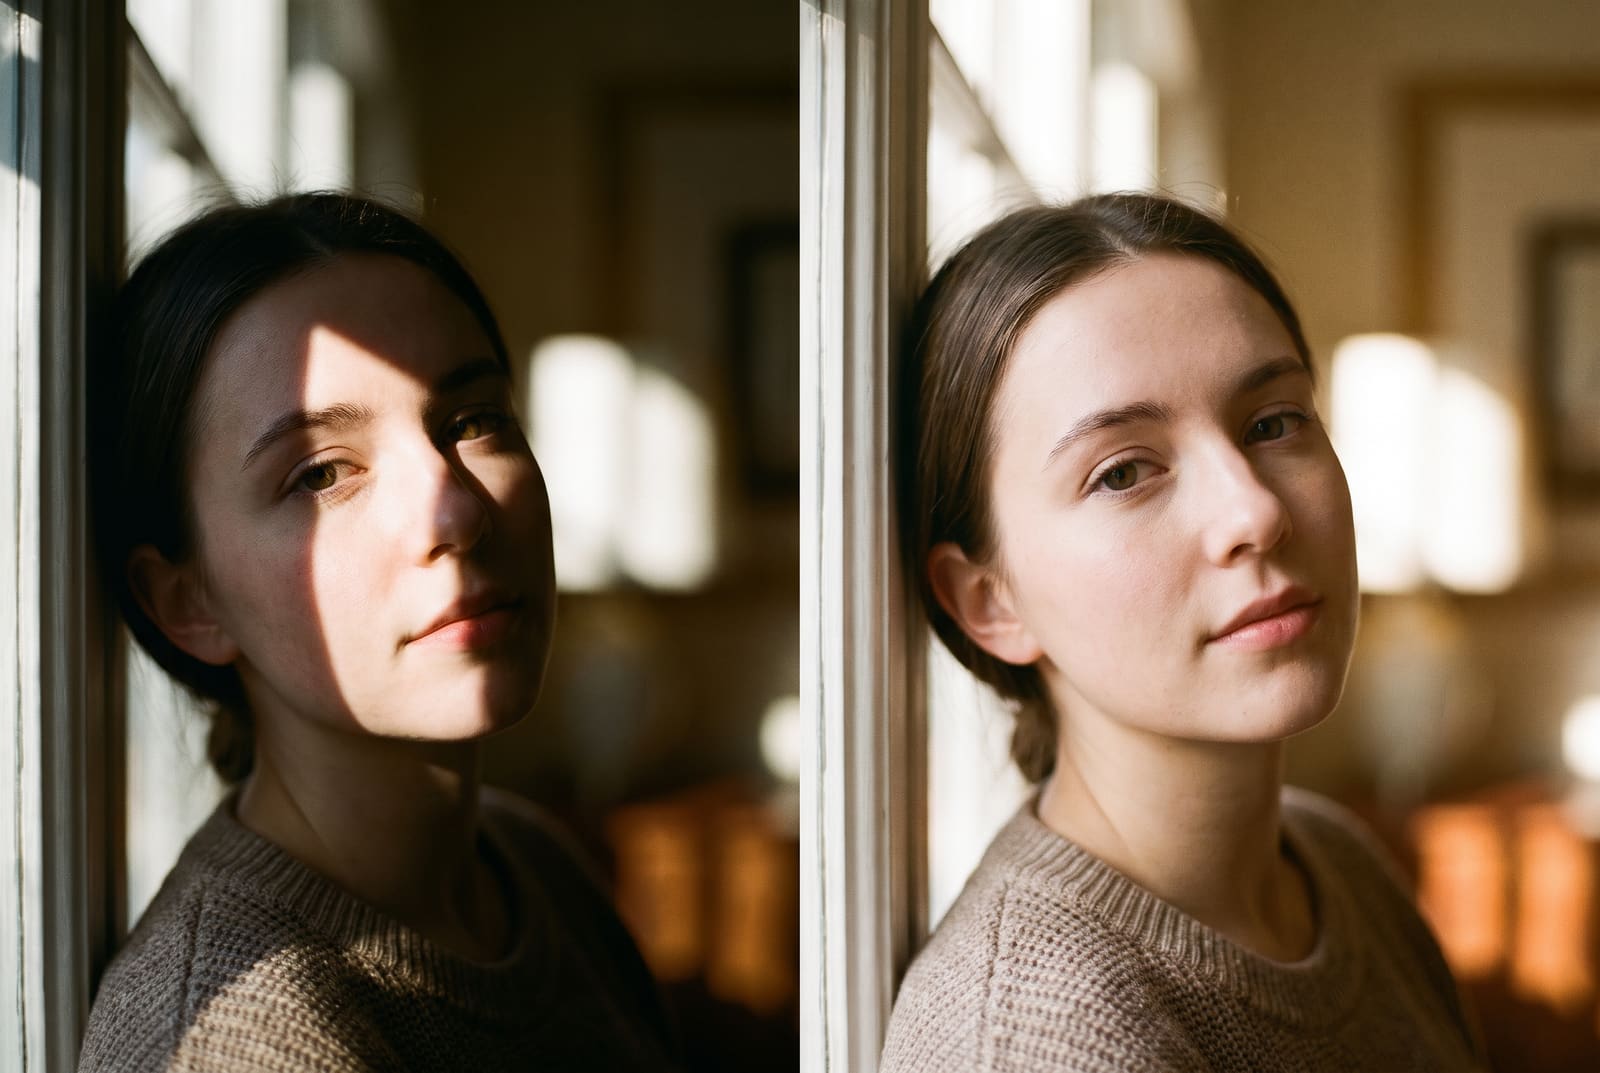
Remove a shadow from your photo, free in your browser
Try it freeFirst, what kind of shadow is it?
| Type | Example | Best fix |
|---|---|---|
| Cast shadow on a surface | Your shadow on a tabletop, a branch stripe on a step | Erase with an AI object remover |
| Soft shadow on a subject | Face shadowed by a hat or window frame | Lift shadows and brightness |
| Uneven light across a flat item | Document or artwork with a dark corner | Brightness and contrast, then retake if possible |
| Deep, hard shadow with detail lost | A face in near-black | Use the original or reshoot, details cannot be invented honestly |
An eraser rebuilds what is under a shadow. That works on plain surfaces. It is risky on faces and text, because the AI will make up skin or letters.
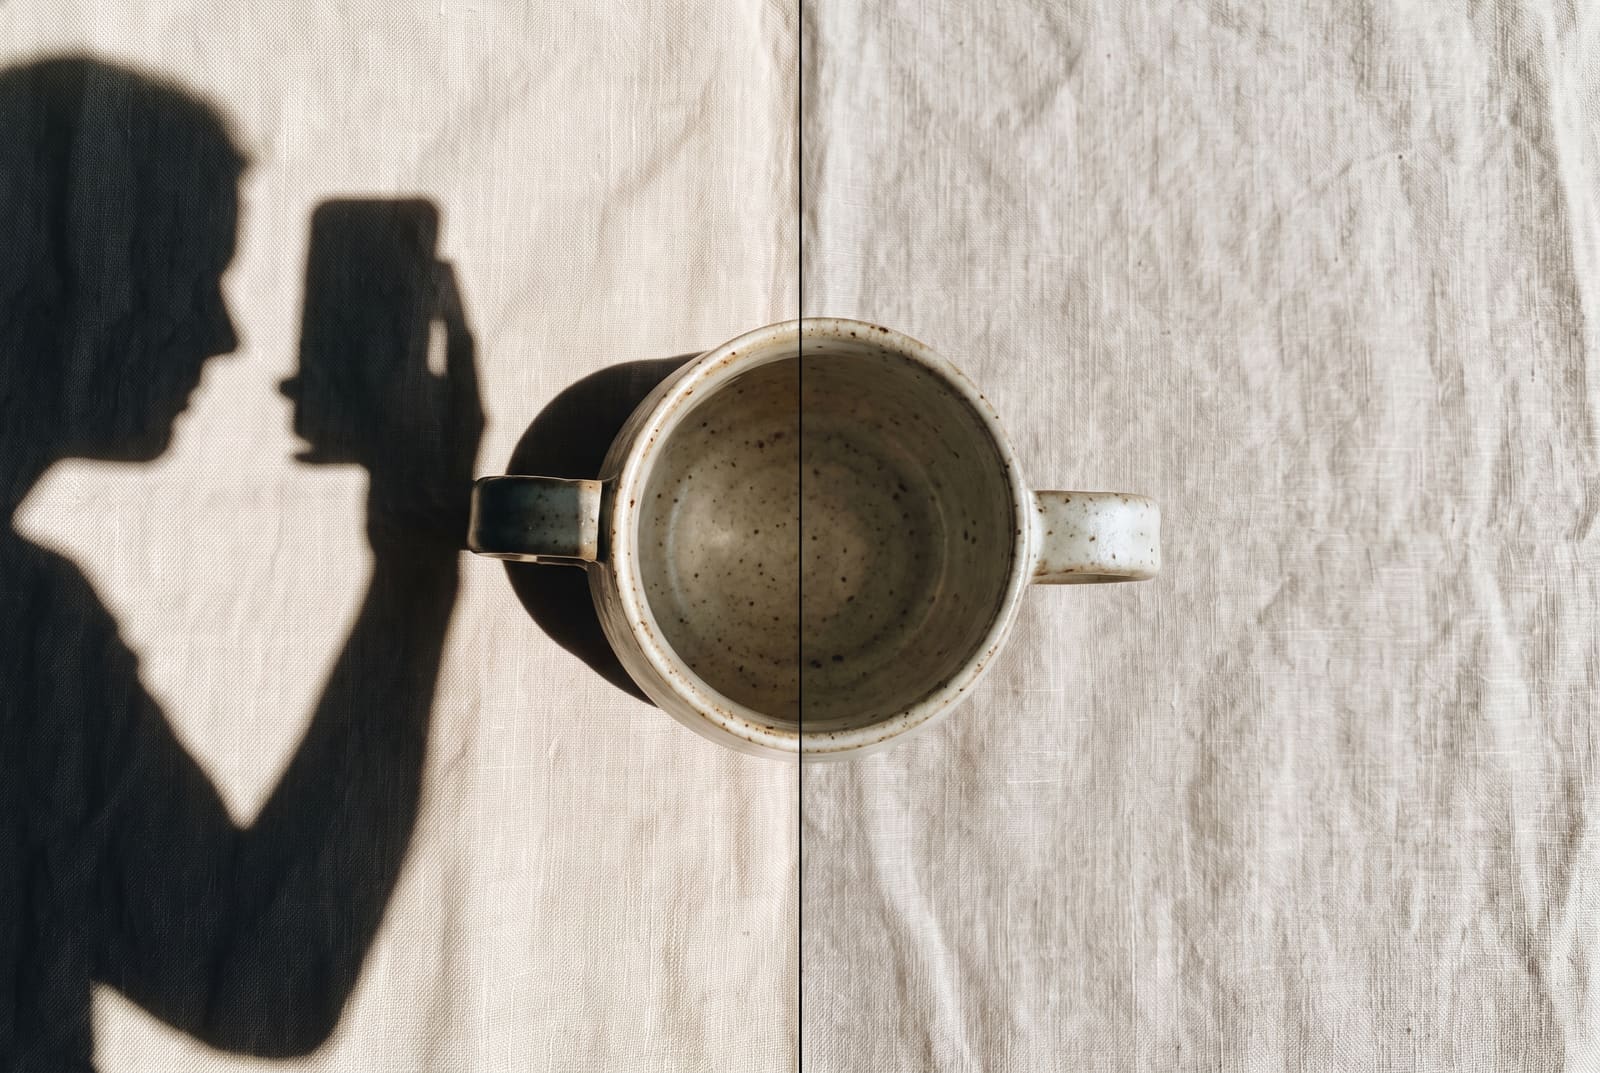
Method 1: erase a cast shadow with AI
Use this for shadows on the ground, a table, a wall or a backdrop.
- Open the object remover and upload your photo.
- Paint over the whole shadow. Include the soft edge, where the shadow fades into light. Missing the edge leaves a faint ghost.
- Let the AI fill. It will re-create the surface texture, such as linen, wood or concrete.
- Check the tone. The patch should match the brightness of the area around it. If it looks lighter or darker, brush in smaller passes.
- Download and keep the original.
You need a free account for the AI step.
Method 2: lift a soft shadow on a face
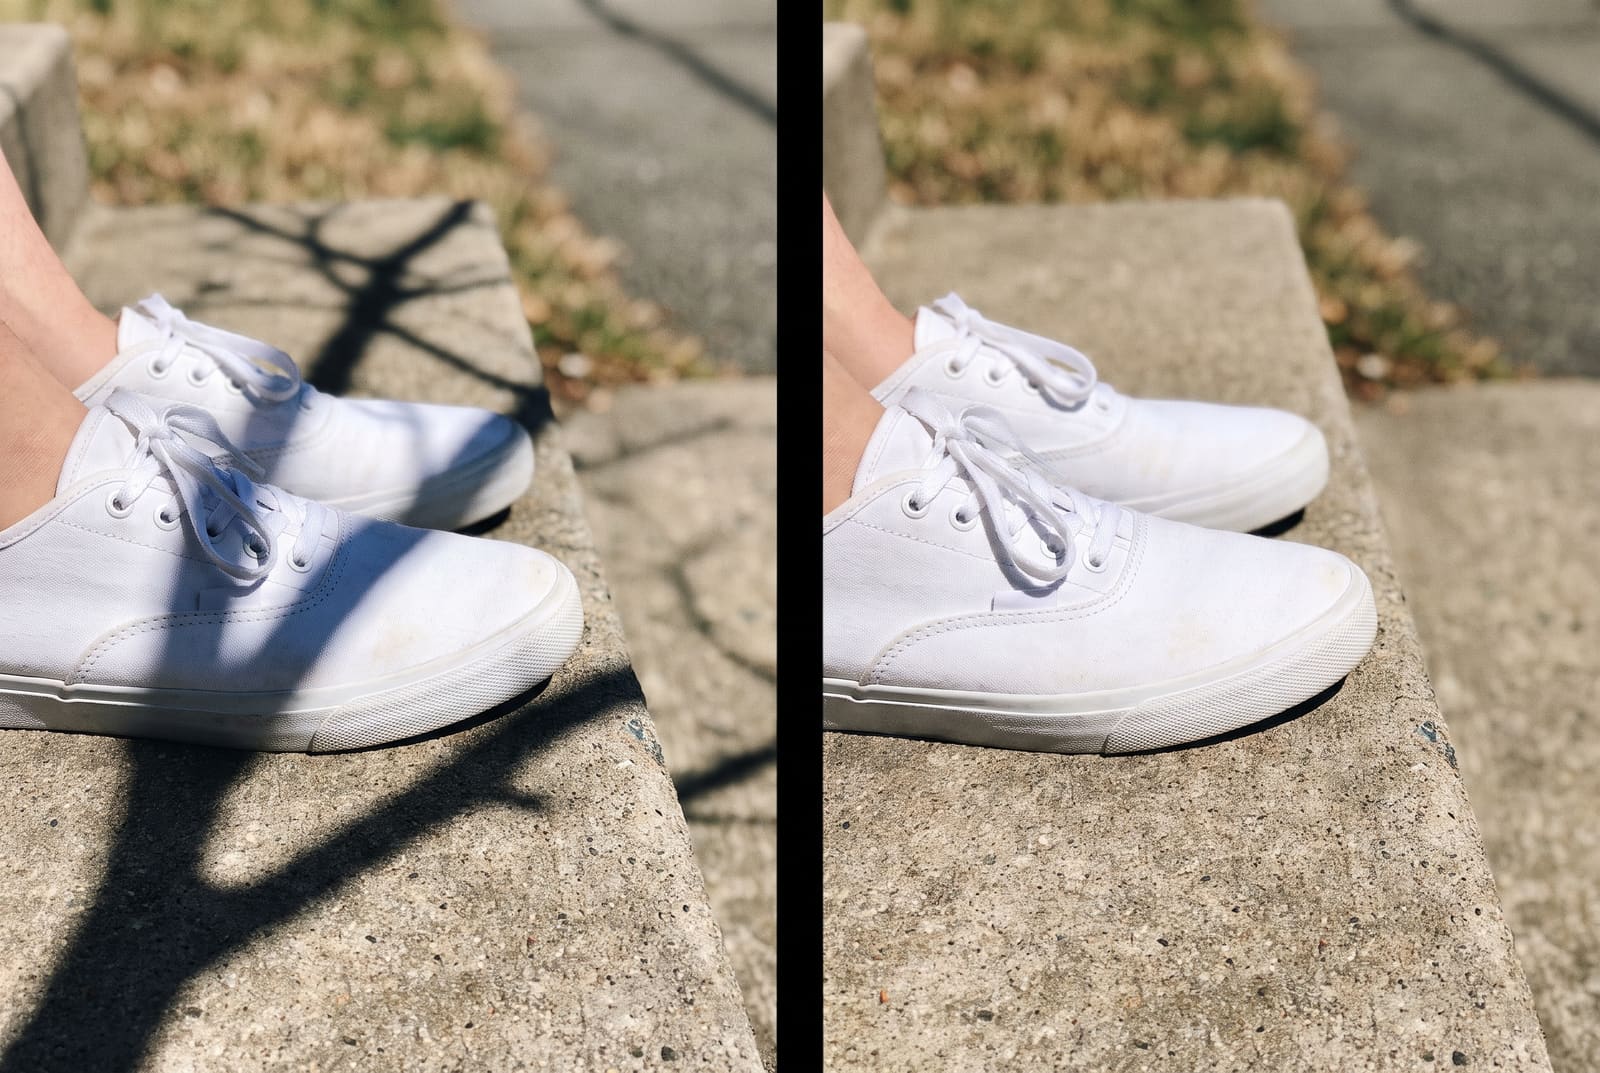
When a shadow falls across a person, erasing is the wrong tool. Instead, brighten the dark side.
- Open the photo in any editor with shadows and highlights controls, such as your phone Photos app. In the AI photo editor you can also ask in plain words, for example "brighten the shadow on the left side of her face".
- Raise shadows first. This lightens the darkest parts without blowing out the bright ones.
- Add a little brightness or exposure if the face still looks heavy.
- Pull highlights down slightly if the lit side starts to clip.
- Check skin color. Pushing shadows too far can turn skin grey. Add a touch of warmth if needed.
The aim is softer, not shadowless. A little shadow keeps cheeks and noses looking real.
Method 3: fix shadows on a document
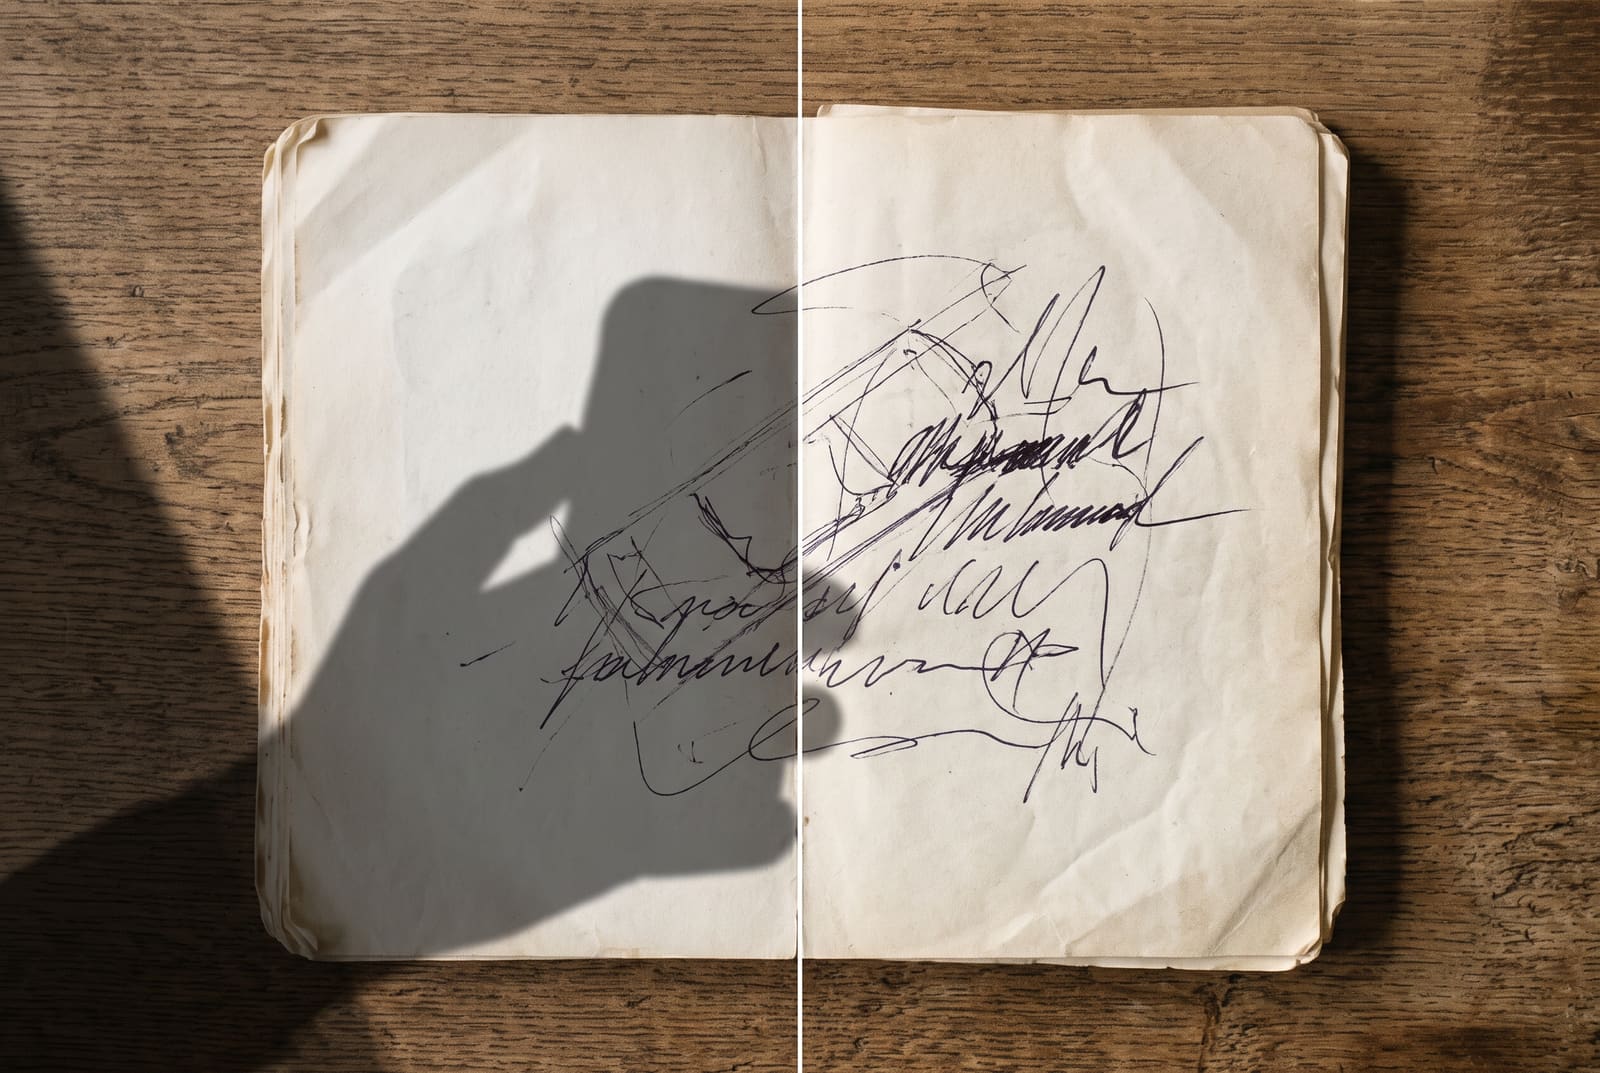
A phone photo of a page often has a dark corner from your hand or phone.
- Raise shadows and brightness until the paper looks even.
- Increase contrast so the ink stays dark.
- Crop to the page with the crop tool.
- Convert to black and white if it is a scan.
Do not erase shadows on text. An AI eraser can change letters. If the document matters, retake the photo near a window with the page flat.
Product shadows
Shadows under a product can help (a soft contact shadow grounds it) or hurt (a long hard shadow from a flash). If you want the product alone, cut it out with the background remover and place it on a clean backdrop. If you want to keep a natural look, erase only the hard, distracting parts and leave a soft shadow beneath.
Common mistakes
- Erasing the whole shadow on a person. The face goes flat and the AI may reshape features.
- Leaving the shadow edge. The soft fade at the border is still visible as a darker band.
- Over-brightening. Clipping highlights makes the edit obvious.
- Ignoring color. Shadows are often cooler (bluer) than light areas. Warm them slightly when you lift them.
- Starting from a screenshot. Work from the original photo for the most detail.
Avoid shadows when you shoot
- Turn your body. Check where your shadow falls before you press the shutter.
- Use open shade. The shade of a building gives even, soft light without hard lines.
- Shoot near a window, not under a lamp. A single large light source gives soft shadows.
- Add a fill card. A white sheet of paper or board opposite the light bounces light into dark areas.
- Avoid noon sun. Early or late light is lower and gentler. If you must shoot at midday, find shade.
- Take two frames. Move one step and shoot again. One may have no shadow at all.
For more on soft, even light, see the guide to lighting for product photos.
Frequently asked questions
How do I remove a shadow from a photo?
It depends on the kind of shadow. A cast shadow on the ground or a table can be painted out with an AI object remover. A soft shadow on a face or a page is better handled by lifting shadows and brightness in an editor, because erasing skin or text would invent details.
How do I remove the photographer's shadow from a photo?
Paint over the shadow with an AI eraser and let it rebuild the surface, then match the brightness of the area to the rest of the picture. For next time, shoot from a spot where your shadow falls outside the frame.
Can I remove a shadow from a photo of a document?
Yes. Raise brightness and shadows, add a little contrast and keep the text sharp. Do not use an eraser, because it can redraw letters. For the best scan, retake the photo in even light.
Why does the area look flat after I remove a shadow?
Shadows give objects shape. If you remove all of them, the scene loses depth. Lighten the shadow rather than deleting it when it describes the form of a face or a product.
How do I avoid shadows on product photos?
Shoot in soft, diffused light such as a window with a sheer curtain, add a white card opposite the light to fill shadows and keep your body out of the light path.