How to Remove Pimples and Blemishes From a Photo Without Faking Your Skin
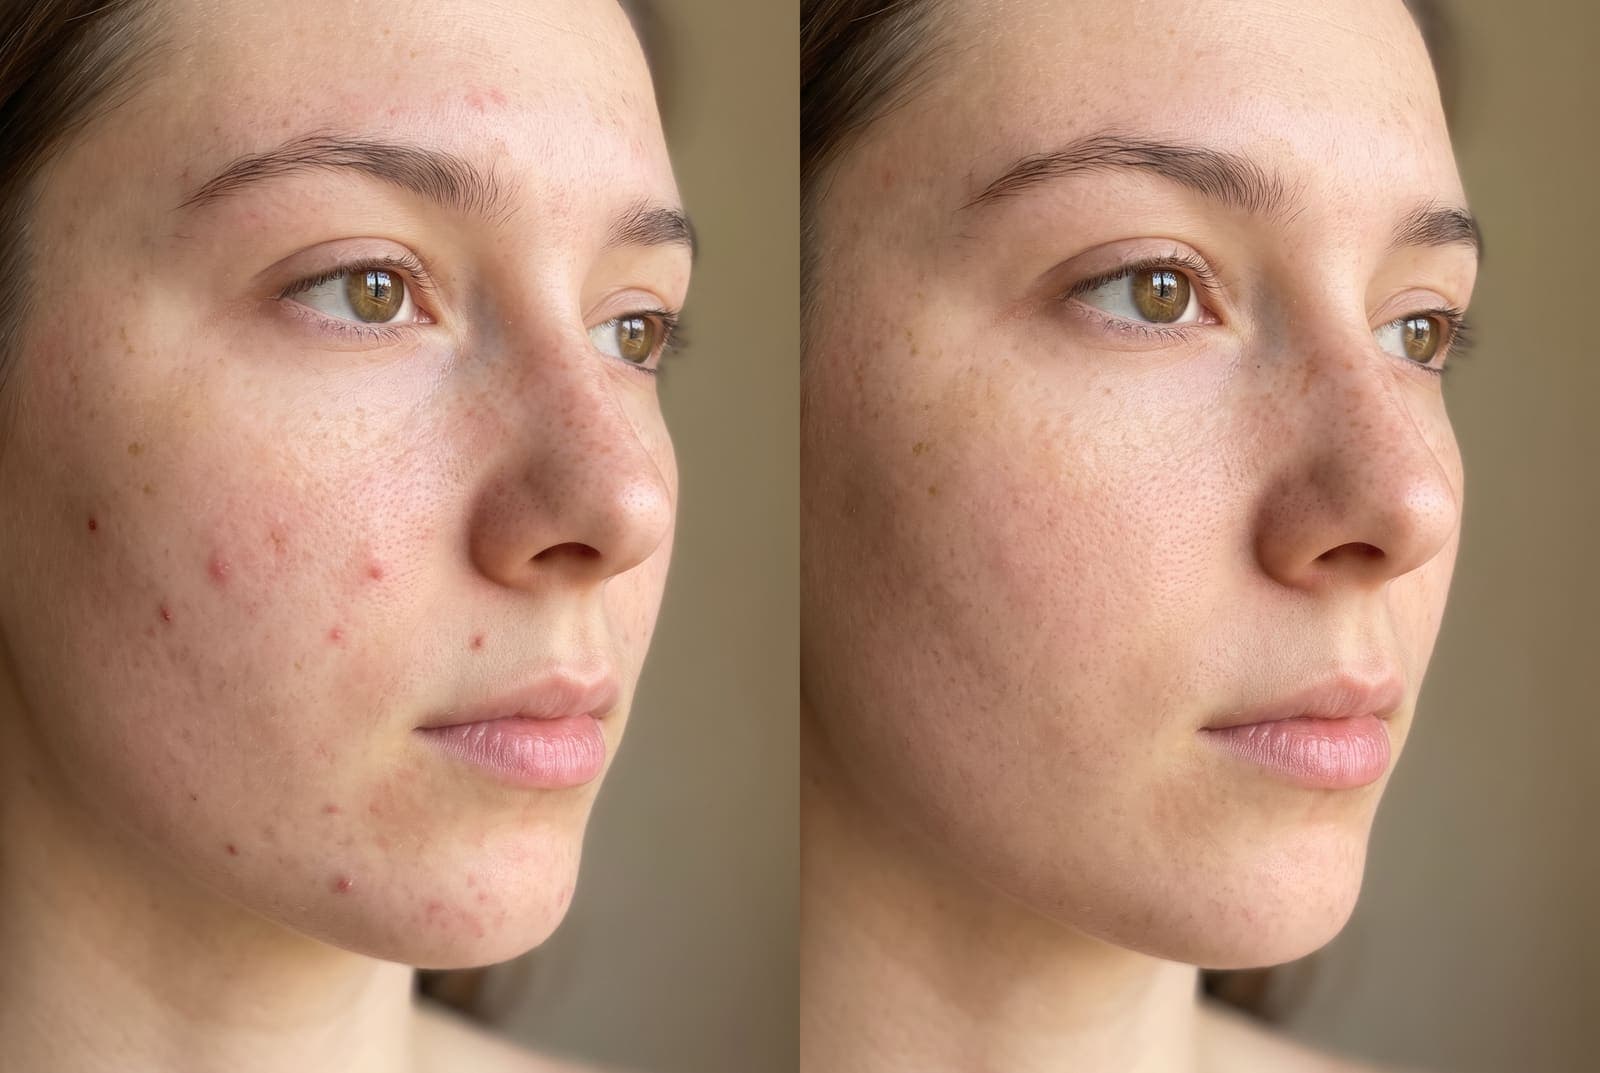
Table of Contents
A pimple the size of a pea has a way of becoming the only thing you can see in a photo. You had the light, the outfit and the moment, and then you zoom in. Fixing it takes about thirty seconds, but how you fix it matters, because the most obvious edit is not the blemish itself. It is the skin that looks like plastic afterward.
Here is how to remove pimples and blemishes while keeping your skin looking like skin.
Remove blemishes from your photo, free in your browser
Try it freeTwo approaches: spot removal and smoothing
| Approach | What it does | Result |
|---|---|---|
| Spot removal | Detects a spot and replaces just that area | Natural, texture stays |
| Skin smoothing | Blurs the whole face | Plastic, loses pores and freckles |
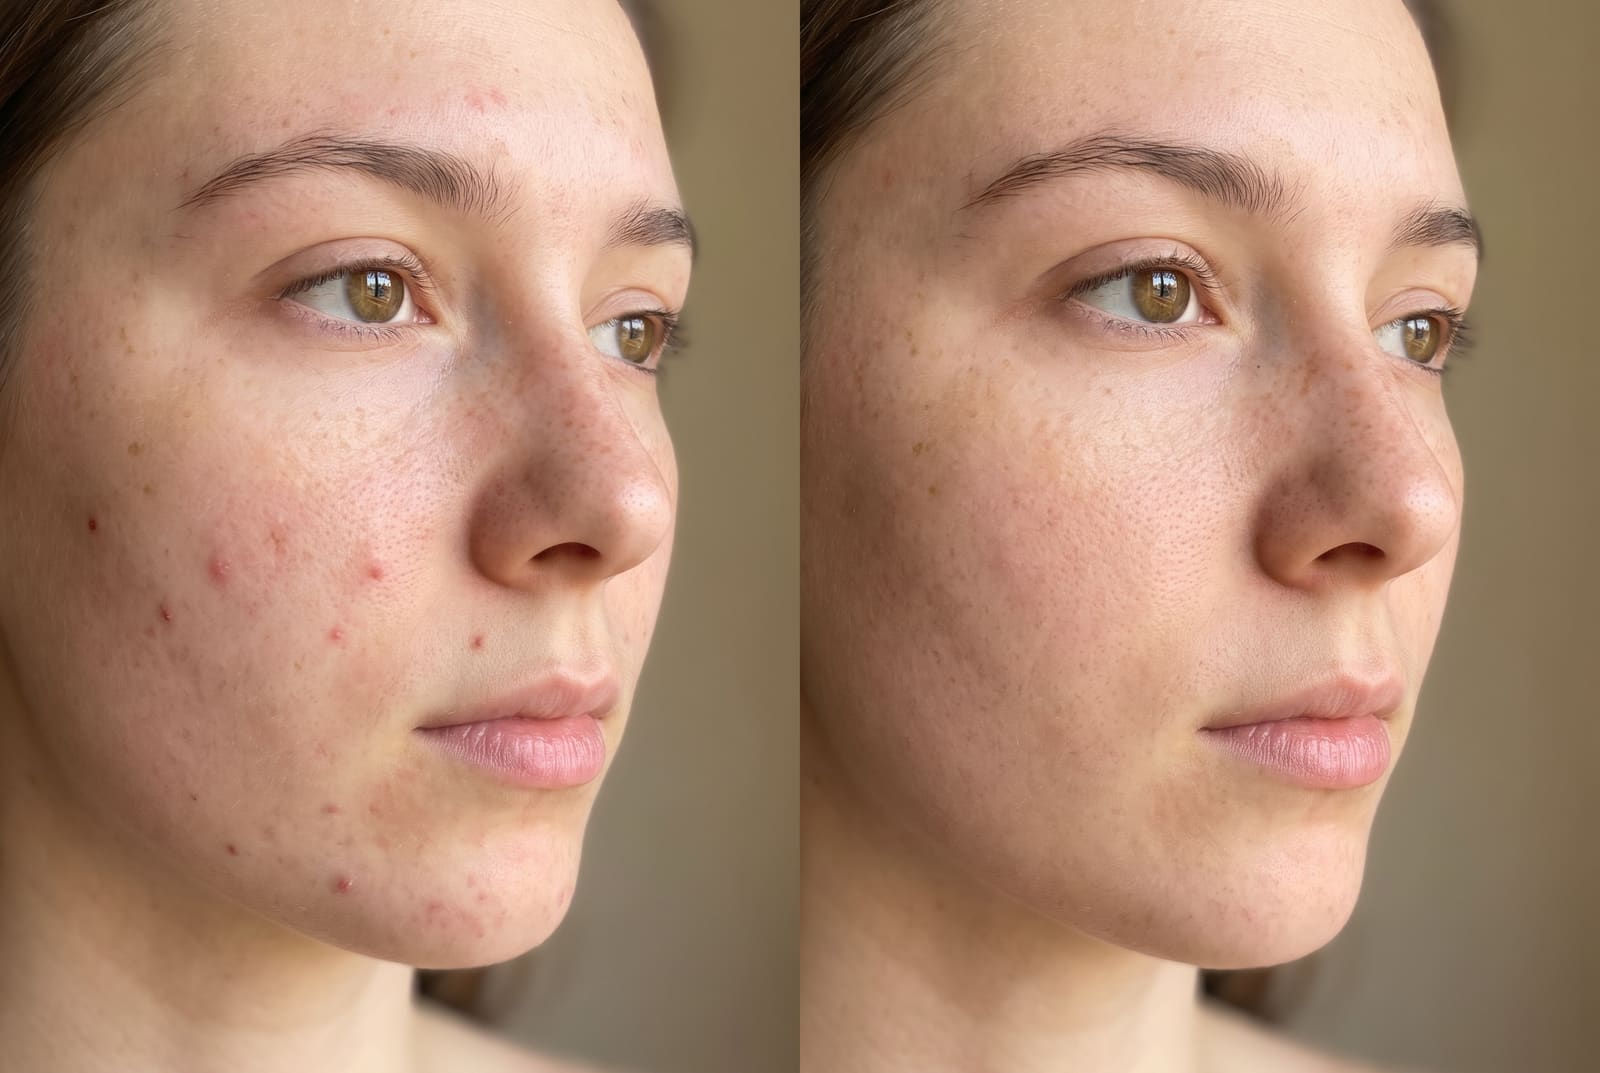
Spot removal is the one you want. It is also the fastest way to fix a single breakout, a mark on the chin or a razor bump.
Remove blemishes step by step
- Open the Acne Remover and upload a clear photo. Use the original, not a screenshot, so there are more pixels to work with.
- Let the AI detect the blemishes. It looks for spots, redness and marks on the skin and clears them.
- Compare with the original. Zoom in to 100 percent and check cheeks, chin and forehead.
- Fix anything it missed or got wrong. For a leftover spot or a mark you want to keep, such as a mole, adjust or redo it.
- Download the result. Keep the original file as a backup.
If you need to erase something that is not skin, like a stray hair or a cable across the frame, the object remover paints it out.
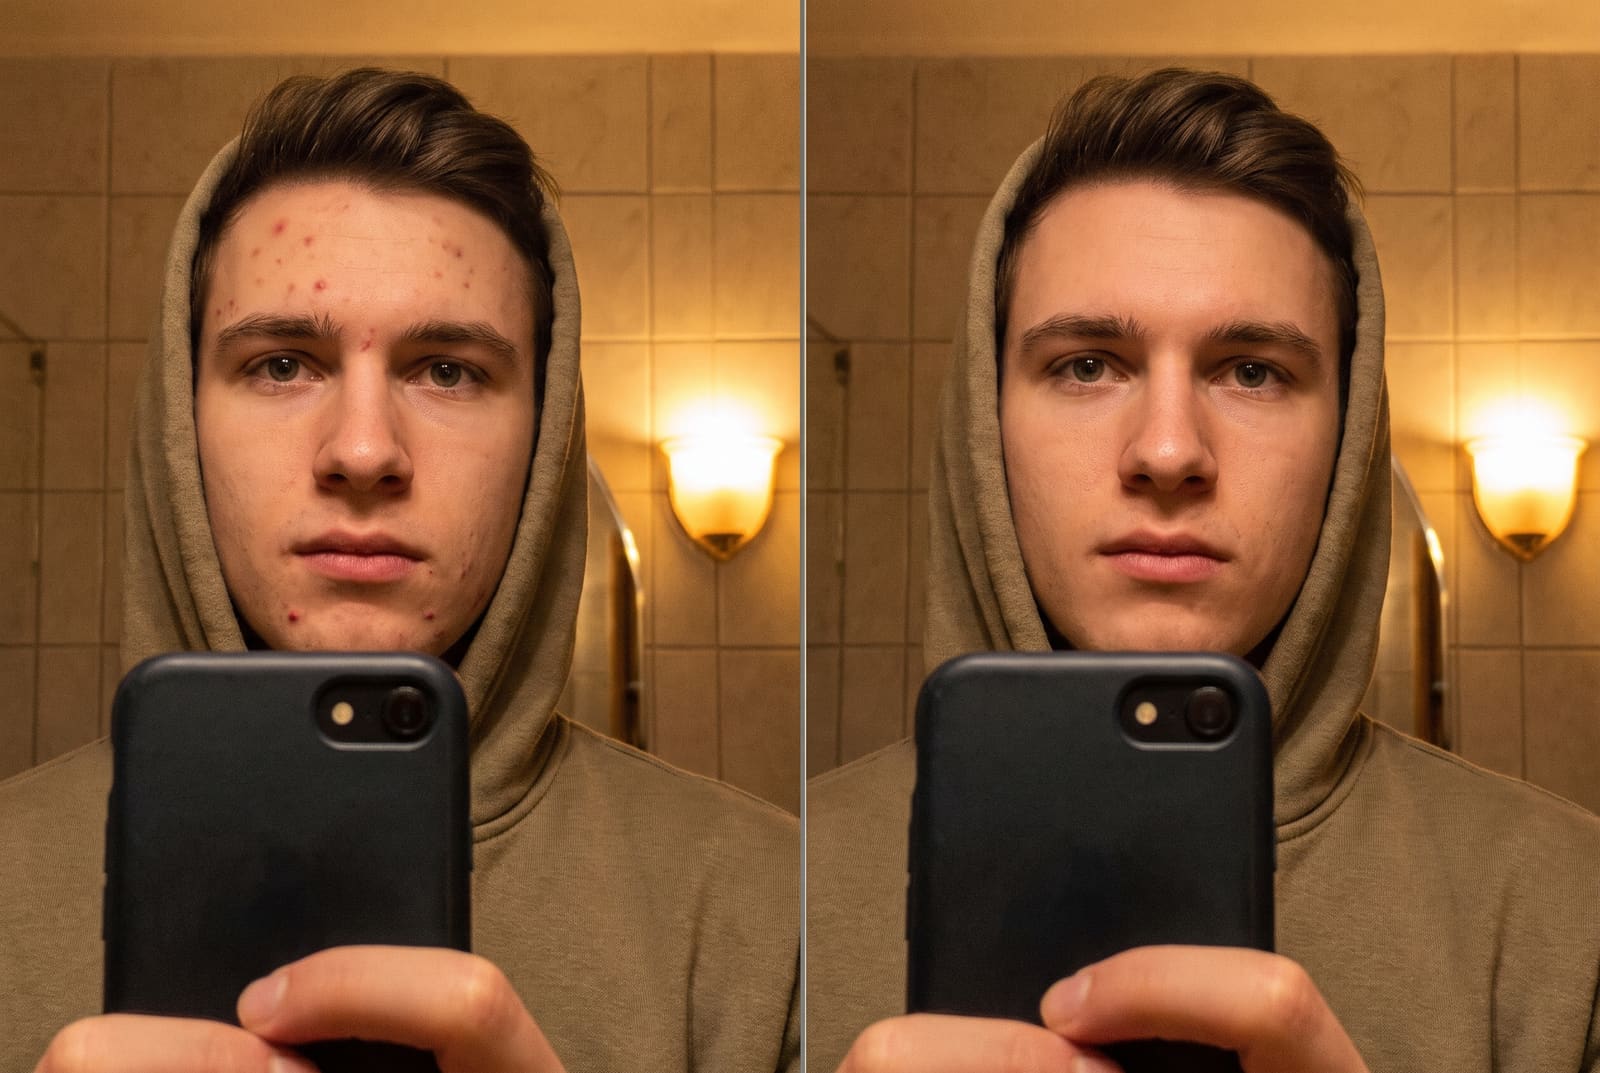
What to remove and what to keep
Good to remove: temporary things. Pimples, redness patches, razor bumps, scabs, a bit of dust on the lens, a stray hair.
Think twice about: permanent features. Moles, freckles, scars, birthmarks and wrinkles are part of how people recognize you. Removing everything produces a face that people notice is edited, and photos taken for work, dating or ID should still look like you.
Keep it believable
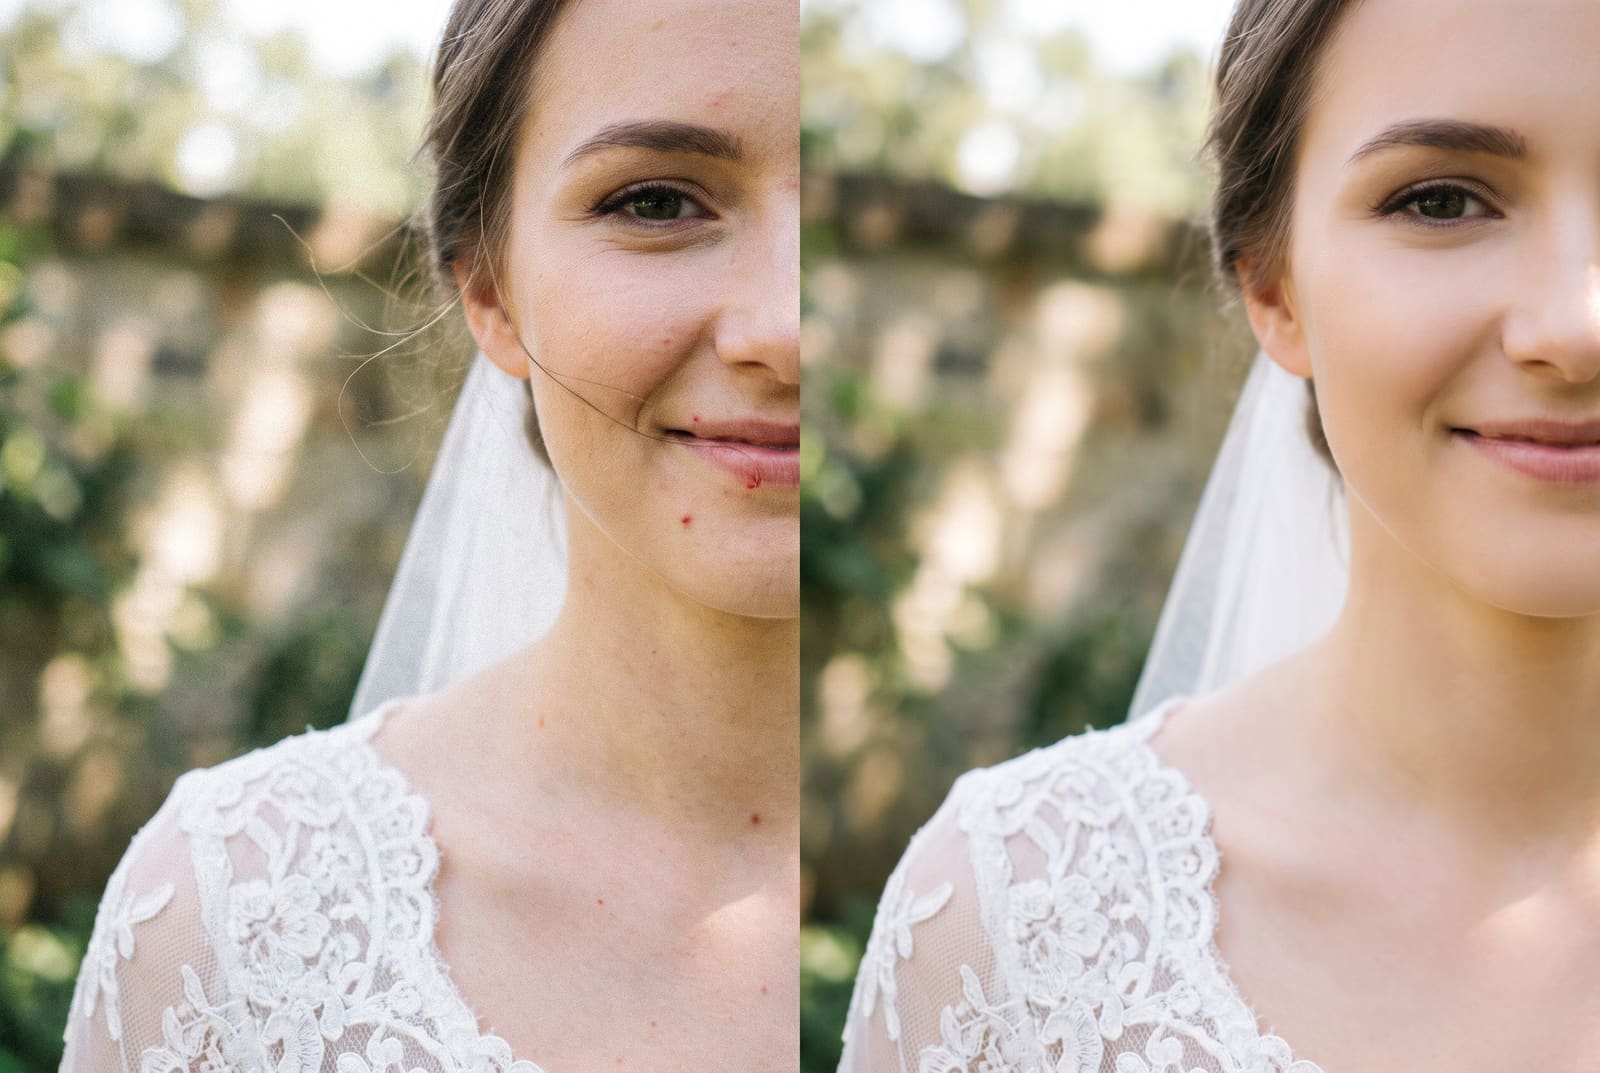
- Leave the pores. Zoom in. If you can still see tiny skin texture, you are fine.
- Edit lightly. Remove the spots that distract. Do not chase every tiny mark.
- Check the lighting. Skin has highlights and shadows. If a fixed area looks flat, the edit is too strong.
- Keep color consistent. Redness removed from one cheek should match the other side.
- Match the neck and ears. Retouching the face but not the neck leaves a visible line.
- View on a phone at actual size. Most people will see your photo small. If it looks natural there, it is done.
Take photos that need less editing
- Use soft window light. Hard overhead light exaggerates bumps and shadows.
- Face the light. Light from the front or side at a gentle angle is the most flattering.
- Avoid wide-angle selfies up close. Back up a little and zoom, which flatters features and reduces distortion.
- Clean your lens. A smudge softens skin and makes everything look worse.
- Keep your hands off your face before the photo. Picking at spots creates redness that is hard to hide.
Where it matters most
Profile pictures
A light cleanup is normal. See the profile picture maker for fitting your photo to each platform's crop.
Wedding and event photos
Fix temporary spots but keep the person recognizable. Avoid softening the whole face, which looks odd next to unedited guests.
Photos for ID
Passport and visa photos usually have strict rules that prohibit retouching. Check them before editing.
Finish the photo
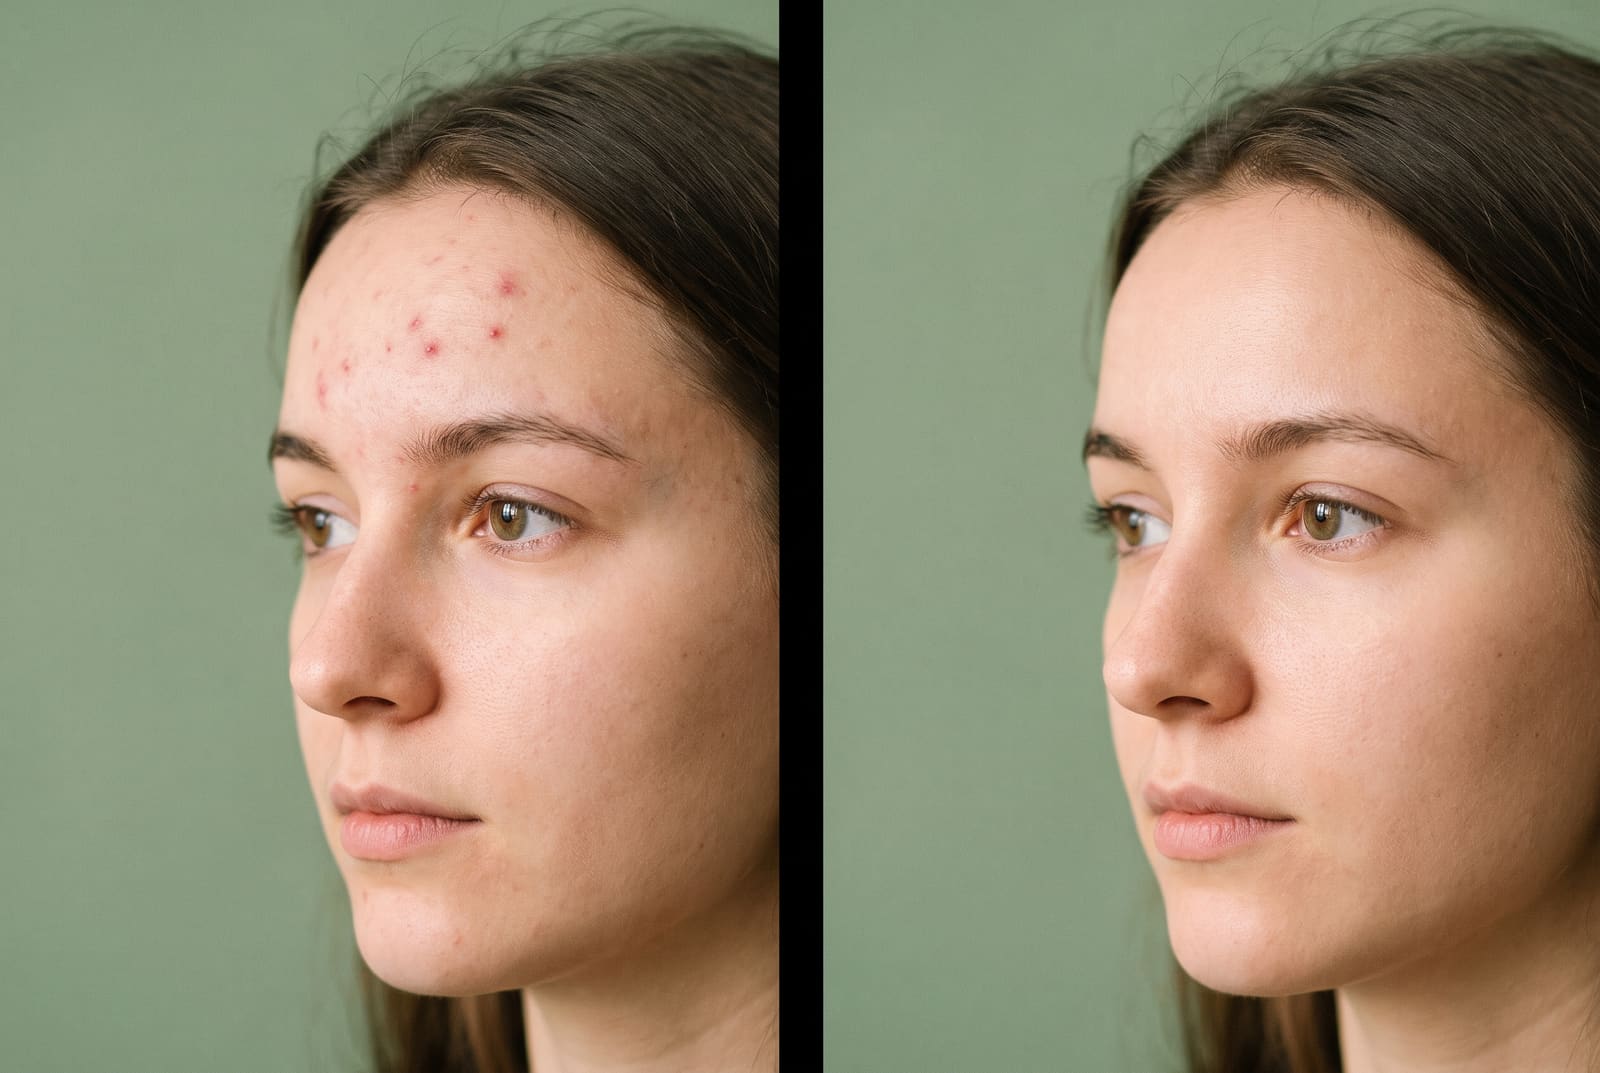
After you remove blemishes, you may want to adjust brightness or crop for your platform. You can do that in the AI photo editor, or fit the picture for a feed with the image resizer. If the original photo is small or soft, enlarge it first using the AI image upscaler so there are more pixels to work with.
Scars, razor bumps and other special cases
Not every mark is a pimple, and the right call differs:
- Razor bumps and redness. These are temporary and safe to remove. Clear them the same way as a blemish, then check that the neck matches the face.
- Scars. Many people keep them because they are part of how they look. If you do remove one, keep the edit small and leave the surrounding texture alone.
- Tattoos and birthmarks. Leave these unless you have a clear reason. A removed birthmark can make a photo look like someone else.
- Dark circles and shine. These are lighting problems more than blemishes. Fix them with a gentle exposure or highlight adjustment instead of an eraser.
- Group photos. Only edit the people who asked you to, and keep every face at the same level of retouching so nobody looks out of place.
Frequently asked questions
How do I remove pimples from a photo?
Upload the photo to an AI acne remover, let it detect and clear the blemishes, then compare with the original. Keep skin texture, pores and freckles so the result looks like you.
Will removing blemishes make my skin look fake?
It can if the tool smooths everything. Choose a tool that keeps pores and texture, remove only the spots you want gone and avoid blur-based smoothing.
Can I remove blemishes on iPhone or Android for free?
Yes. Open a browser-based tool on your phone or use an editing app with a spot-fix feature. Always edit the original photo, not a screenshot.
How do I remove a pimple from a photo for a profile picture or ID?
Light cleanup is fine for a profile picture. For official IDs, passports and visas, follow the rules of the issuing authority, which usually require an unretouched, accurate photo.
What's the difference between removing blemishes and smoothing skin?
Blemish removal erases specific spots and leaves everything else alone. Smoothing blurs the whole face, which removes texture and looks plastic.