AI Photo Eraser: Remove Unwanted Objects From Photos (and Beat Magic Eraser)

Table of Contents
An AI photo eraser is the closest thing the internet has to an undo button for real life. A cable across a table, a bin on the pavement, a car in front of a landmark: paint over it, and it is gone.
But not all erasers are equal, and none of them are magic. This guide explains how they work, which jobs they do well, why they sometimes leave smears, and how to pick a method on iPhone, Android or desktop.

Erase an object from your photo, free in your browser
Try it freeHow an AI eraser actually works
The tool needs two inputs: the photo and a mask, which is the area you painted. Everything inside the mask is thrown out. A generative model then fills that hole based on what surrounds it, the lighting, the textures and the lines that need to continue.
Old clone-stamp tools copied pixels from another part of the picture. AI erasers invent new ones. That makes them better with irregular shapes and worse at something specific, like a face or a logo, because they do not know what should be there.
What an AI eraser is good at
| Remove this | Result | Why |
|---|---|---|
| Cables, wires and cords | Excellent | Thin shapes on simple surfaces |
| Trash bins, cones, signs | Very good | Solid objects on a street or lawn |
| Stray people and cars | Good | Needs a predictable background |
| Dust, specks and sensor spots | Excellent | Tiny areas |
| Large objects over detail | Mixed | The AI guesses a lot |
| Text and logos | Good on plain backgrounds | See removing text from an image |
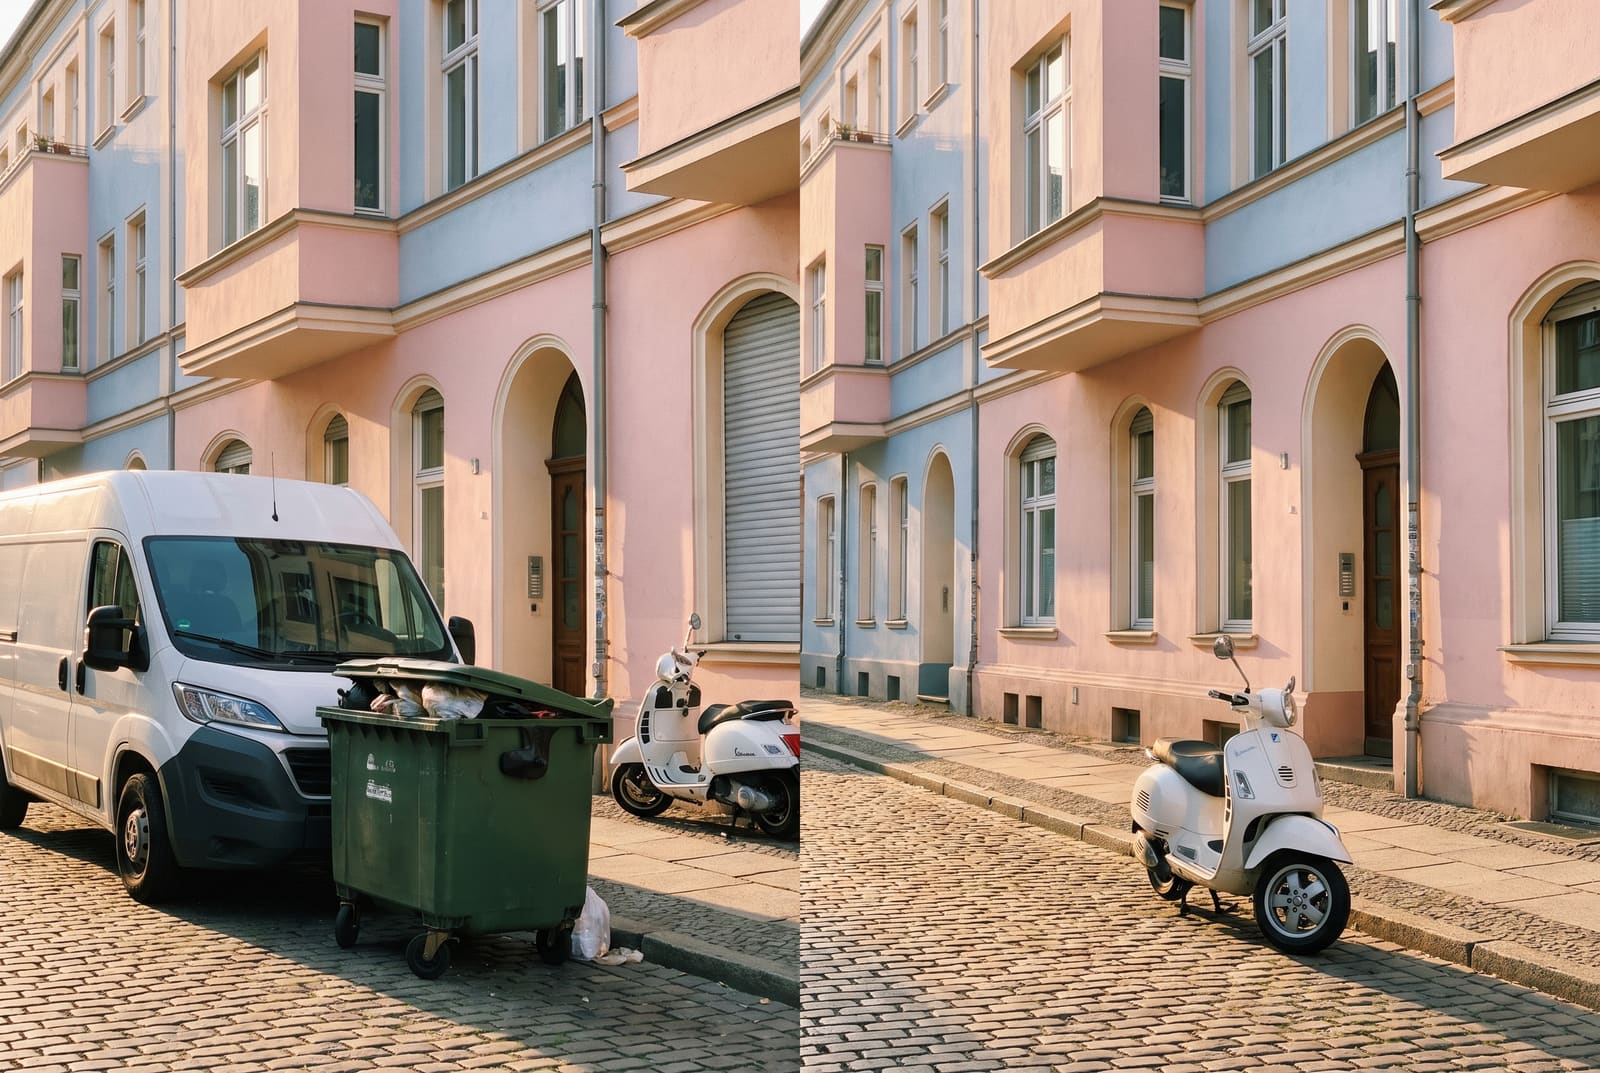
Erase an object in four steps
- Upload the photo to the object remover. It runs in your browser, on desktop or mobile.
- Paint over the object. Use a brush a little bigger than the thing you want gone and include its shadow or reflection.
- Let the AI fill. Wait a few seconds and zoom in to check.
- Refine and download. Undo and repaint any spot that looks off, then export. Keep the original photo.
You need a free account to run the AI step.
Phone eraser or web eraser?
Your phone probably has a basic one already. Google's Magic Eraser lives in Google Photos on many Android phones and Pixel devices, and recent iPhones have a similar cleanup feature in Photos. They are quick for small distractions.
A web tool earns its place when:
- The object is big or odd shaped. A larger screen makes precise masking easier.
- You want more than one pass. Browser tools let you erase, check and repaint the same spot.
- You are finishing a batch. Staying in one tool for erasing, resizing and exports is faster than bouncing between apps.
- You do not have the built-in feature. Older phones and many mid-range devices do not.
The Instasize app also bundles an eraser with its other editing tools on iPhone and Android, so you can use the same workflow on the go.
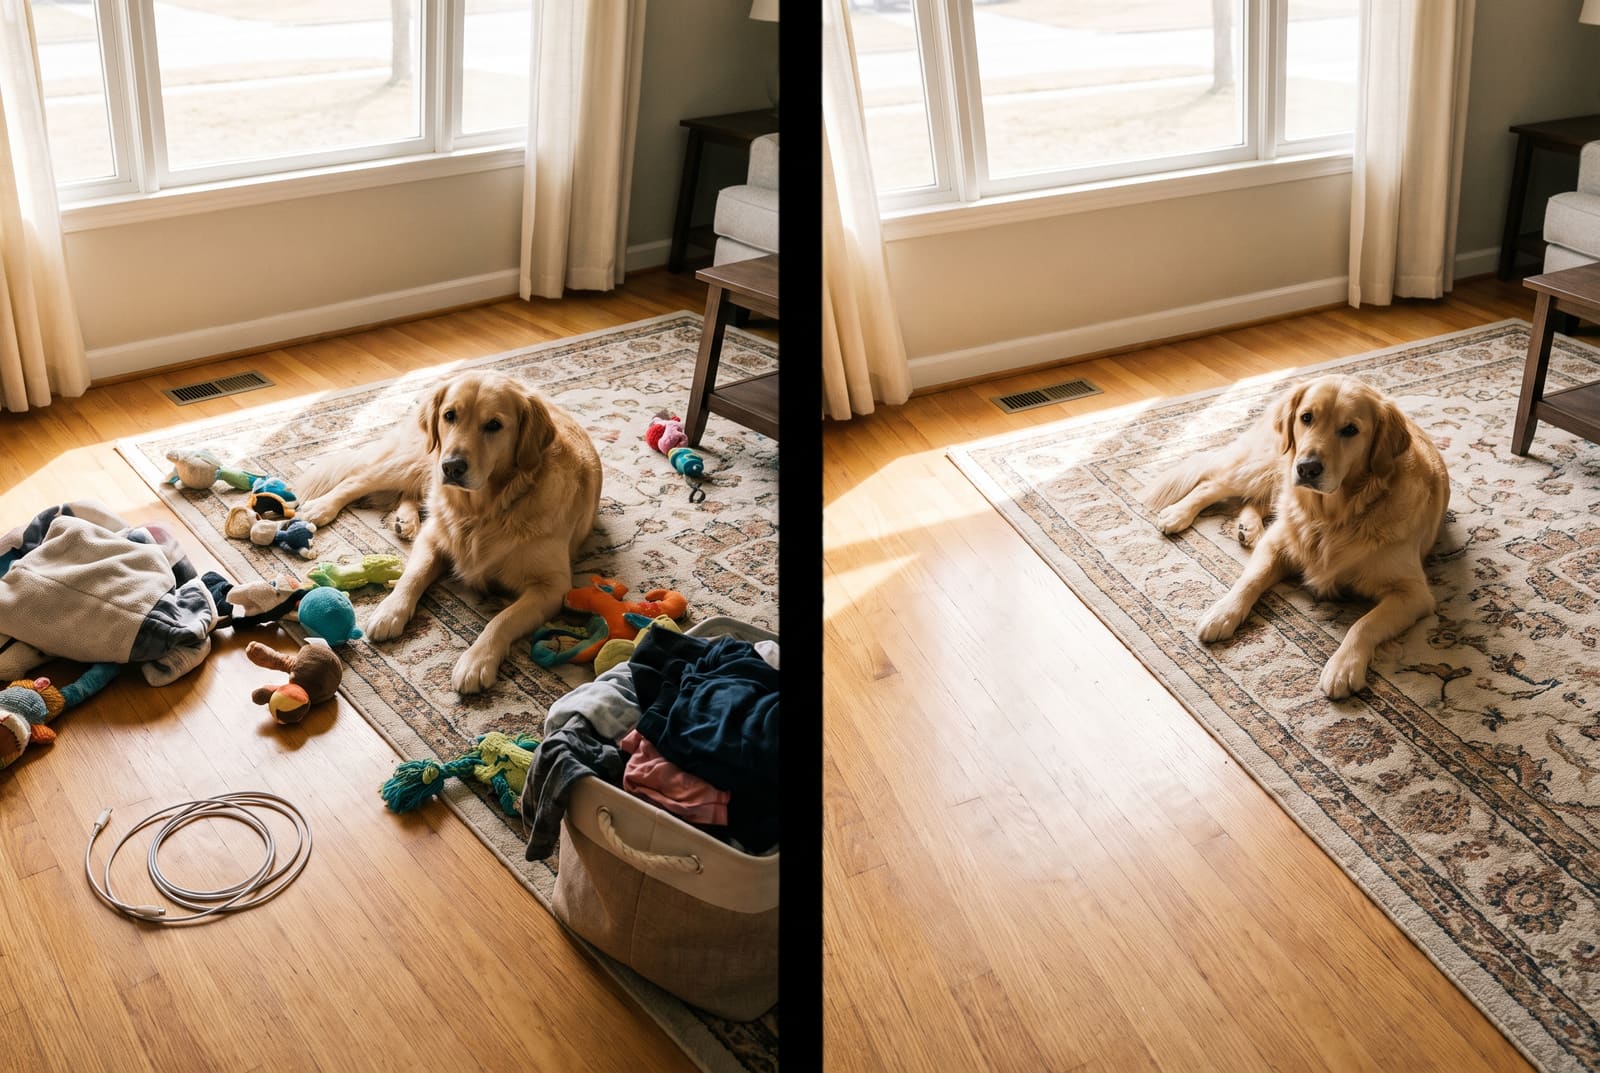
Why erasers leave smudges
If your result has a blurry patch or repeated texture, it is almost always one of these:
- The mask is too tight. If the edge of the object remains, the AI treats it as part of the scene. Paint a little beyond the border.
- The mask is too big. A huge area gives the AI too much to invent. Break it into smaller passes.
- A shadow was left behind. A ghost shadow shows where an object used to be.
- A strong line crosses the area. Horizons, fences and window frames must line up on both sides. Erase up to the line, not across it, when you can.
- The photo is low resolution. The fill matches the soft pixels around it. Enlarge or sharpen the photo first with the AI image upscaler.
Tips to get natural results
- Work in layers. Erase the biggest distraction, then the next, instead of everything at once.
- Zoom to 100 percent. Problems hide at fit-to-screen view.
- Think about what should be there. If a lamp post removed leaves a plain sky, great. If it leaves an odd gap in a row of houses, the AI may get it wrong.
- Keep the subject untouched. Paint away from faces and hands.
- Finish with color. After removal, balance brightness and color using the AI photo editor so the filled area blends in.
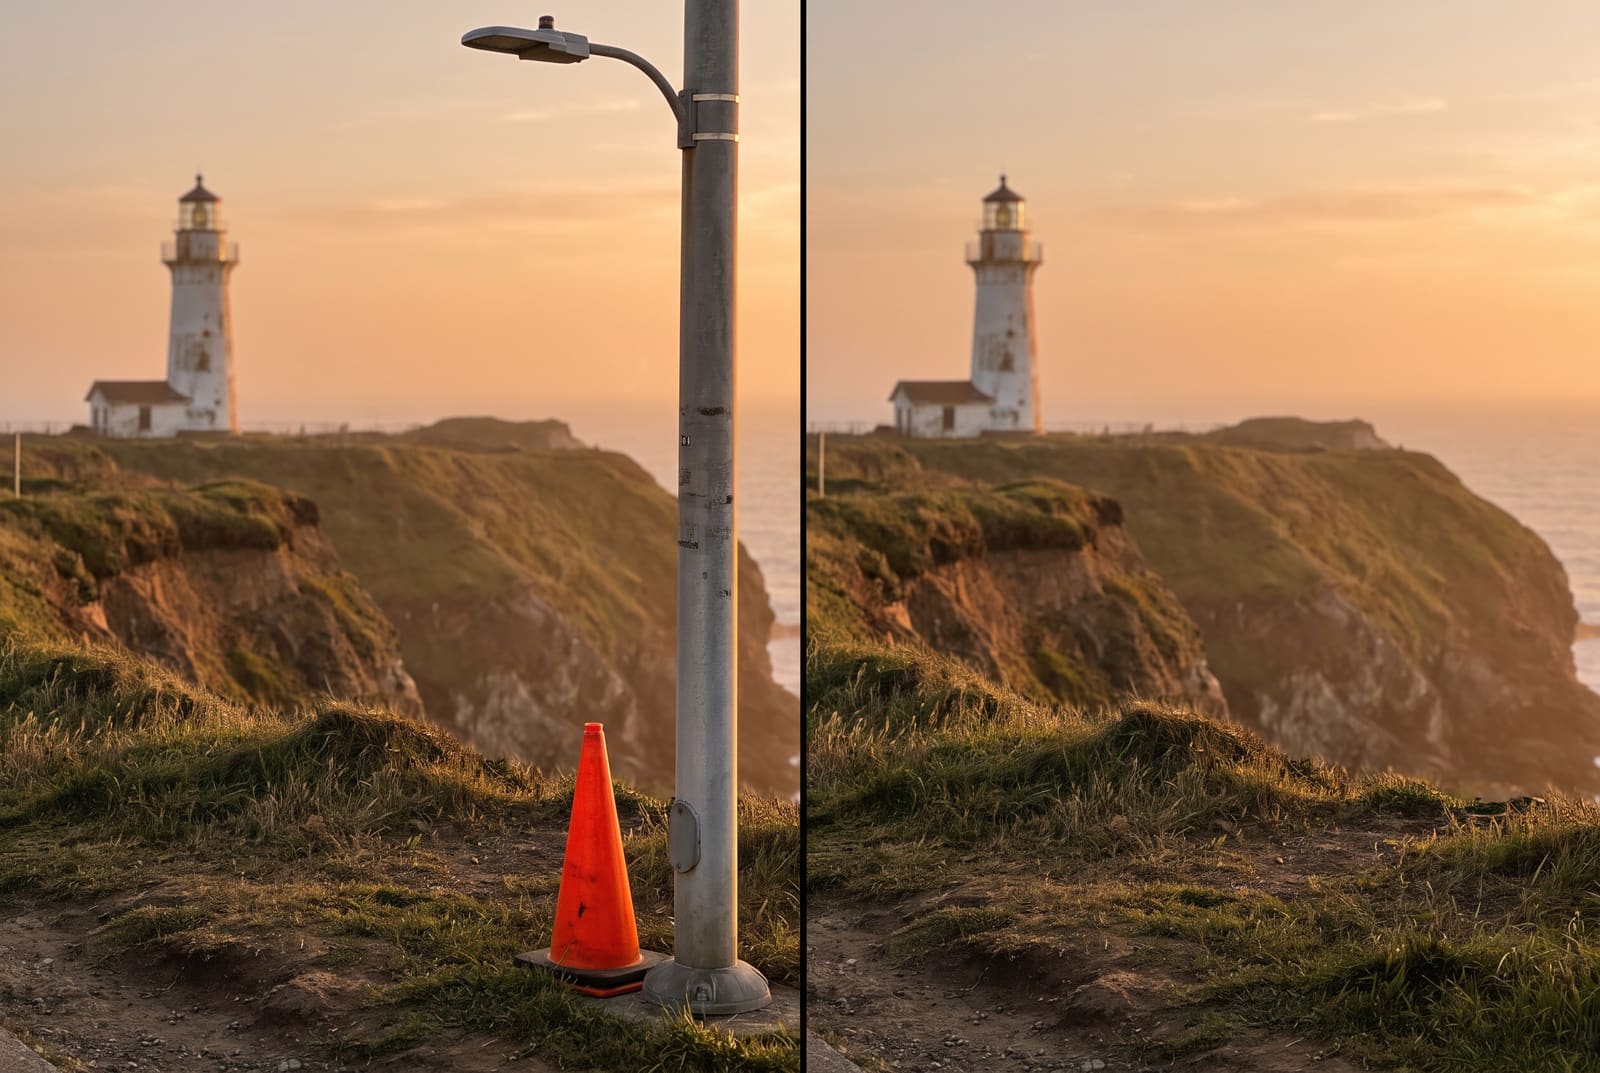
Sensible limits
Erase clutter, strangers and mistakes in your own photos. Do not remove watermarks from work that belongs to somebody else. Do not edit evidence, documents or product photos in a way that misrepresents what a buyer will receive.
For product listings, small cleanups such as dust or a stray cable are fine, but the item itself should look like what you ship. If you sell online, a clean cutout with the background remover is usually a better fix than erasing a messy backdrop.
Frequently asked questions
What is an AI photo eraser?
It is a tool that lets you paint over something in a picture and then generates new pixels to replace it so the area matches the surroundings. The technique is called inpainting.
What is the best free AI eraser for photos?
For quick fixes, the one already on your phone is fine, such as Google's Magic Eraser or the Photos app on iPhone. When those leave smudges or you work on a computer, a browser-based tool like Instasize's object remover gives you a bigger canvas and more control.
Why does my eraser leave a blurry patch?
The area was probably too large, too complex or too close to something detailed. Erase in smaller passes, include shadows and reflections and avoid brushing over edges you want to keep.
Can I erase objects on iPhone and Android?
Yes. Both platforms have built-in erase features, and you can also open a web tool in your phone's browser. The steps are the same: upload, paint, erase, check, download.
Does erasing reduce photo quality?
Only the erased area is regenerated, but it can look slightly softer than the original pixels. Keep the original file and sharpen or upscale the final image if needed.