How to Remove Glare and Reflections From a Photo (Glasses, Glass, Flash)
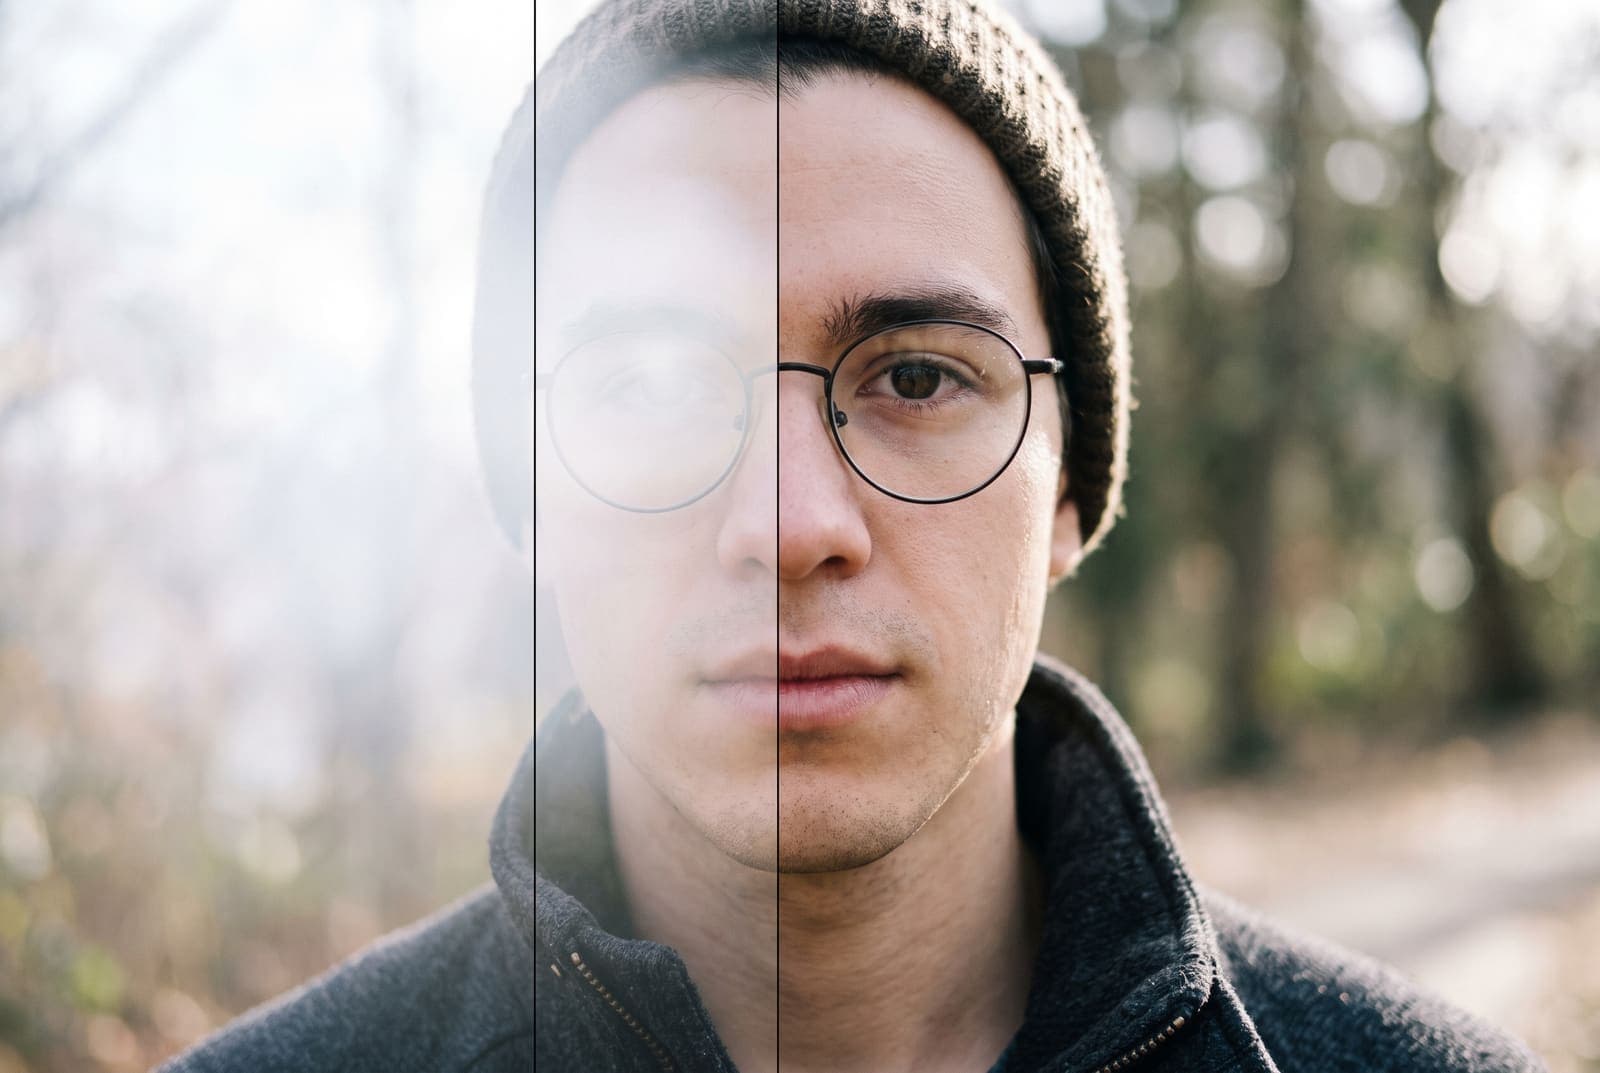
Table of Contents
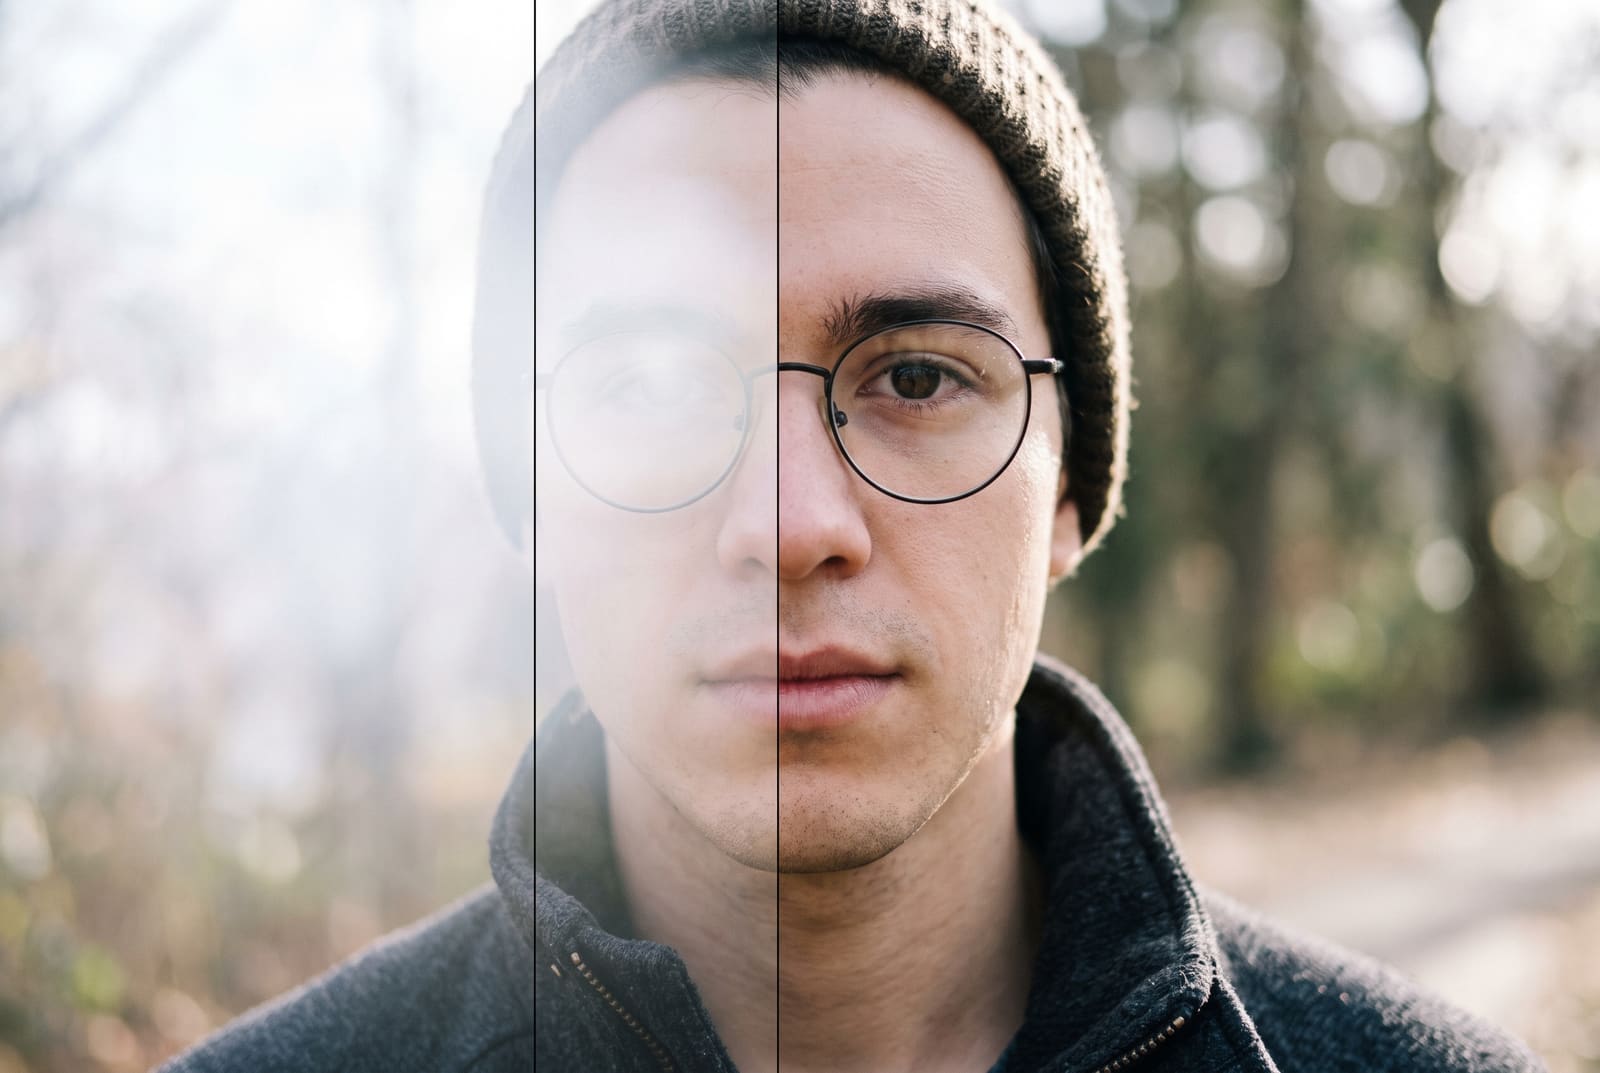
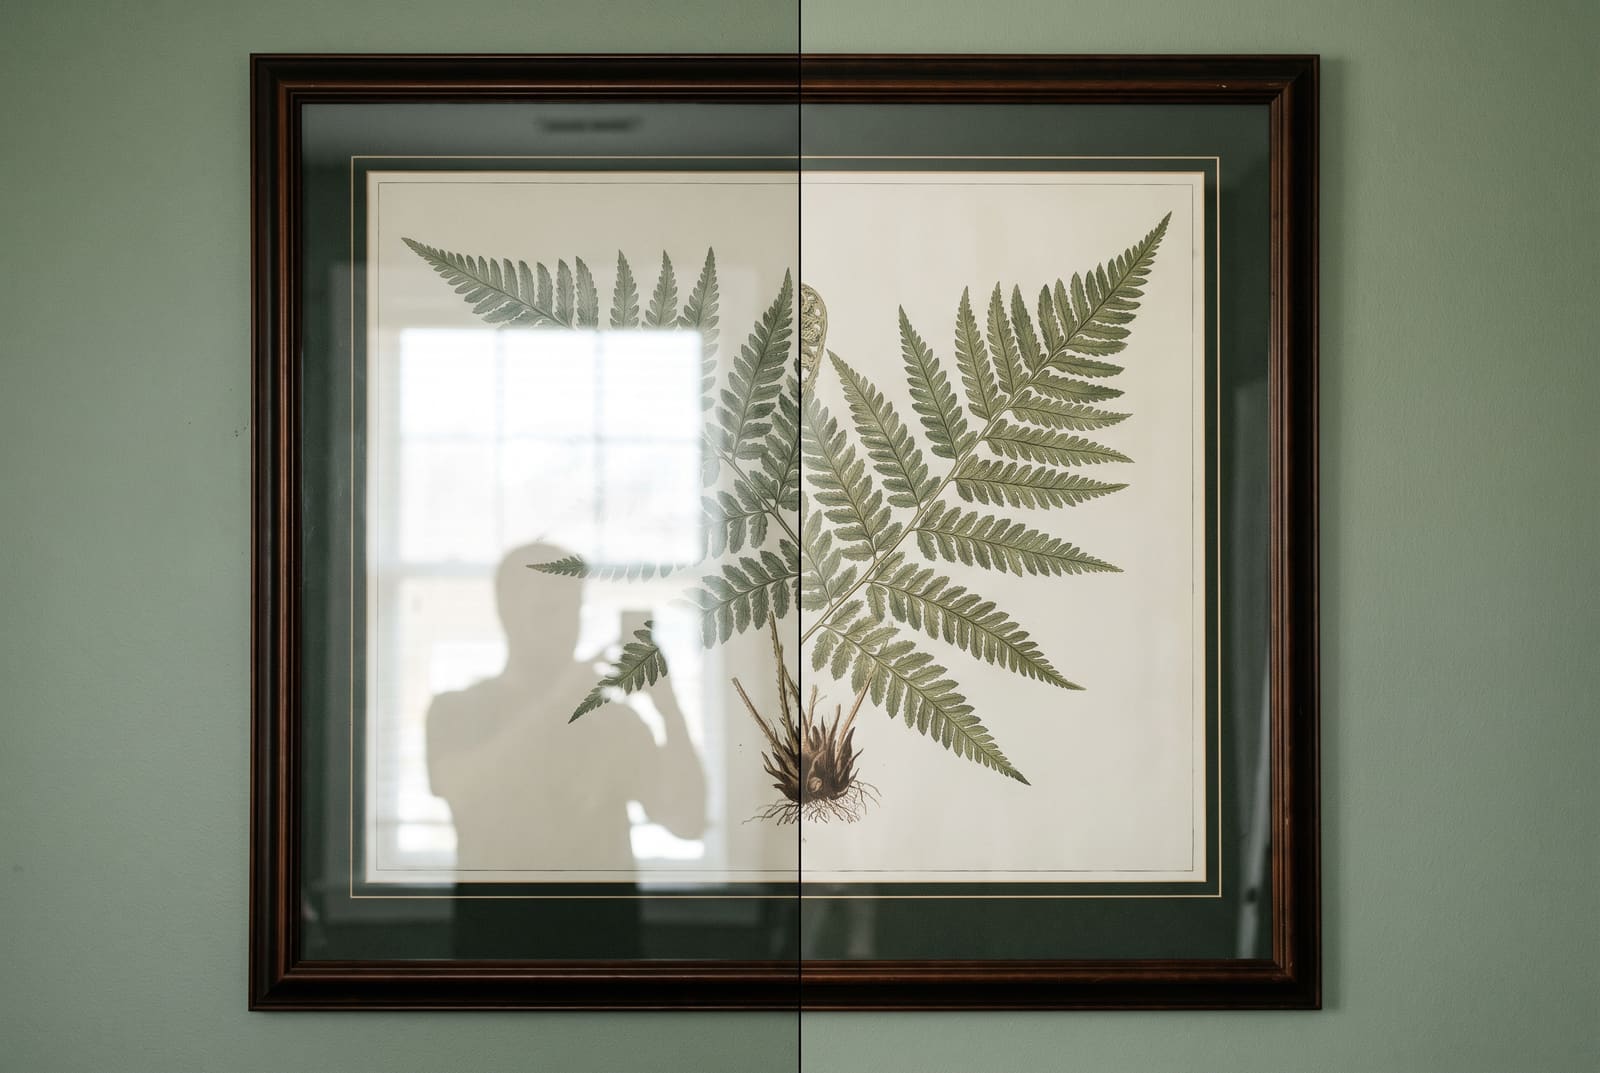
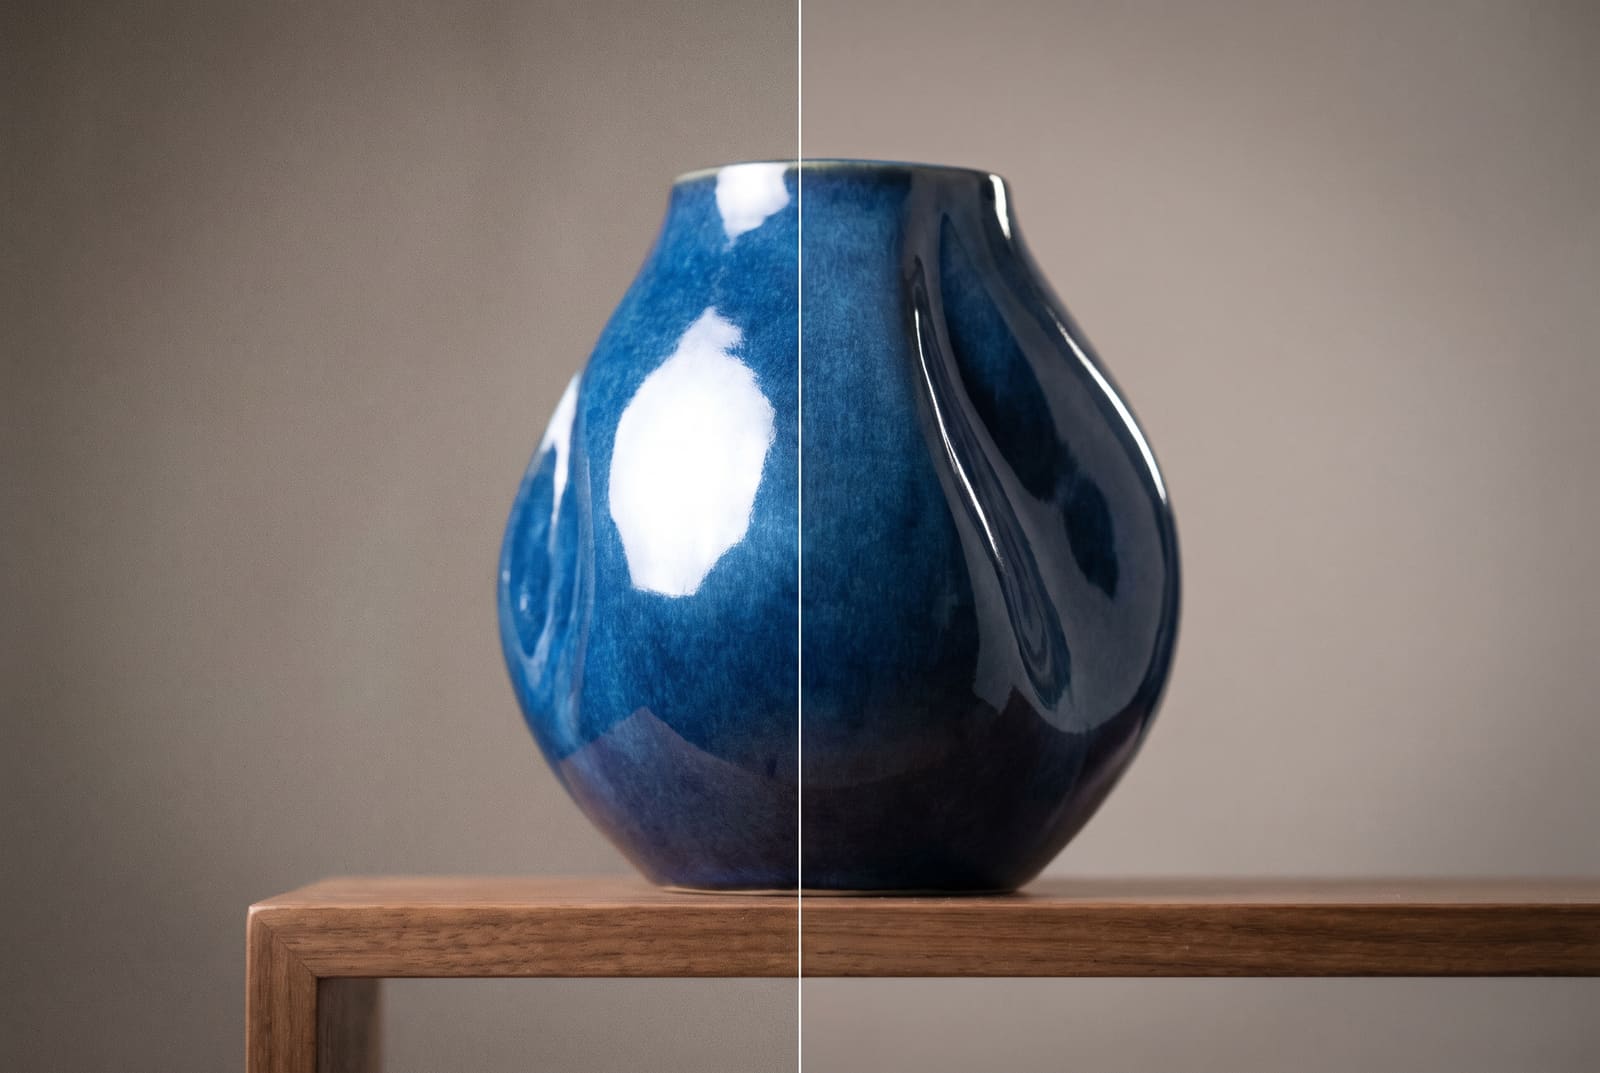
Glare turns good photos into near-misses: glasses that hide someone's eyes, a framed print with a window in it, a flash hotspot on a glossy vase. The reason it is hard to fix is simple. Glare is light that bounced straight into the lens, so the detail underneath often never reached the sensor.
That means the fix depends on how bad it is. This guide walks through the options from least to most invasive, and shows how to avoid the problem on your next shot.
Remove glare from your photo, free in your browser
Try it freeCheck how much detail is left
Zoom in on the glare and look closely.
- Washed out but still textured or tinted. There is detail left. Highlight and exposure adjustments can recover some of it.
- Pure white with no texture at all. The detail is gone. You need an AI fill, which invents it, or a retake.
This matters because adjustments reveal what exists, and an AI fill replaces it. Try the lighter fix first.
Method 1: pull the highlights down
- Open the photo in a phone Photos app or an editor with highlights and exposure controls.
- Lower highlights until the bright area shows color and detail.
- Lower exposure slightly if the whole region is hot.
- Raise shadows a little so the area does not look grey.
This works for mild flash hotspots and sunlit sheen. It will not remove a hard white reflection.
Method 2: erase it with AI
For reflections that are small and sharply edged, such as a window on glass or a spot on glasses, paint them out.
- Open the object remover and upload the photo.
- Paint over the glare with a small brush. Stay inside the lens or frame, and cover the entire glare shape including its soft edge.
- Let the AI fill. It rebuilds what should be behind the glare.
- Check the result at 100 percent. Look at both lenses, the eyes and the frame edge.
- Repeat for other spots and download.
You need a free account for the AI step.
Glasses glare
Glasses are the most common case and the trickiest, because the AI has to invent eyes if the glare covers them.
- If the eyes are partly visible, erase just the glare and the eyes will usually blend in.
- If the eyes are completely hidden, retake the photo. Tilt your chin down slightly, or turn your head a few degrees so the lens angle changes.
- Make both lenses consistent. If you fix only one, the edit may be obvious.
- Keep reflections believable. A faint, soft reflection on lenses looks natural. Zero reflection looks fake.
Flash glare on glossy items
A flash makes a bright circle on anything shiny. For a quick fix, lower highlights, then erase any leftover white spot. For anything you plan to sell, shoot again with the flash off and soft window light, so the real color and texture show. More on soft light is in the guide to product photography lighting.
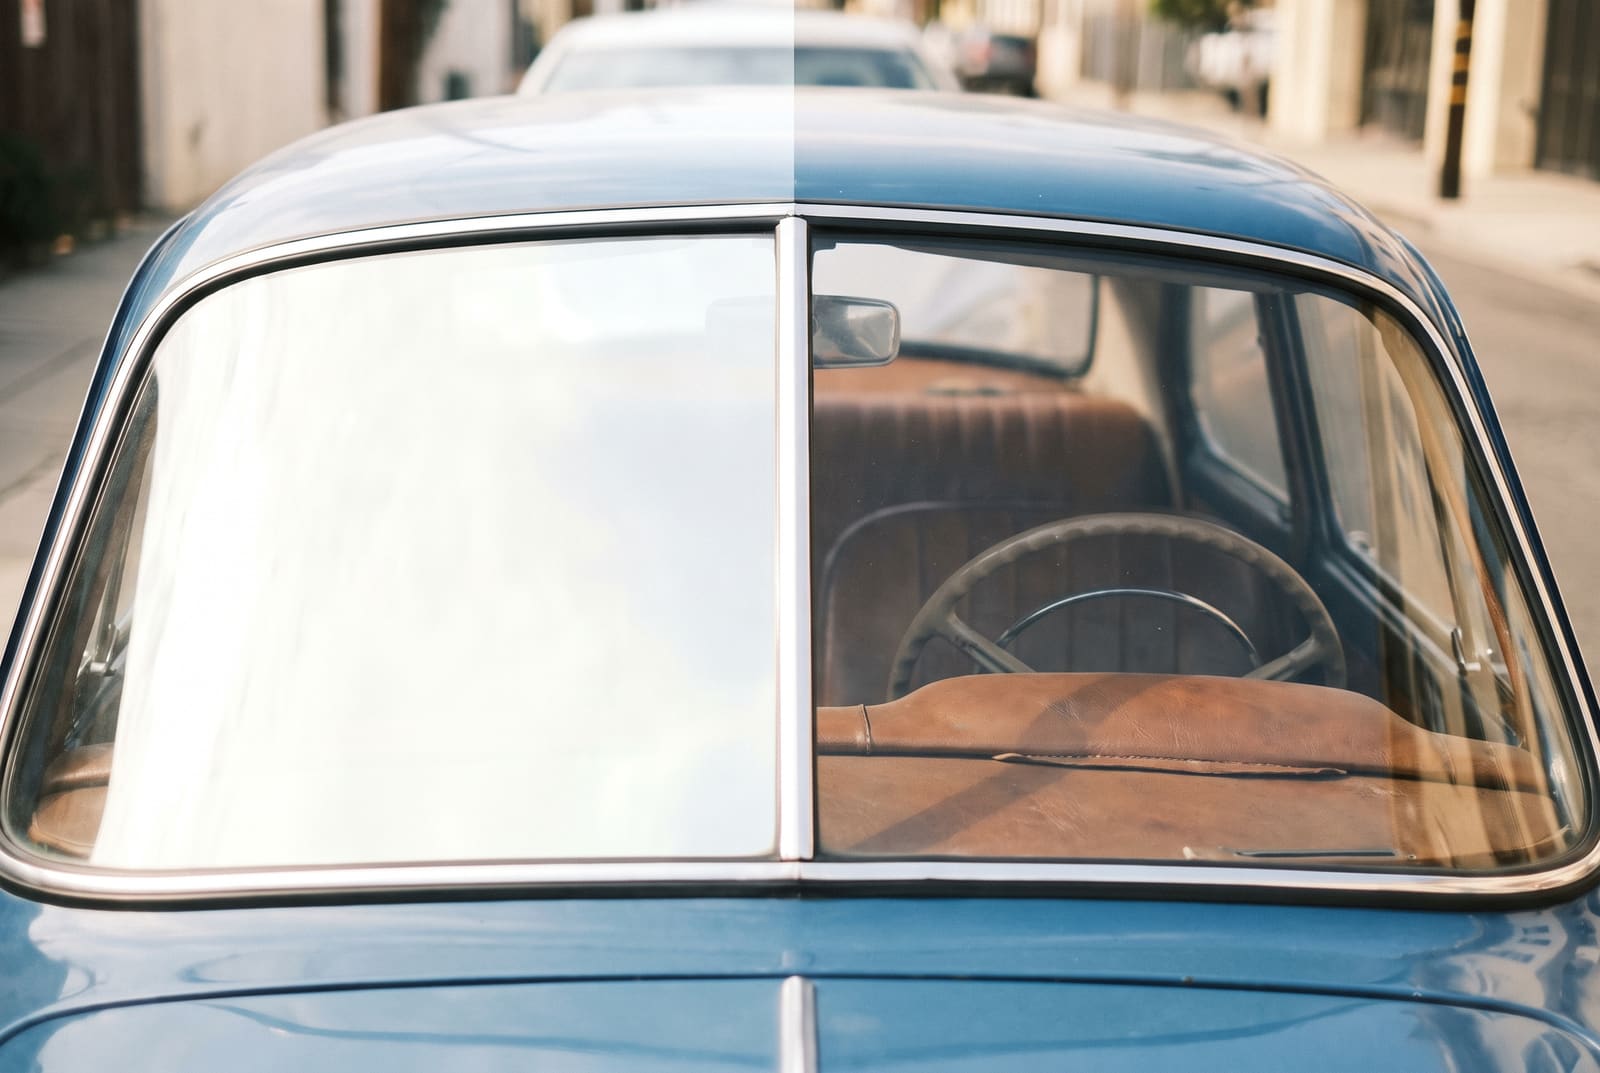
Windshield and window glare
Sky reflections on glass are large, so the AI may struggle to rebuild the interior behind them. Brighten shadows to reveal what is inside first, then erase the leftover bright patches in small steps.
Shoot without glare
Prevention is faster than editing:
- Turn the flash off for glossy things, glass and glasses.
- Change your angle. Move a step left or right. Reflections shift as you move.
- Get close to glass. Press the lens near the surface and shade it with your hand or a jacket.
- Use soft light. A window with a thin curtain gives gentle reflections instead of a hard hotspot.
- Use a polarizing filter if you shoot a lot of glass, water or windshields. Clip-on versions are available for phones.
- Ask your subject to angle their head down slightly when they wear glasses.
- Take several frames. One will usually have less glare.
Finish the photo
After removing glare, check overall brightness and color so the repaired area blends in, then size the image for where it is going with the image resizer. If the repaired patch looks softer than the rest, the AI image upscaler can add back crispness.
Glare on screens and glossy paper
Photos of a monitor, TV or glossy magazine have their own version of the problem. The bright patch is a reflection of the room, and wavy lines can appear when the camera and the screen refresh at different rates. Turn off the lights or draw the curtains, tilt the screen slightly down and shoot from straight on, then crop the edges. For a screenshot-quality copy of a screen, a real screenshot is always better than a photo of it.
Glossy printed photos behave like glass. Place them flat on a table beside a window and shoot from directly above, so the window reflects away from the lens instead of into it.
Frequently asked questions
How do I remove glare from a photo?
Small glare spots and window reflections can be painted out with an AI object remover. Broad washed-out areas need exposure and highlight adjustments first. If detail is completely blown out to white, the AI has to invent it, so retaking the photo is the reliable fix.
How do I remove glare from glasses in a photo?
Paint over the bright patch on the lens and let the AI rebuild what is behind it. Check that the eyes still look natural and that both lenses match. If the eyes are completely hidden, retake the photo with the head angled slightly down.
How do I take a photo through glass without reflections?
Hold the camera close to the glass or press the lens against it, shade the area with your hand or a dark jacket, and turn off the flash. Shoot at a slight angle so your own reflection falls outside the frame.
Can I fix flash glare on a product?
Mild hotspots can be reduced with highlight controls or erased with AI. For listings, reshoot with soft window light and no flash, because buyers need to see the real surface color.
Why is glare so hard to fix?
When a spot is pure white, the original detail is not in the file. Any tool then has to invent it, which is fine for glass and plain surfaces but not for eyes or product details.