How to Enhance Photo Quality: 7 Fixes That Make a Real Difference
Table of Contents
"Enhance" is a vague word. People use it to mean sharper, brighter, cleaner, bigger, or all four at once. The fastest way to improve a photo is to figure out which problem you actually have, then fix that problem in the right order.
This guide breaks quality into seven separate fixes, shows what each one does, and explains where an AI photo enhancer fits.
Enhance your photo, free in your browser
Try it freeDiagnose first
Look at the photo at full size and ask what feels wrong:
| What you see | Problem | Fix |
|---|---|---|
| Flat, grey, washed-out | Exposure and contrast | Fix 2 |
| Orange, green or blue cast | White balance | Fix 3 |
| Grainy or speckled | Noise | Fix 4 |
| Soft edges, no detail | Low sharpness or low resolution | Fixes 5 and 6 |
| Blocky or stair-stepped | Too few pixels | Fix 6 |
| Faded, scratched | Age or scan damage | Fix 7 |
Many photos have two or three of these. Apply the fixes in this order, because each step builds on the one before it.
Fix 1: Crop and straighten
Composition is the biggest quality jump. Cut distractions at the edges, straighten the horizon and bring the subject closer. Use the crop tool. Do this first, because every other fix is applied to the pixels you keep.
Fix 2: Correct exposure and contrast
Most dull photos are under- or overexposed.
- Raise exposure if the photo is dark, lower it if it is bright.
- Lift shadows to see detail in dark areas, and lower highlights to recover bright skies.
- Add contrast to remove the flat, hazy look.
Make small changes. If a photo needs a huge exposure change, the extra brightness will also brighten noise.
Fix 3: Correct color
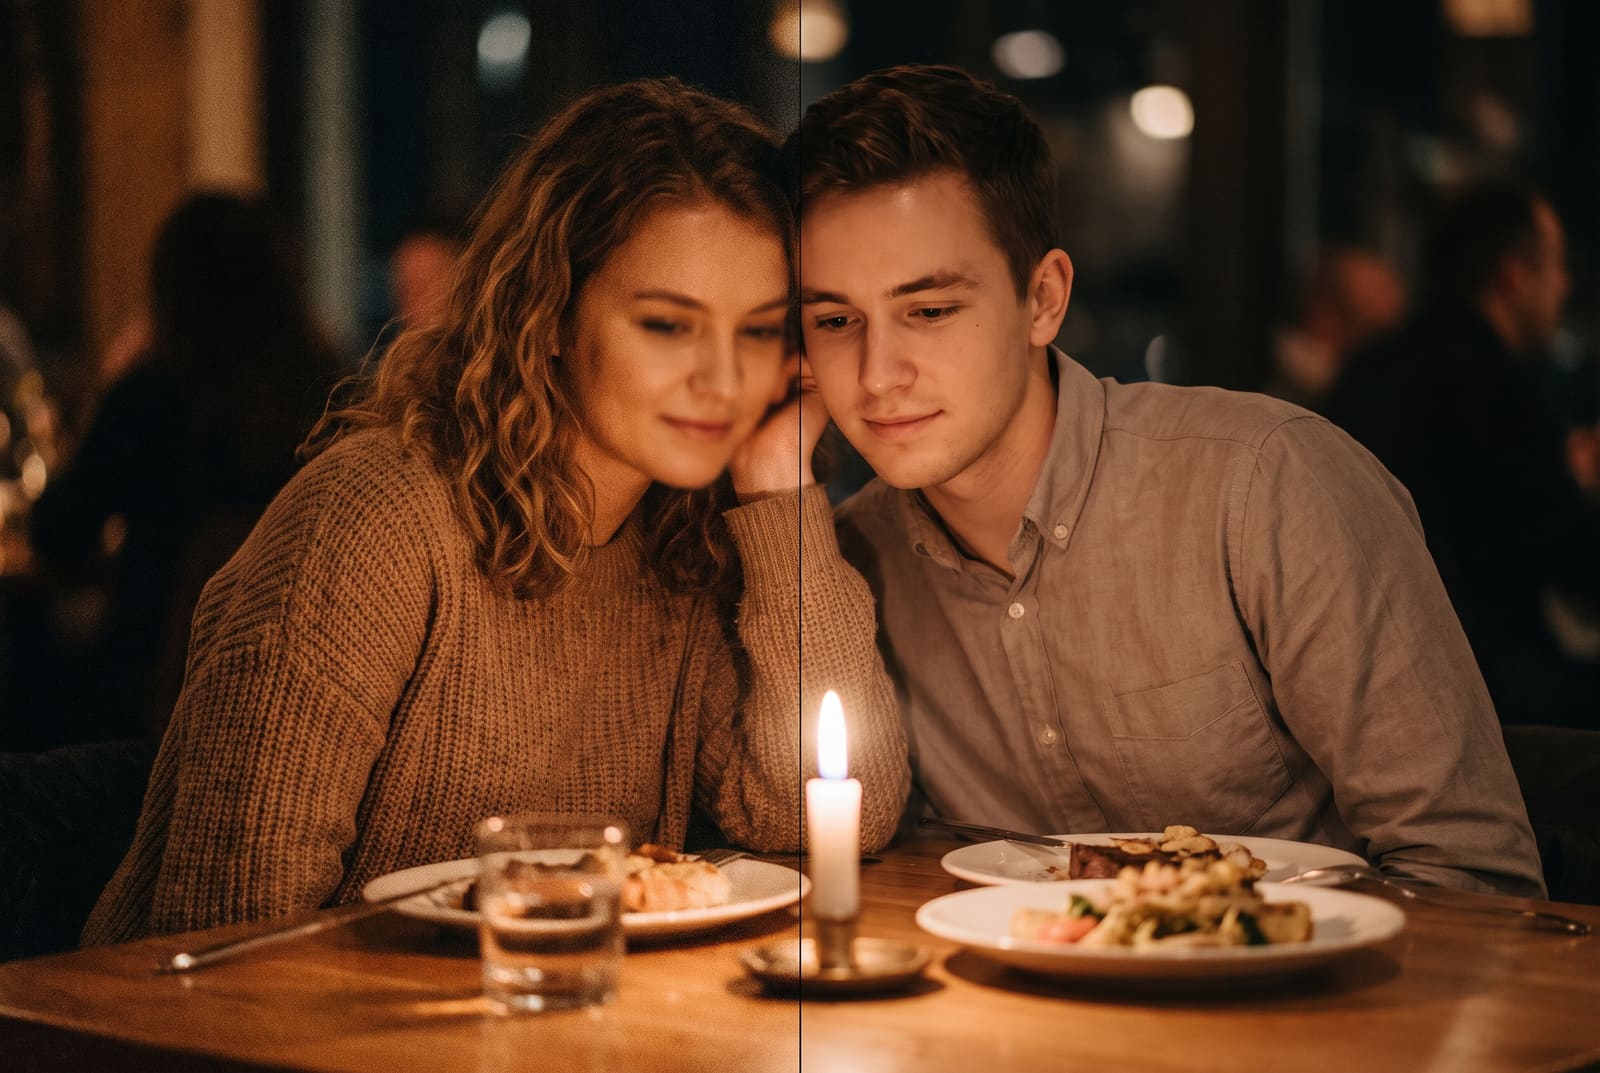
If skin looks orange or whites look blue, the white balance is off. Use a temperature slider to cool a warm photo or warm a cool one. Anchor the correction on something that should be neutral, like a white shirt, paper or clouds. Then adjust saturation gently. Pushing saturation to rescue a dull photo usually makes skin look unnatural.
Fix 4: Reduce noise
Noise shows up as grain or colored speckles, mostly in dark photos. Apply a small amount of noise reduction, enough to calm the speckles without smearing detail. Heavy noise reduction makes skin look waxy. It is better to leave a little grain than to over-smooth.
Fix 5: Sharpen lightly
Sharpening increases edge contrast, so details look crisper. Apply it last and in small amounts. Too much creates bright halos around edges. Sharpening cannot fix a genuinely blurred photo. For that, use the unblur tool.
Fix 6: Increase resolution
If the photo is small, soft or blocky, no amount of sharpening will help. It needs more pixels.
An AI upscaler enlarges the image 2x or 4x and generates new detail rather than just stretching pixels. This is what most "AI photo enhancers" do under the hood.
- Open the AI image upscaler and upload your photo.
- Pick 2x for a slight boost or 4x for a small source.
- Compare to the original at 100 percent and look for odd textures.
- Download and keep the original.
You need a free account for the AI step. For a lengthy comparison of approaches, see upscaling without losing quality, and if the photo is pixelated rather than just small, read how to fix a pixelated image.
Fix 7: Repair old or damaged photos
Scanned prints fade, collect dust and pick up scratches. For these:
- Scan at a high resolution, ideally 600 dpi or more for small prints.
- Fix contrast and color first.
- Use photo restoration to clean scratches and recover faces.
- For black and white photos, you can add color with the colorize tool.
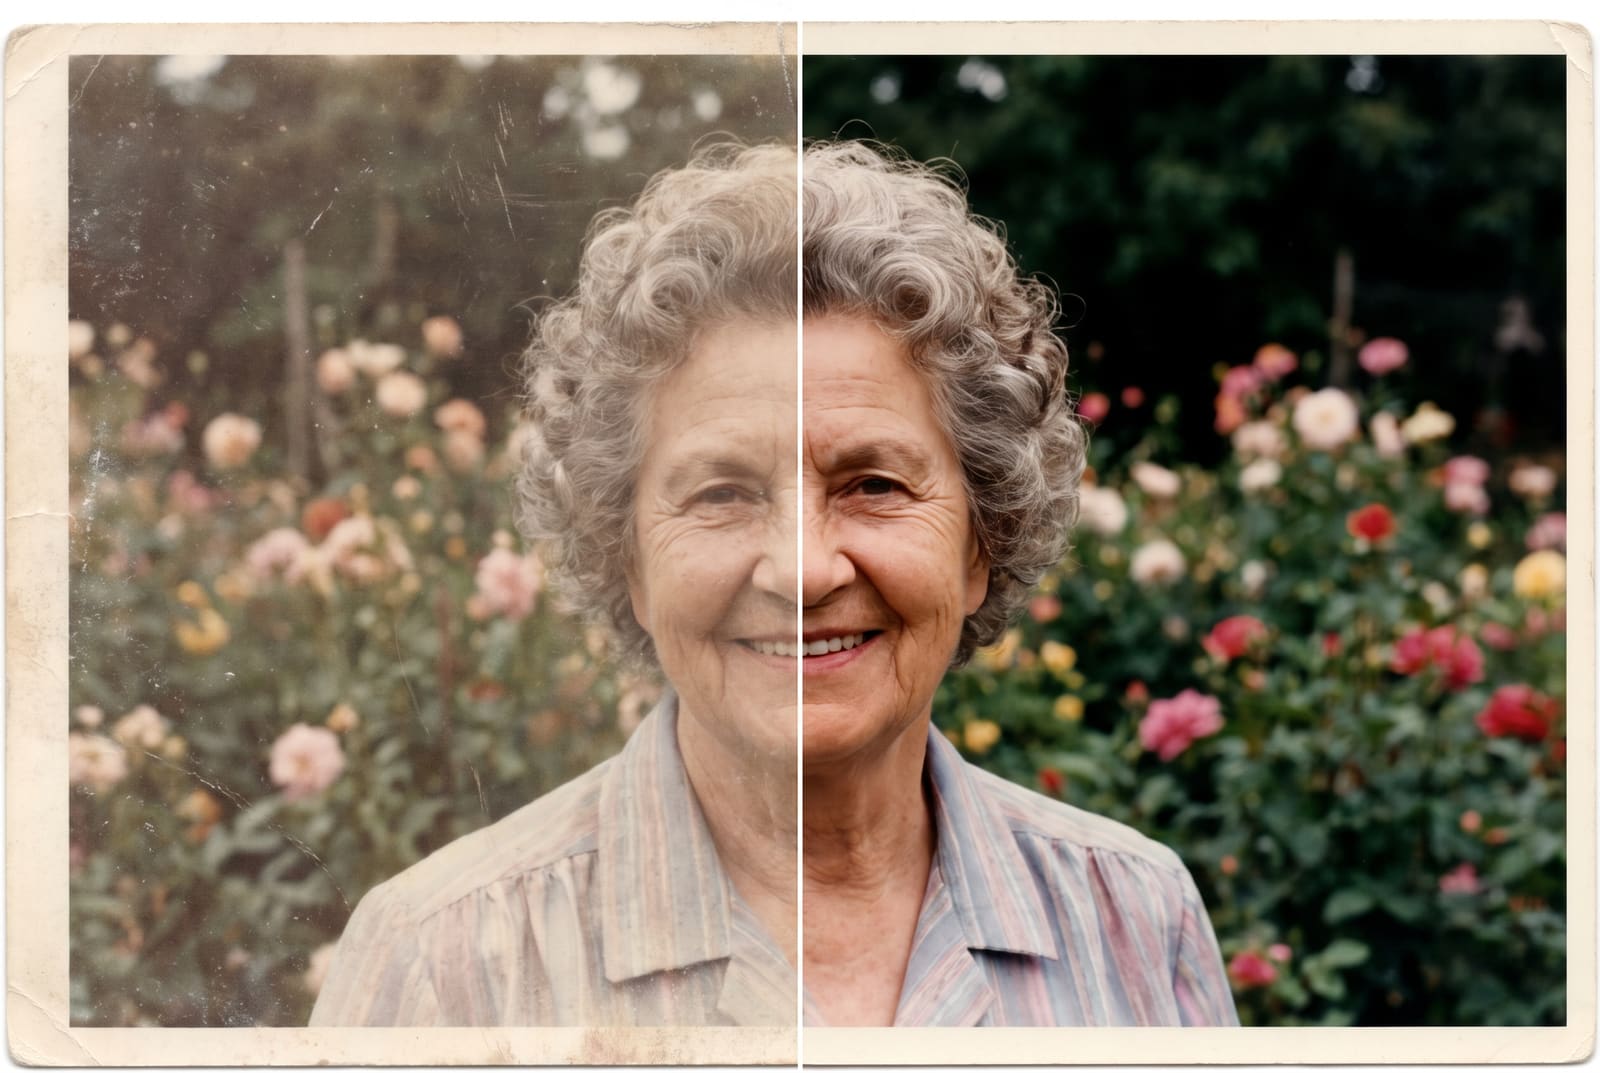
Where an AI photo enhancer helps, and where it does not
| It helps | It struggles |
|---|---|
| Small or low-resolution photos | Very dark photos with almost no detail |
| Soft, slightly out-of-focus shots | Heavy motion blur |
| Compressed photos from chat apps | Photos that are badly overexposed |
| Old scans | Tiny faces in a large group |
An enhancer improves detail, but it cannot fix light. A dark photo with no detail gets noisy when brightened, so exposure should be corrected first and shot better the next time.
Habits that raise quality before you edit
- Clean your lens. A fingerprint softens everything.
- Use window light. Soft light beats any filter.
- Tap to focus on the eyes or subject before shooting.
- Hold steady. Rest your elbows on something or use burst mode.
- Avoid digital zoom. Move closer instead. Digital zoom is just cropping with fewer pixels.
- Shoot the highest quality setting and avoid sending the original through chat apps.
- Export once. Make all your edits, then save the final file once.
Export for the platform
After enhancing, make sure the image is the right size for where it will be seen. Resize it with the image resizer and, if the file is too heavy, shrink it with the image compressor. For more on how resizing affects sharpness, read image resizing and quality.
Frequently asked questions
How do I enhance the quality of a photo?
Work in order: crop and straighten, correct exposure and color, reduce noise, sharpen lightly, then upscale if the photo is small. An AI photo enhancer can handle the resolution and detail step in one click.
What does an AI photo enhancer actually do?
It analyzes the image and generates new detail, which cleans up edges, reduces noise and increases resolution. It is best for small, soft or compressed photos and less useful for badly exposed ones.
Can you really make a low quality photo high quality?
You can make it look much better, but you cannot recover information that was never recorded. Gains are biggest on soft or small photos, and smaller on very dark, blurred or tiny ones.
Should I sharpen or upscale first?
Fix exposure and color first, upscale next and sharpen last, lightly. Sharpening before upscaling exaggerates noise and blocks.
Does enhancing a photo reduce quality?
Not when done in order and saved as a high-quality PNG or high-quality JPG. Quality drops from repeated JPG saves, heavy sharpening and over-processing.