
How to Get Verified on Instagram
Getting verified on Instagram has major perks. Despite personal validation, you also get to show your position as an influential industry leader.

It’s no secret that nearly all photos you find posted online are post-processed in some form, whether it’s by the individual adjusting colors, balancing contrast, or adding and reducing saturation. You can have a great eye for composition when it comes to mobile phone photography, but there will be times when the images you take lack something to transform them from good to great. This is especially true for photos trying to convey a specific atmosphere that may not always show up in raw form when taken digitally. If you’re shooting for something more morose, dreamy, or nostalgic, then you can achieve this by adding film grain texture to your image.
It isn’t unreasonable to shake your head at adding film grain texture to phone photos. Technology has developed enough to produce clear, crisp photographs more accurately capturing the world around us and eliminating the grainy residue that were the norm on photos taken with older cameras. However, if you’re not shooting for hyper-realism and want to make photo viewing all about the mood and experience, adding grain is a valid creative choice. It conveys a dreamy atmosphere and brings texture that can nevertheless make images feel more “real,” despite looking less like it. This especially works in black and white to fit with the vintage aspect, and adds more character for possible future printouts.
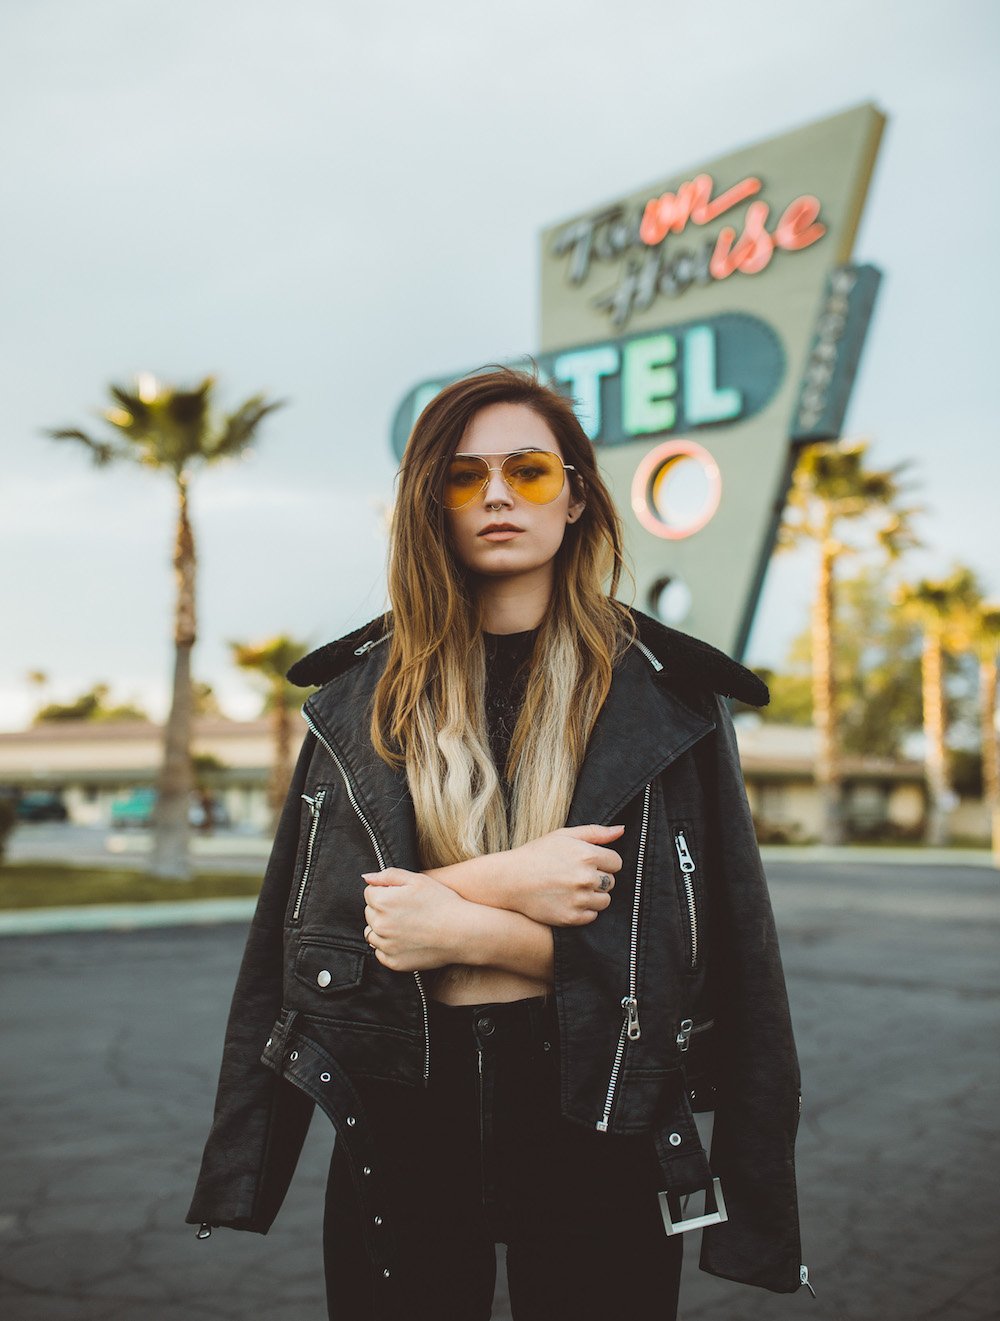
The original image before application of old film filters and film grain texture edits.
Here’s a step-by-step process on how to add an old photo filter using Instasize, and ones from the app library perfect for the job of granting a retro look.
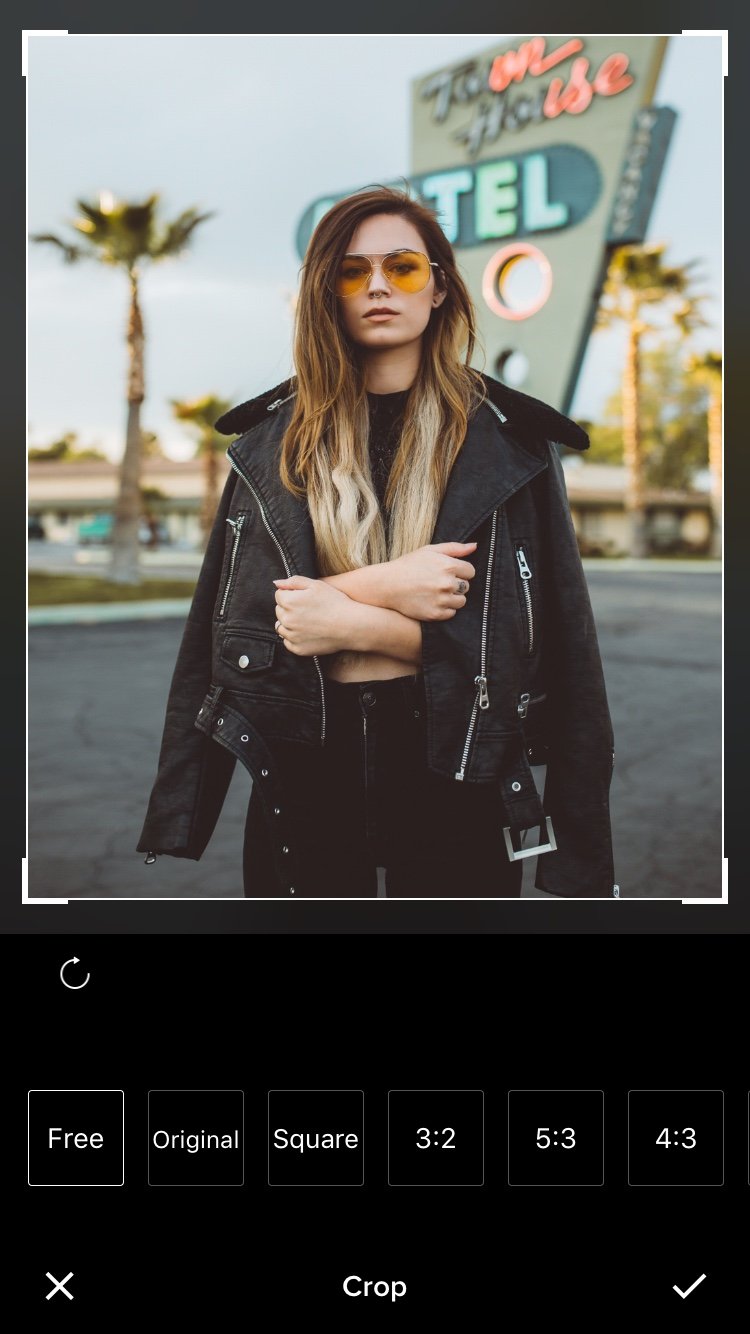
When you fire up the Instasize app, you’ll be taken to your photo grid. You can select a picture you’ve already edited in case you want to change it up, or you can click the plus icon at the bottom. You’ll have the option to upload from your gallery, select multiple images from your gallery and put them into a collage, or take a new photo directly from your camera. The kinds of photos that work best with a grainy texture overlay are ones you want to soften and make more relatable, which works especially well with street photography and more intimate compositions.
Before you add the grain itself, you need to have the image convey the feeling you want more accurately. Colors are important here—using photos with colors and lighting that are too bright can make a grainy image jarring instead of atmospheric. Once you pick a photo you’ll be taken straight to the filter screen. To get that vintage feel, try these filters:
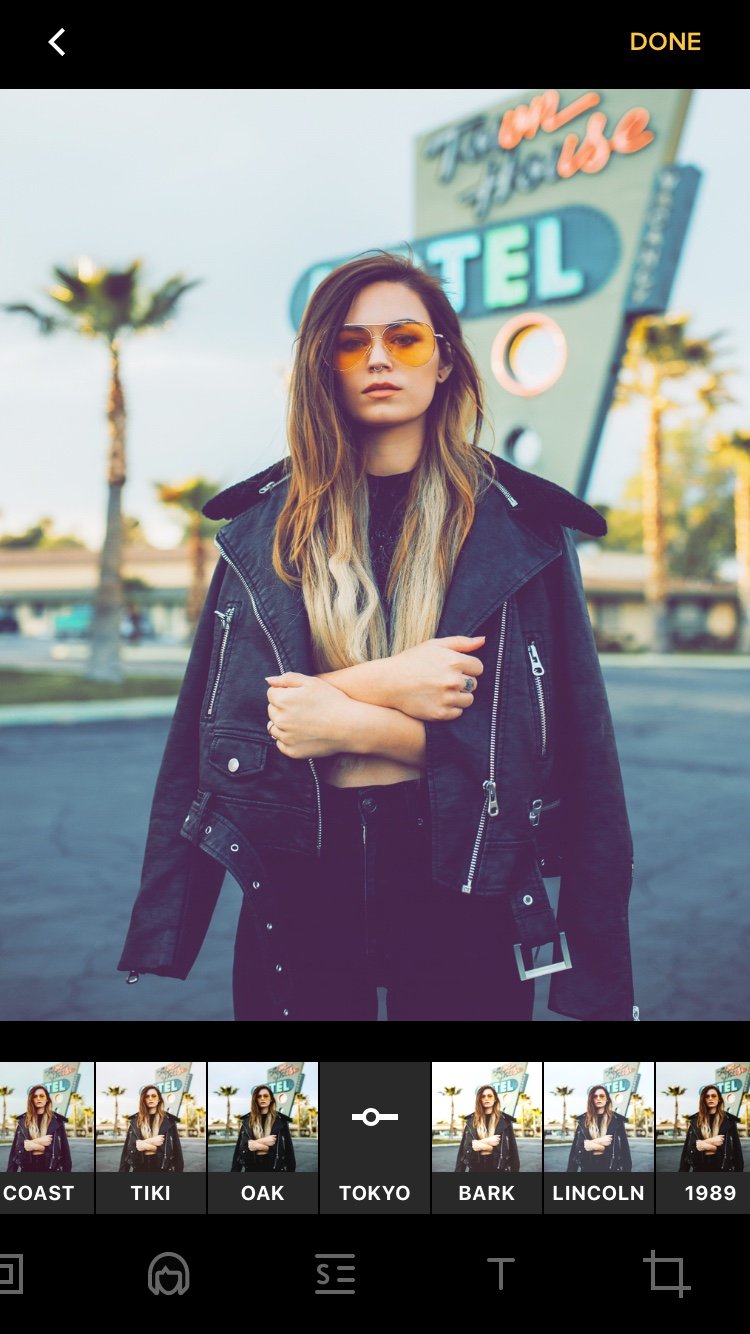

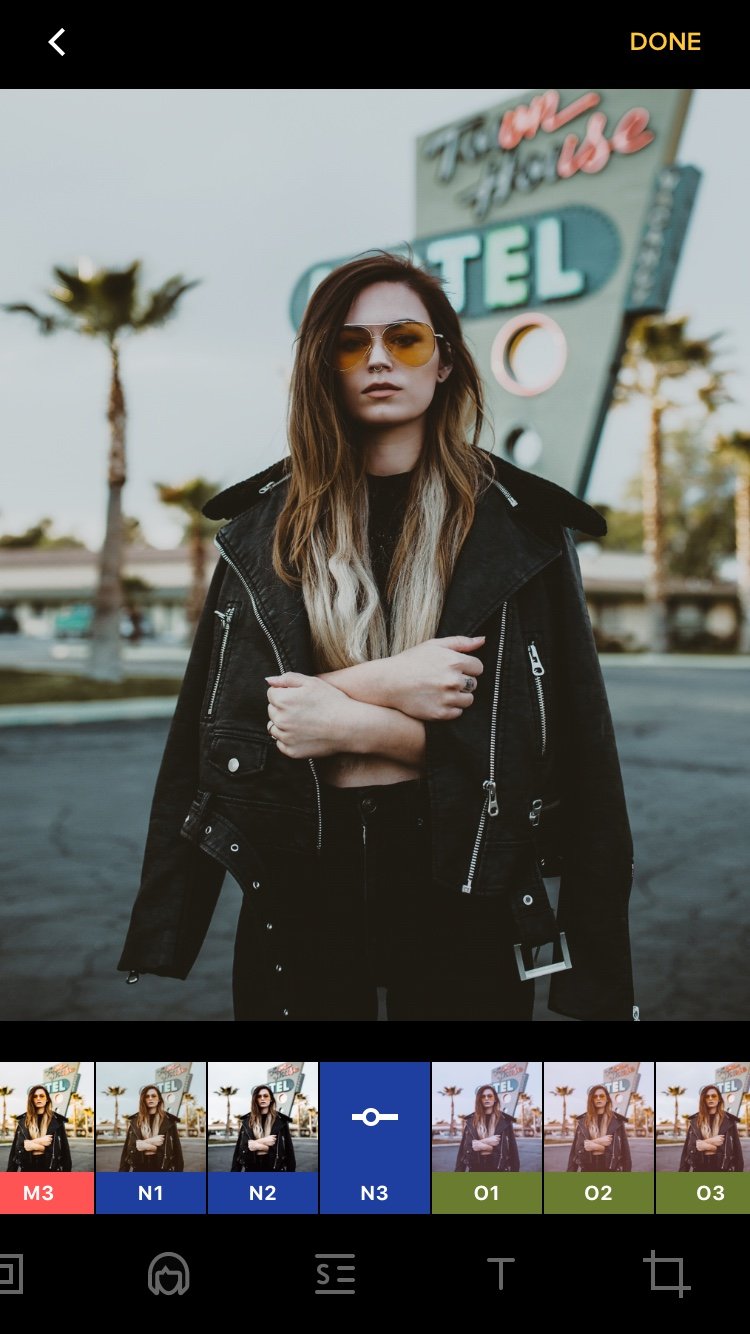
Tokyo: While this filter brightens an image, it also adds a desaturated bluish tint to it, echoing media from the 80’s and 90’s and bringing an overall Japanese city pop inspired aesthetic. This one is available for all users for free.
D2: If you’re fond of sepia hues, this premium filter is for you. This works great in images with a lot of neutral colors to enhance, as it adds a vintage reddish-brown tone. Try it in cafés and comfy-looking shots of coffee, tea, or books.
N3: Another premium filter, this grants the darker edge of the retro look, deepening shadows and darkening an image just like the classic polaroid camera print look.
You can also forego color entirely and pick a filter that turns your photo grayscale or black and white. Choose this for scenes with attractive contrast between lights and darks.
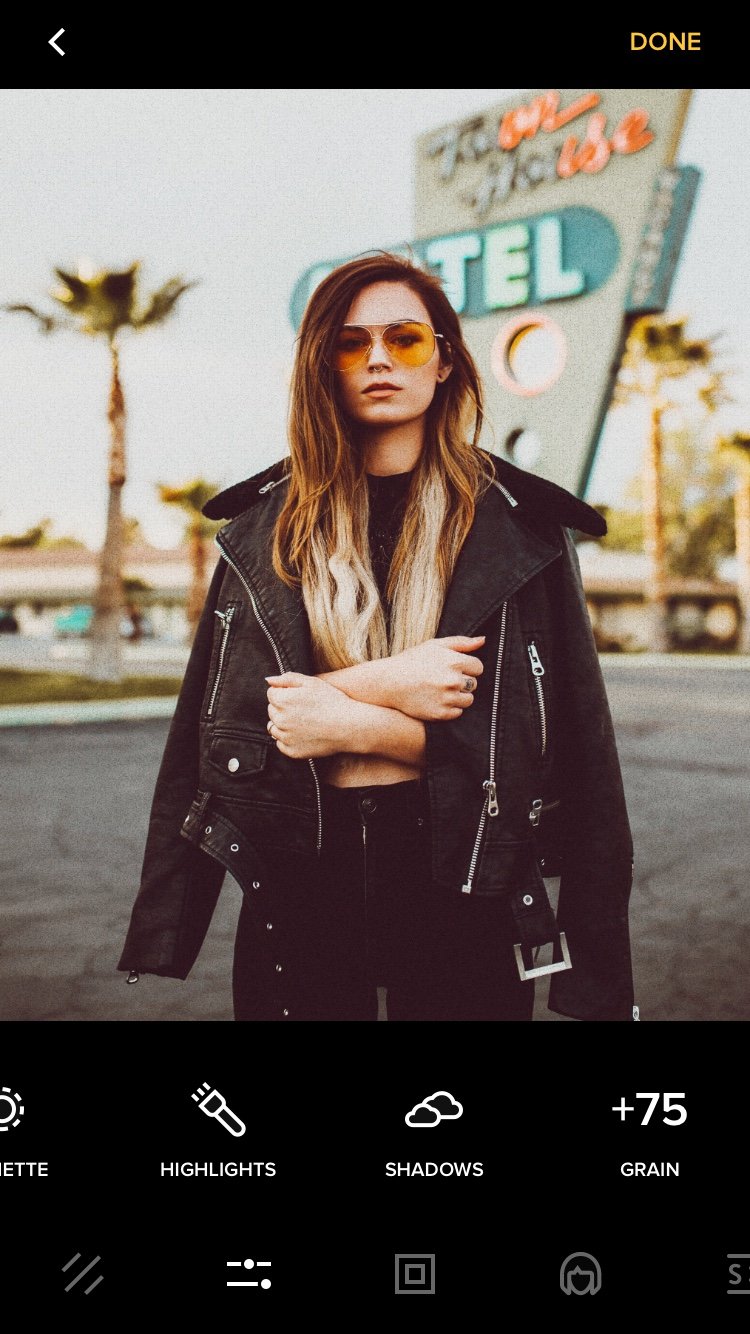
Once you’ve added the filter you want, it’s time to add grain. Select the adjustments menu, the second option from the left in the bottom menu, and scroll to the rightmost part to find the grain slider. For subtler effects, keep the grain slider below 50. To add more, go beyond that. Be careful not to add too much or else it will look too artificial, but don’t add too little either or risk not achieving the soft style you’re aiming for.
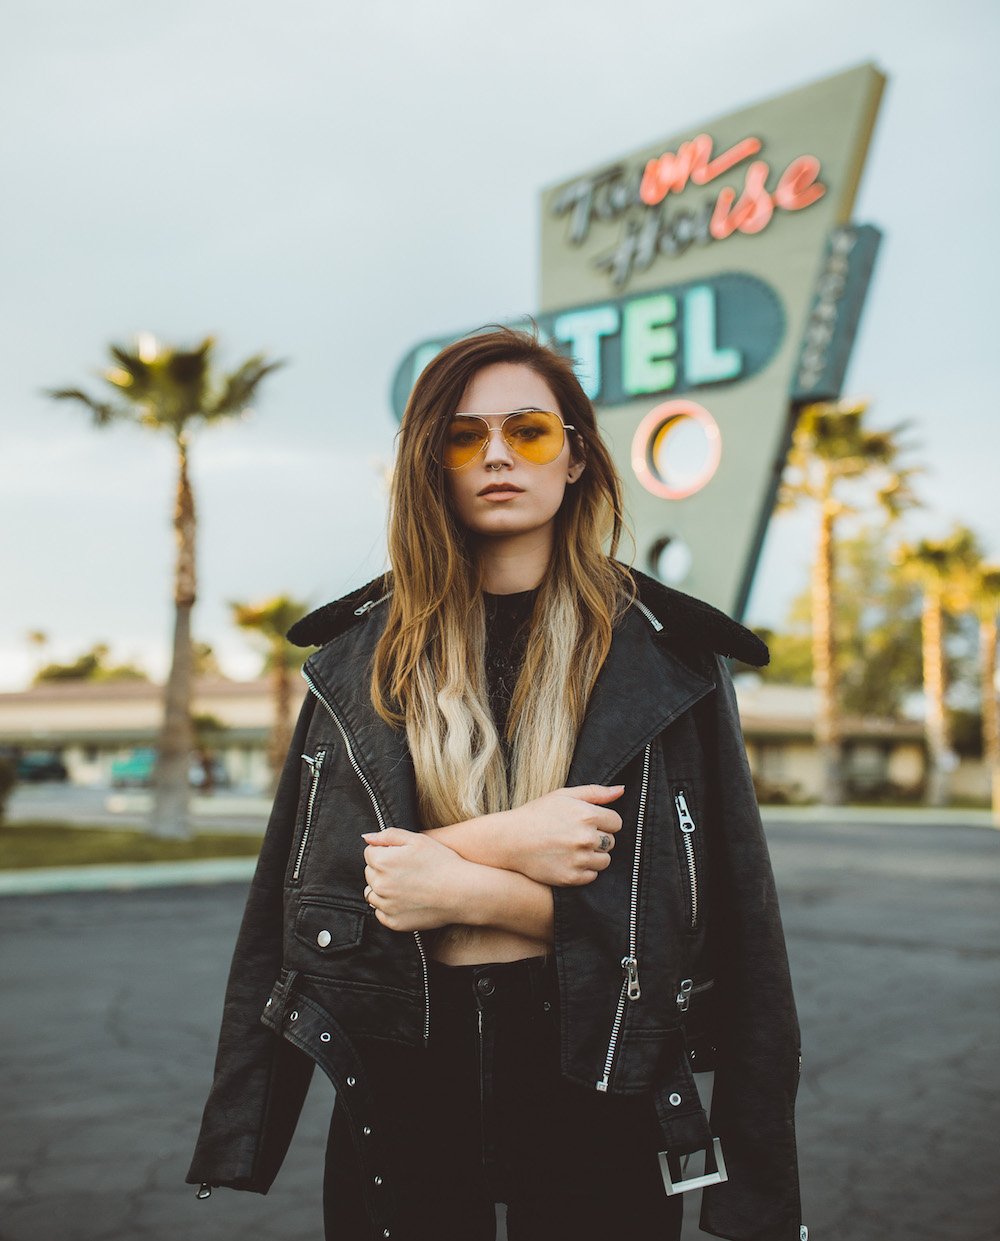
Original Image w/ no Edits
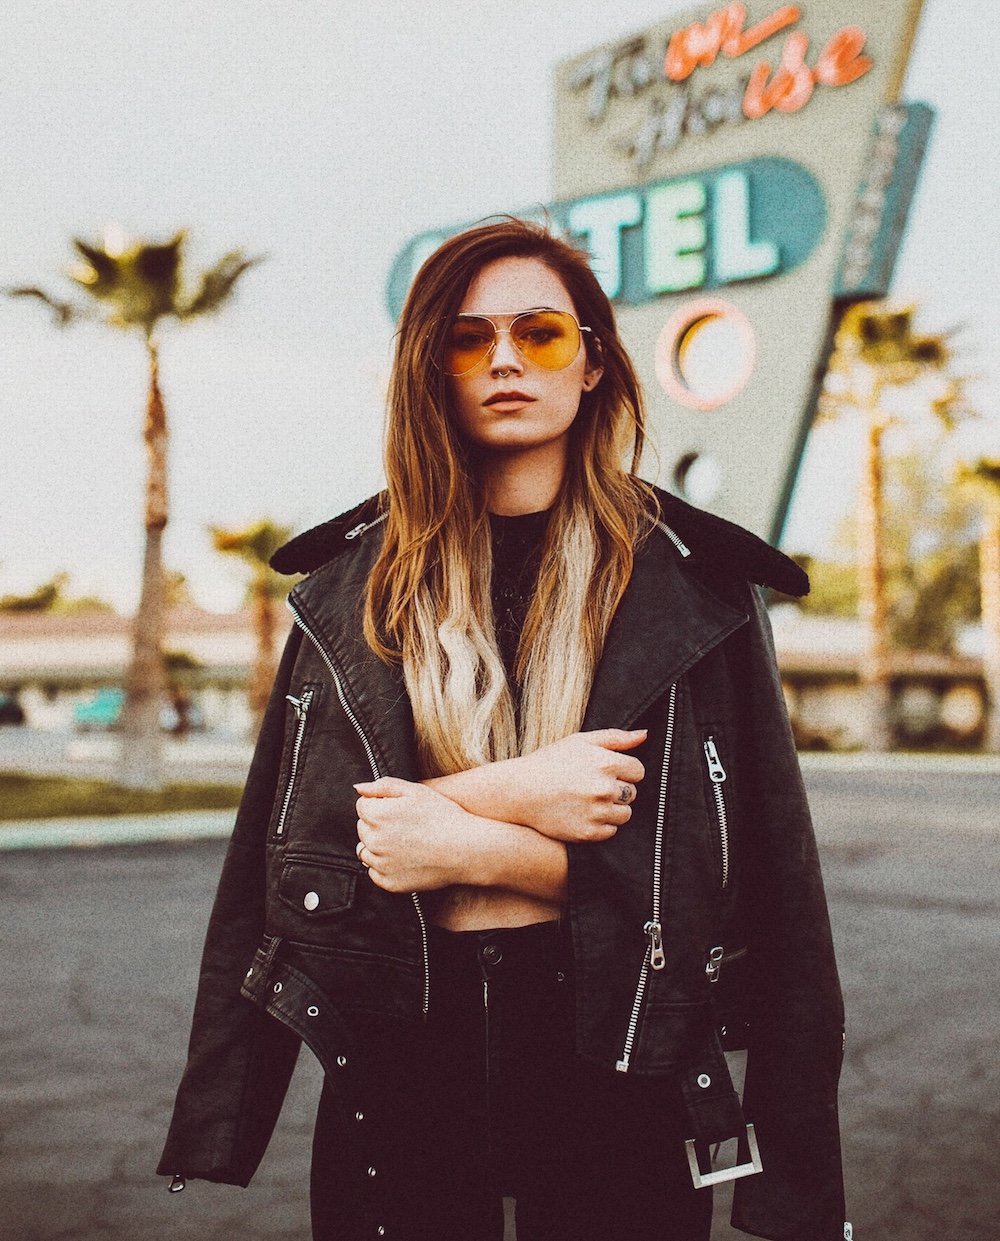
With Film Grain & Filter
The right additions can really make or break an image. While some photos look best when taken digitally, looking at old film photos can get nostalgic once in a while—and you can’t deny some of them hold up well and still look amazing. Getting the photo exactly how you want it is much easier if you have an app with multiple features in one package. The last thing anyone wants to do is spend way too much time than necessary making minor tweaks to photos and needing to switch apps to do it. Instasize takes away that hassle by having numerous filter styles and sliders available to both free and premium users, in addition to video editing, collages, and borders.
Discover the latest expert tips and tricks on mastering social media strategies, honing your photing editing skills, and unleashing your creativity

Getting verified on Instagram has major perks. Despite personal validation, you also get to show your position as an influential industry leader.

Wondering what those emojis mean on Snapchat? Here's a complete guide to understanding Snapchat emoji meanings in 2023.
Learn how to find the dimensions of an image using various methods, including tools for Windows, Mac, online services, browser developer tools, mobile devices, and Instasize Web.
Discover the ultimate strategies to get more views on Etsy. Learn how to optimize your listings, use SEO effectively, and boost your Etsy shop visibility.

Learn about the benefits of background removal batch processing, time-saving automated solutions, and ensuring accuracy in results.
You don’t have to look far in Salt Lake City to find a beautiful mural to share with your followers. We’ve made a list of 11 of the most Instagram worthy murals in SLC.
Everything you need to make your photos stand out with our free photo editing tools