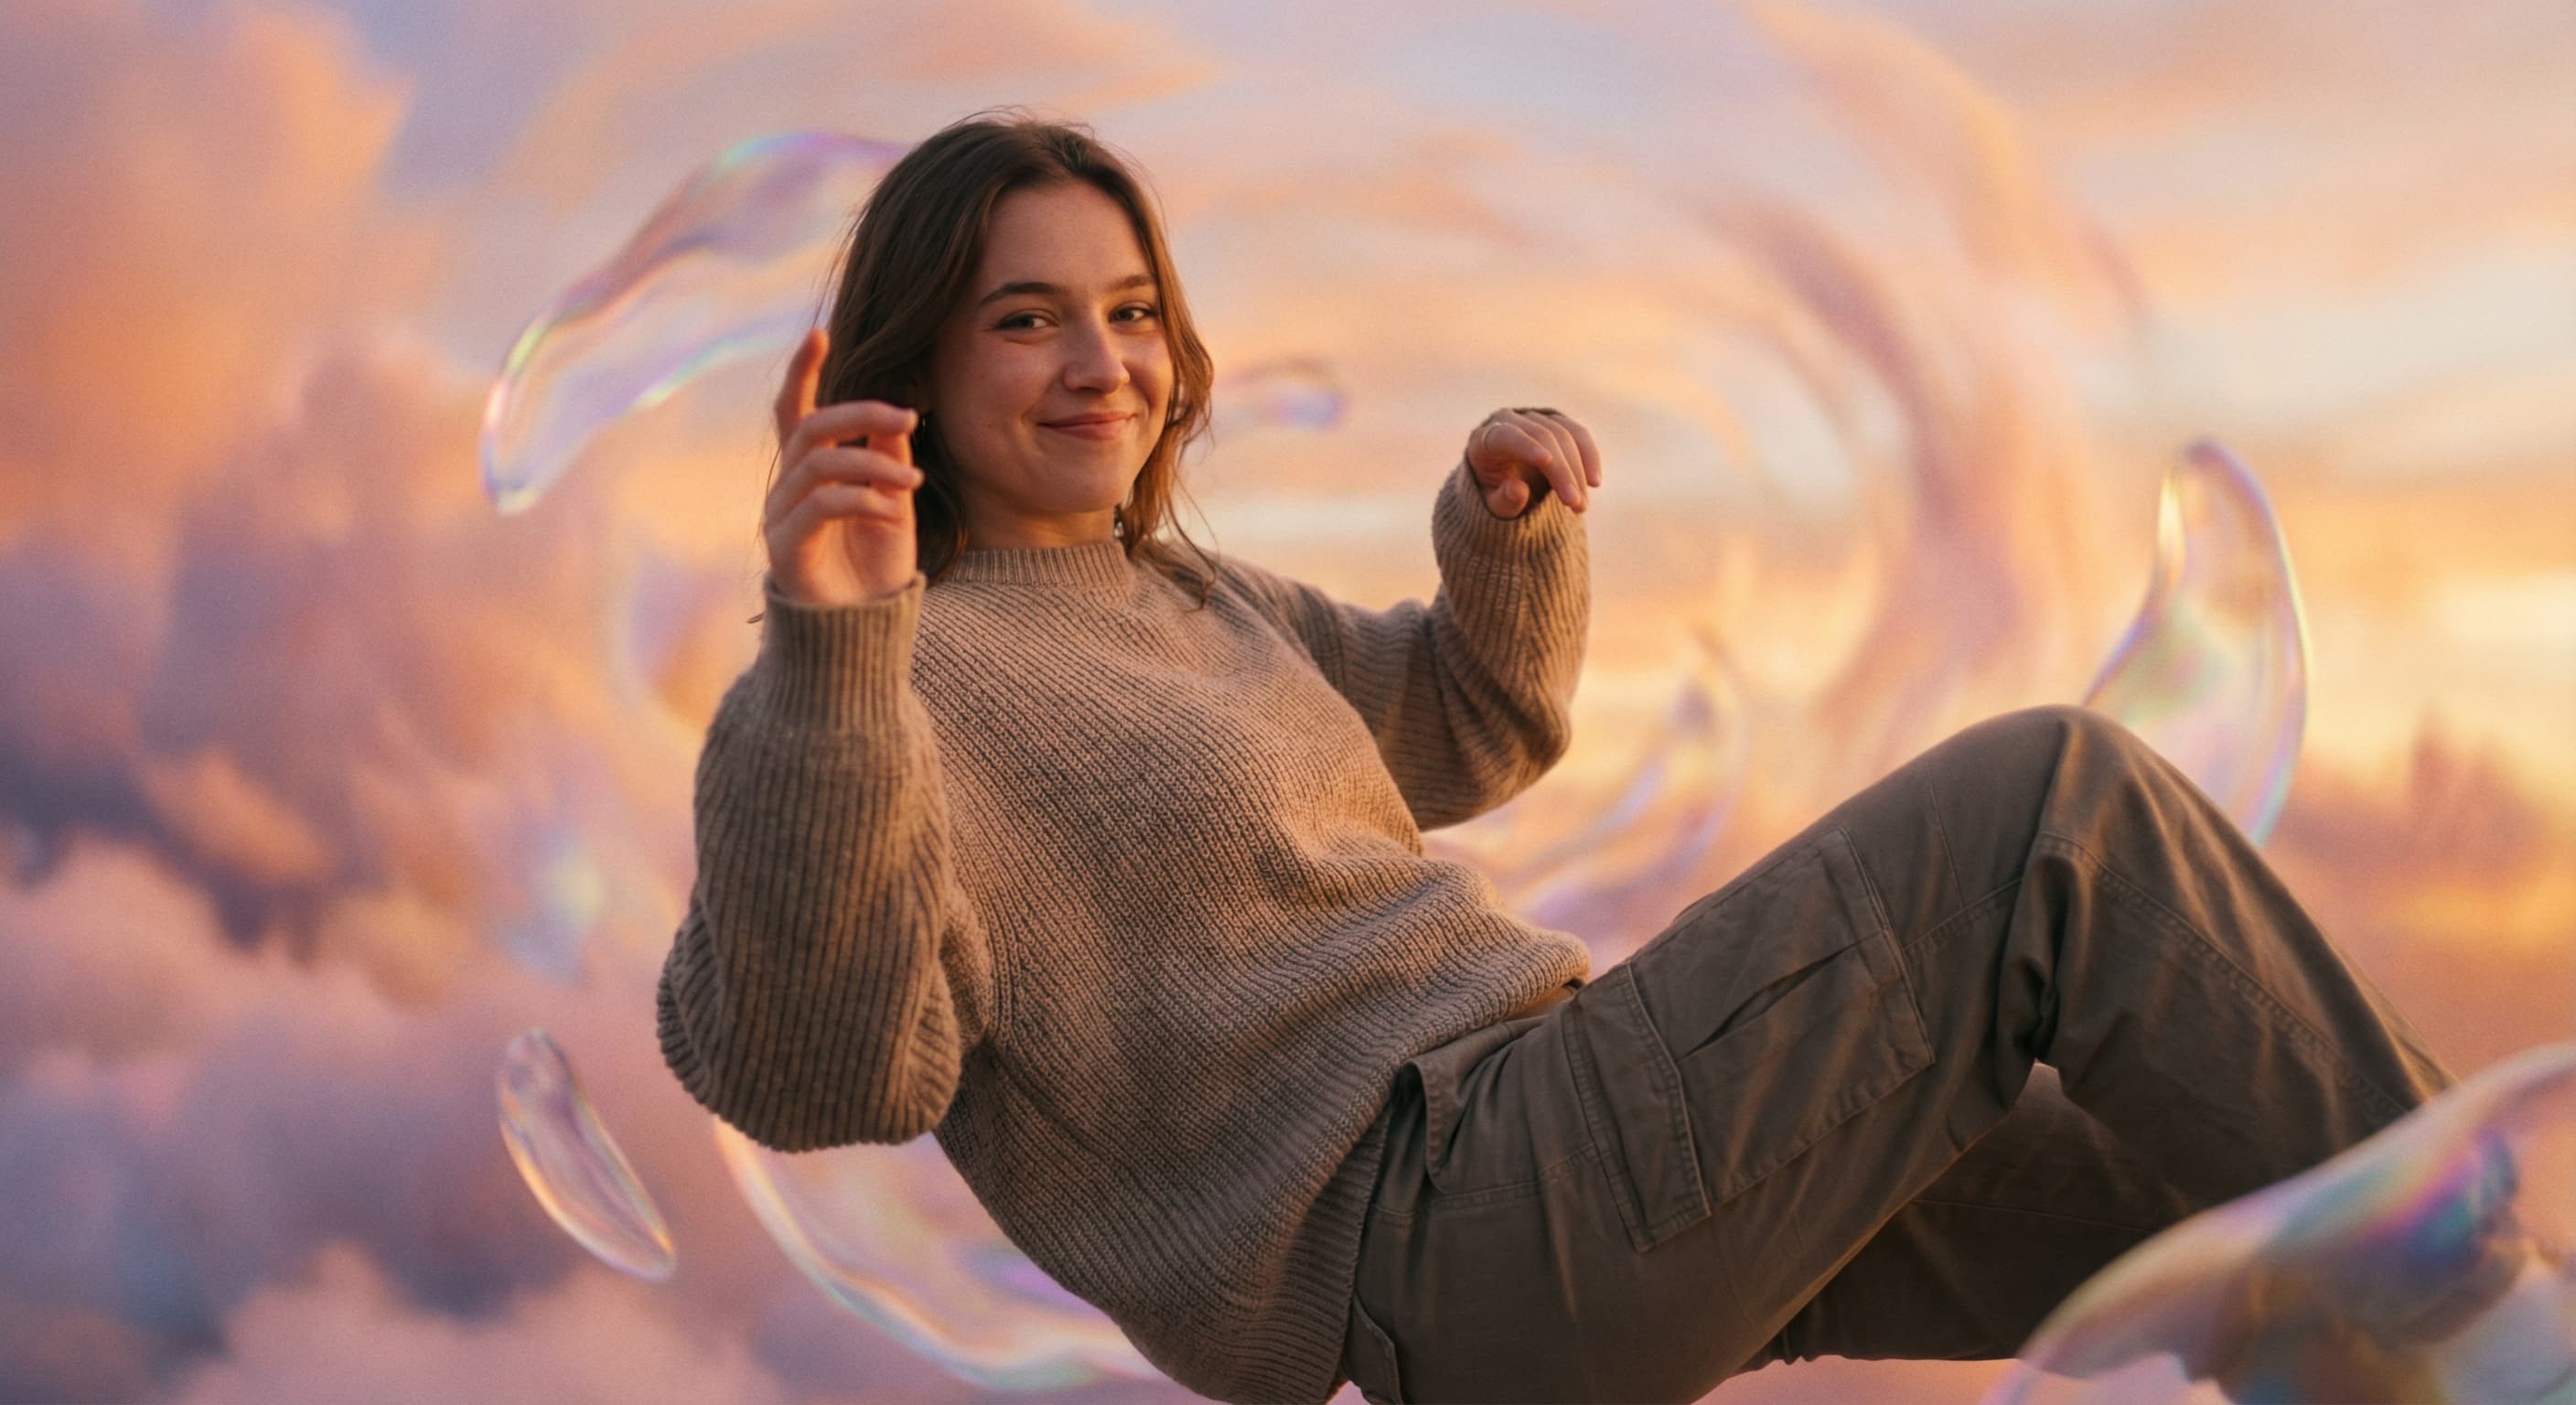
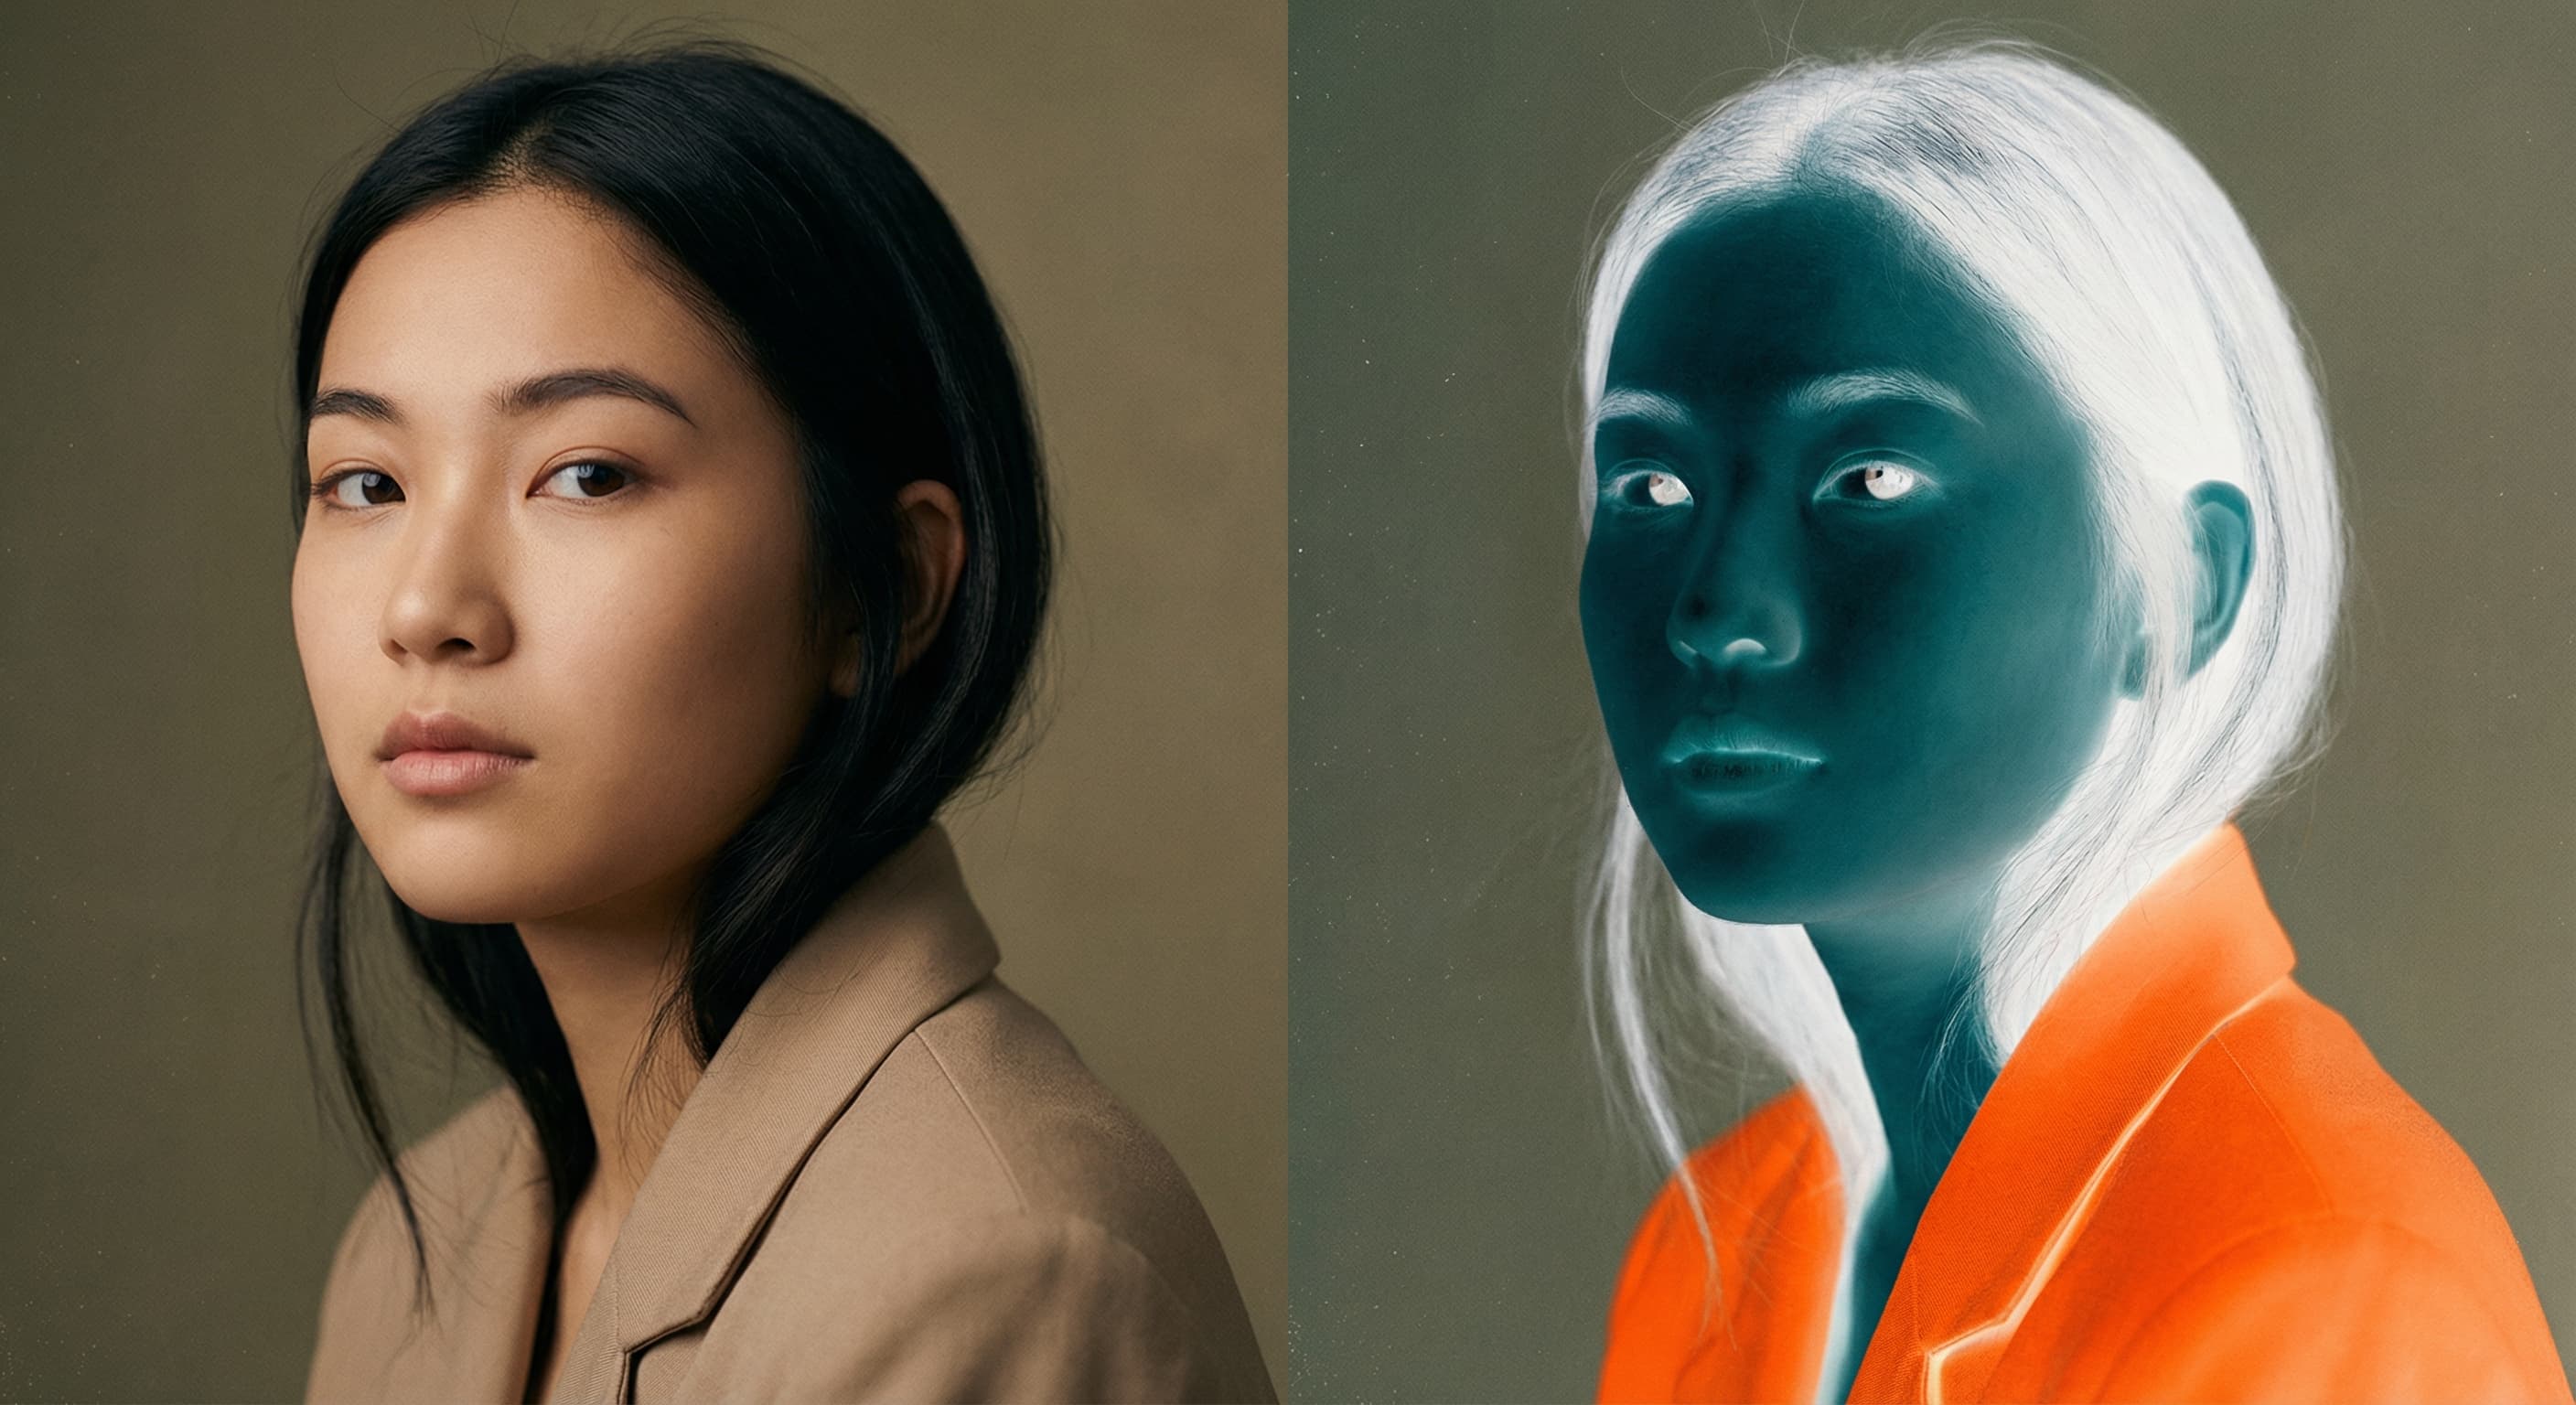
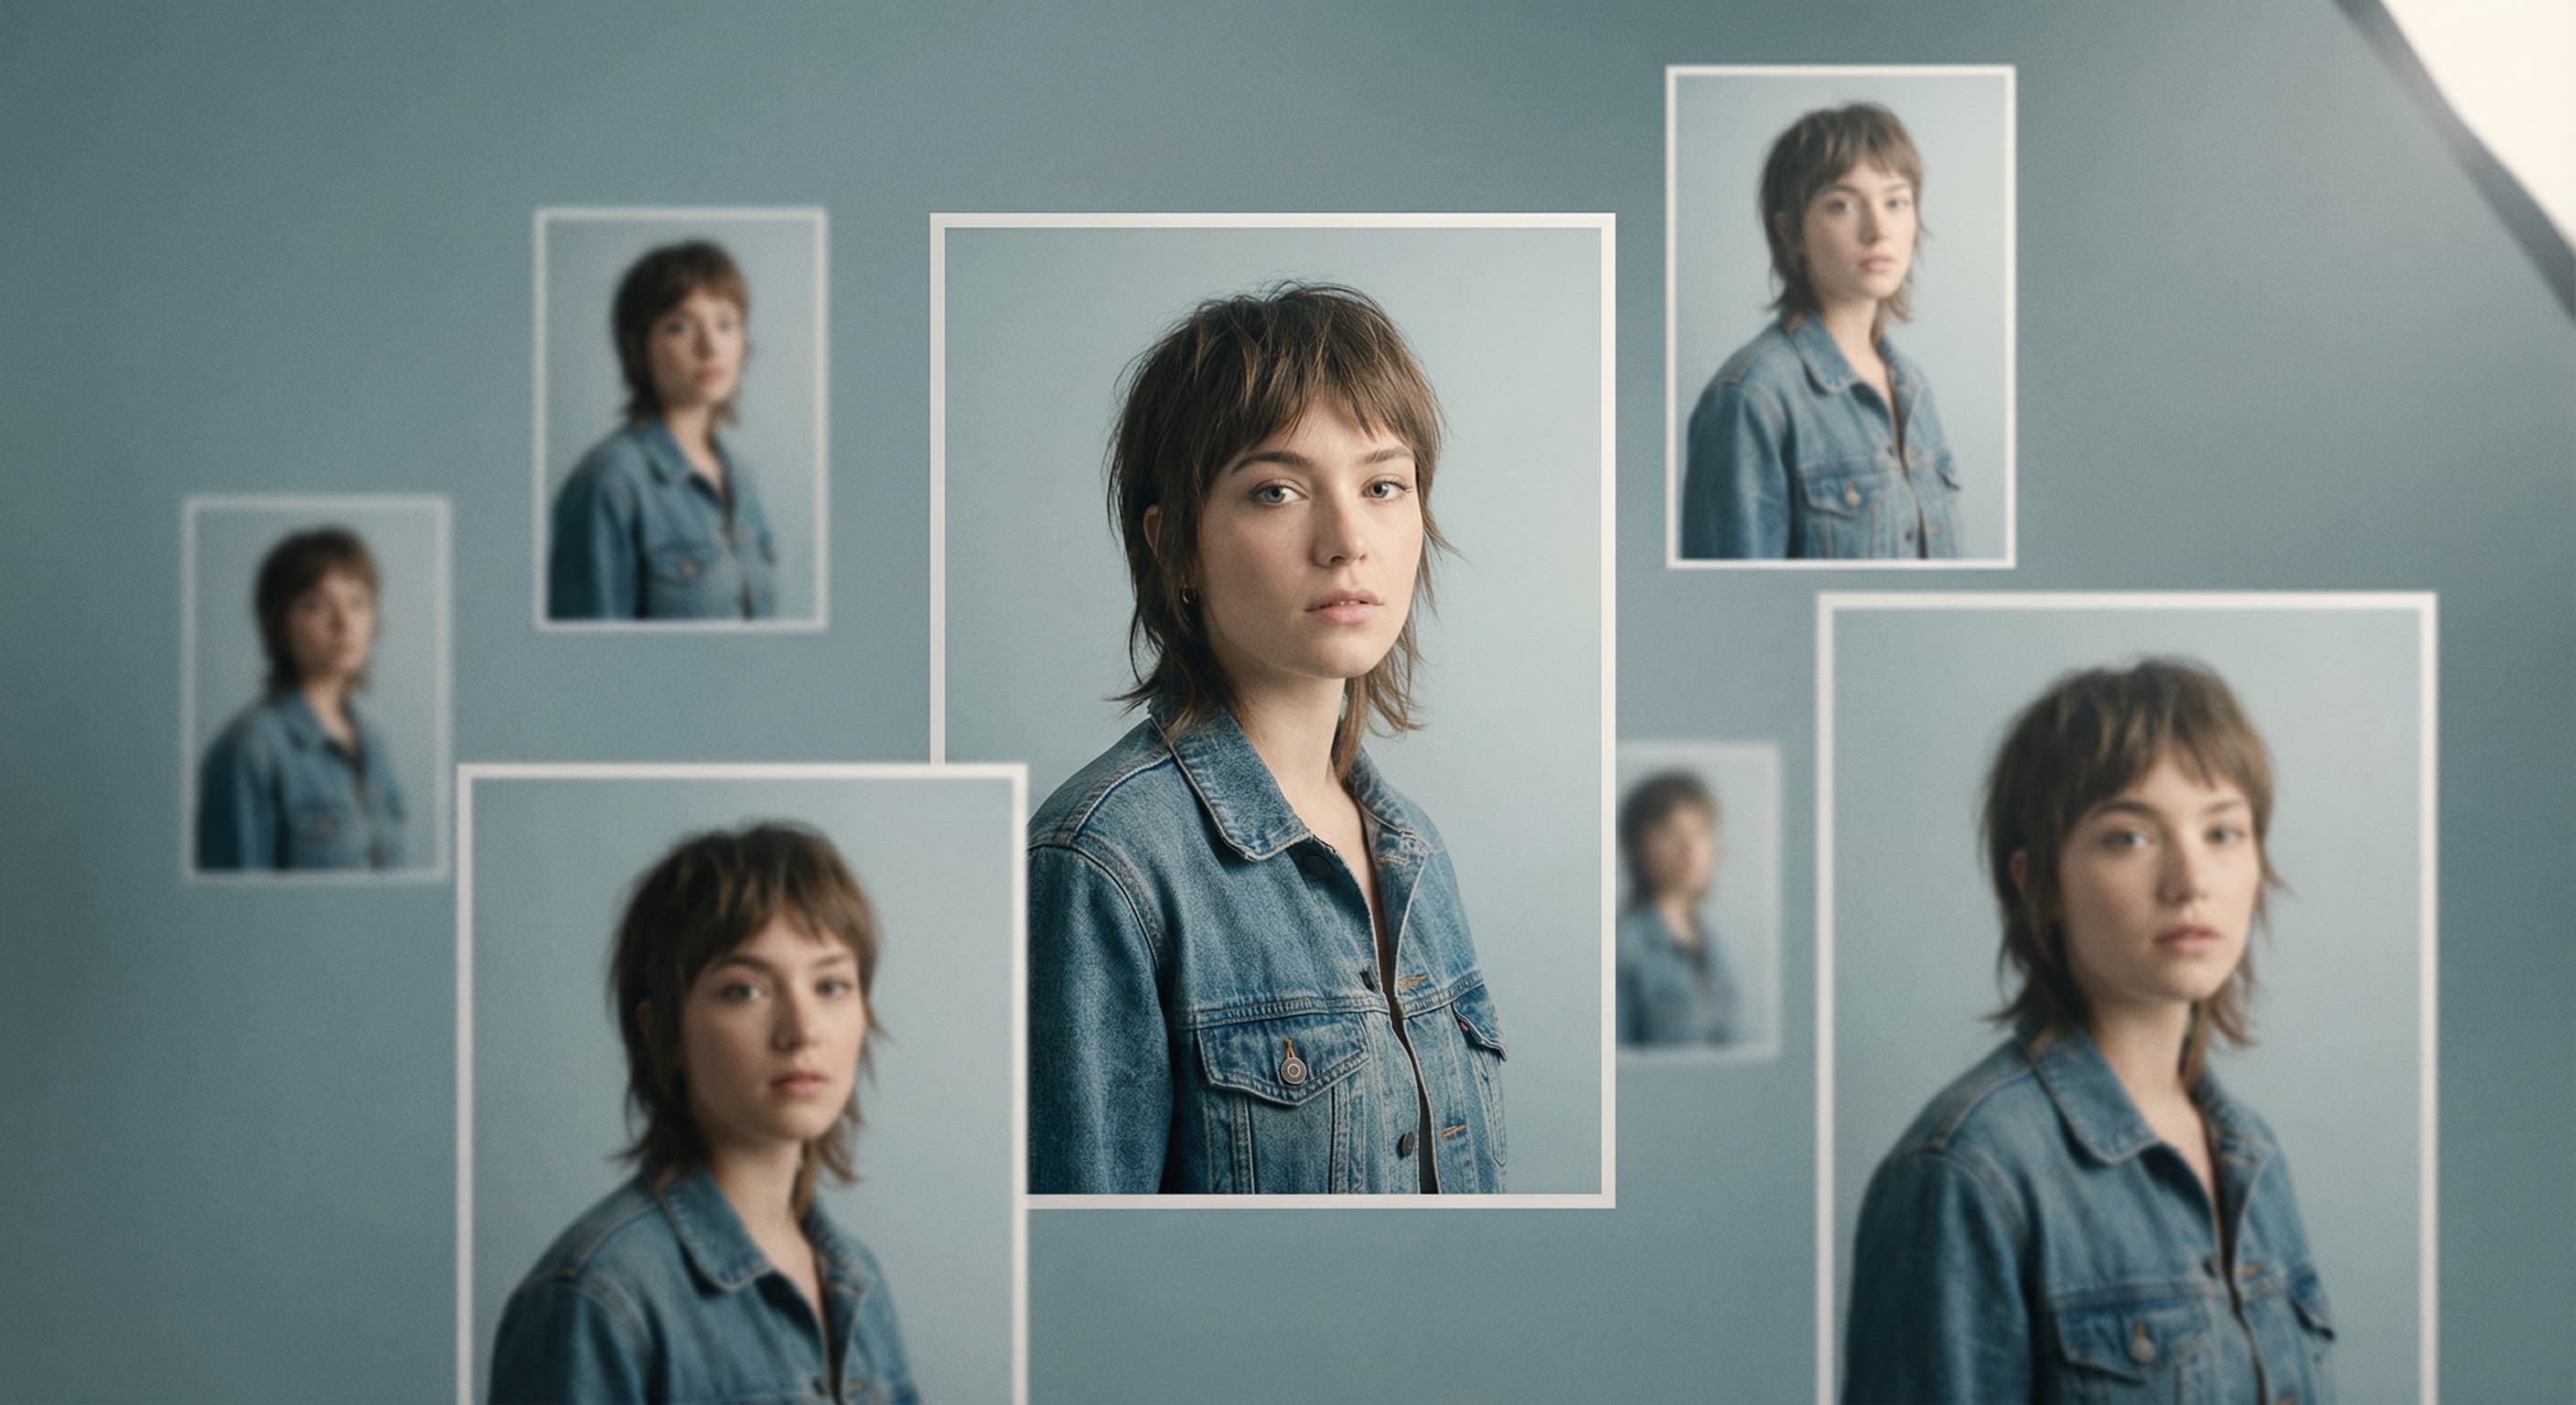
The power of a great headshot is undeniable. It can set the tone, share a message, and even tell a story. As a photographer or an individual keen on mastering the art of headshot photography, one of the most significant elements to perfect is the background.
The background sets the stage for the subject, influencing the mood, color scheme, and overall aesthetic of the image. Choosing the right background can enhance the subject's features, focus the viewer's attention, and even create a desired emotional response. But, with so many options and considerations, how do you select the ideal background for a headshot?
In this guide, we delve into the process of mastering the art of backgrounds in headshot photography. We discuss everything from the role of color theory in backdrop selection, the influence of depth of field, to practical tips on creating stunning backgrounds. Whether you're a professional or a beginner, this article will equip you with the knowledge to capture impressive headshots with compelling backgrounds. Let's dive in!
Choosing the Right Background for Your Headshot
Choosing the right background for your headshot is a key component in determining how the final image will be perceived. A good headshot background should complement your features without detracting from your face. It’s essential to consider color, texture, and setting when selecting a background. It should be appropriate for your professional role and the message you want to convey.
When choosing a background, take into account the color of your hair, eyes, and clothing. A contrasting background can make you stand out, while a harmonious one can create a more soothing image. Pay attention to the texture as well. For example, a smooth background might be suitable for a corporate headshot or even a real estate headshot. While an artistic or creative role might benefit from a more textured backdrop.
The setting you select can also send a subtle message about your profession or personality. An outdoor background with natural elements could suggest an open, approachable persona, while an indoor, more sterile environment could suggest professionalism and seriousness.
The Influence of Backgrounds on the Mood of Headshots
The background of a headshot can greatly impact the mood of the photo. Different colors, textures, and settings can evoke various feelings and emotions in the viewer, making them perceive the subject of the headshot in a certain way.
Warm colors such as reds, oranges, and yellows tend to convey energy, passion, and enthusiasm. Cool colors like blues and greens, on the other hand, suggest calm, trust, and reliability. The use of darker tones can create a dramatic or serious mood, while lighter ones are generally more uplifting.
Texture can also play a major role in setting the mood. A smoother background gives a modern, clean, and professional feel, whereas a more textured one adds depth and character, suggesting complexity and intrigue.
Lastly, the setting or location can also influence the mood. A headshot taken against a city skyline may project ambition and success, while one taken in a park or a forest might suggest a more relaxed, down-to-earth personality.
How to Create a DIY Background for Headshot Photography
Creating a DIY background for your headshot can be both fun and cost-effective. All you need is a bit of creativity and a few household items. Here are some tips to guide you:
You can start with a simple backdrop, such as a plain wall in your home. To add depth and texture, consider hanging a piece of fabric, a curtain, or a sheet. Choose the color carefully, as it will influence how you stand out in the photo.
If you want to create a more professional-looking backdrop, consider investing in a roll of seamless paper, available in various colors. This is an affordable and versatile option that can give your headshots a studio-quality look.
Lighting also plays a big role in the appearance of the background. Experiment with different light sources to see how they alter the look and feel of the backdrop. Remember that natural light is often the most flattering, so try to take advantage of windows and outdoor spaces if possible.
Use of Natural Versus Studio Backgrounds in Headshots
Choosing between a natural or a studio background for your headshot is a decision that's influenced by several factors, including the headshot poses you wish to incorporate. These factors are the purpose of the headshot, the image you want to project, and your personal style. Both natural and studio backgrounds can complement different headshot poses effectively, contributing to the overall aesthetic and message of the photograph.
In a studio background, where you have full control over lighting and backdrop, formal and structured headshot poses may be more fitting. The controlled environment can accentuate these poses, allowing you to manipulate the intensity and direction of the lighting, and the color and texture of the backdrop. On the other hand, natural backgrounds like parks, buildings, or streets may be more conducive to relaxed, casual headshot poses. The inherent variability in colors, textures, and lighting conditions in these settings can add depth to the photo and make these poses seem more authentic.
That said, natural settings can be unpredictable due to changes in weather and lighting, while studio backgrounds might require more equipment and preparation. Therefore, your choice should ultimately hinge on the desired effect, the context of the headshot, and which type of setting would best highlight your chosen headshot poses. With thoughtful consideration, you can also creatively blend both natural and studio elements to craft a unique and impactful photo.
Understanding Color Theory for Choosing Headshot Backgrounds
Understanding color theory can be invaluable when choosing the perfect background for your headshot. Colors can affect how a viewer perceives an image and how they respond to it emotionally. Therefore, choosing the right color for your headshot background is critical.
Colors are generally divided into warm (reds, oranges, yellows), cool (blues, greens, purples), and neutral (white, black, gray, brown) tones. Warm colors can evoke feelings of excitement and passion, cool colors suggest calmness and trust, and neutral tones provide a balanced and professional look.
It's also important to understand color harmony, which refers to the arrangement of colors in a way that is aesthetically pleasing. For example, complementary colors (those opposite each other on the color wheel) can create a vibrant look, while analogous colors (those near each other on the color wheel) can create a more harmonious and calming feel.
Remember to consider the color of your clothing, eyes, and hair when choosing a background color. A good contrast or harmony between these elements can greatly enhance your headshot.
Common Mistakes When Selecting Backgrounds for Headshots
When selecting a background for a headshot, it's easy to make mistakes that detract from the image's overall impact. Here are a few common pitfalls to avoid:
One common mistake is choosing a background that's too busy or distracting. The main focus of a headshot is always the subject's face, so the background should never draw attention away from that.
Another mistake is not considering the color of the background in relation to the subject's skin tone, hair color, and clothing. A background that clashes with these elements can result in an unappealing image. Conversely, if the background color is too similar to these elements, the subject may not stand out sufficiently.
Lastly, inadequate lighting can also be a common mistake. The background should be well-lit, but not more so than the subject. Additionally, the type of lighting used can drastically change the mood and perception of the headshot, so it's important to choose carefully.
How to Use Lighting to Enhance Headshot Backgrounds
Lighting is an integral part of photography and plays a significant role in enhancing the background of a headshot. It can add depth, create mood, and draw attention to or away from certain areas.
Using a key light, which is your primary light source, can help illuminate your subject and provide definition to the face. However, it's also crucial to pay attention to how this light interacts with the background. Too much light on the background can distract from the subject, while too little can make it appear flat and uninteresting.
Adding a backlight or rim light can help separate the subject from the background, giving depth to the image. It creates a glow around the subject, helping them stand out against the background.
You can also use a background light specifically directed at the backdrop. This is particularly effective if you want to highlight certain aspects of a textured background or to create a gradient effect.
The Role of Depth of Field in Creating Stunning Headshot Backgrounds
Depth of field plays a crucial role in creating stunning backgrounds for headshots. A shallow depth of field (large aperture, such as f/1.8) will blur the background, helping to isolate the subject and minimize background distractions. This can be particularly useful in actor headshots or LinkedIn headshots, where the focus should be solely on the individual
On the other hand, a large depth of field (small aperture, such as f/11) keeps more of the background in focus. This can be useful when the background contributes to the story you're trying to tell with the headshot, or when shooting headshots in a beautiful natural or architectural setting.
Keep in mind that the lens you use can significantly affect the depth of field. Lenses with larger maximum apertures can create a more substantial blur, which can be beneficial for headshots as it brings attention directly to the subject.
Professional Tips for Blurring the Background in Headshot Photography
Blurring the background in headshot photography, also known as creating a 'bokeh' effect, is a popular technique used to isolate the subject and minimize distractions. Here are some professional tips to achieve this effect:
Use a lens with a large maximum aperture, such as f/1.8 or f/1.4. This allows more light into the lens, creating a shallow depth of field and a blurry background.
Position your subject a good distance away from the background. The further your subject is from the background, the more blurred it will be.
Get close to your subject. The closer you are to your subject, the more the background will blur.
Remember to keep your subject in sharp focus. While the goal is to blur the background, the subject should remain clear and detailed.
Case Study: Comparing the Effect of Different Backgrounds on the Same Headshot
To understand the profound impact of backgrounds on a headshot, consider this case study where we compare the effect of different backgrounds on the same subject.
In the first scenario, the subject is placed against a simple white background in a studio setting. The lighting is controlled, and the result is a clean, professional headshot. The white background gives a timeless feel and allows the focus to be entirely on the subject.
The second scenario places the subject outdoors, against a backdrop of a brick wall with graffiti. The mood here is very different. The headshot appears more casual and creative, and the colorful background adds a vibrant and energetic feel.
Lastly, consider a scenario with a natural background, such as a park. The greenery in the background adds a fresh, relaxed mood to the headshot.
This comparison demonstrates how different backgrounds can drastically alter the mood, style, and perception of a headshot. Therefore, choosing the right background is a crucial step in capturing the perfect headshot.
Conclusion
The choice of background in a headshot photo can make a significant difference in the overall effect and mood of the image. Whether it's a carefully chosen color to complement the subject's features, a DIY backdrop created at home, or a natural setting used to convey authenticity, each background tells a different story.
Understanding the principles of color theory, lighting, and depth of field can help you choose or create the perfect background for your headshots. Avoiding common mistakes, like overly busy or distracting backgrounds, can also improve the quality of your photos.
From studio setups to outdoor locations, and from neutral colors to vibrant hues, the possibilities are endless when it comes to headshot backgrounds. The important thing is to remember that the background should enhance the image of the subject, not overshadow it.
With these tips and strategies, you can start exploring and experimenting with different backgrounds, creating headshots that are not only professional and flattering but also uniquely expressive


