How to Use Photo Grids for Better Instagram Posts
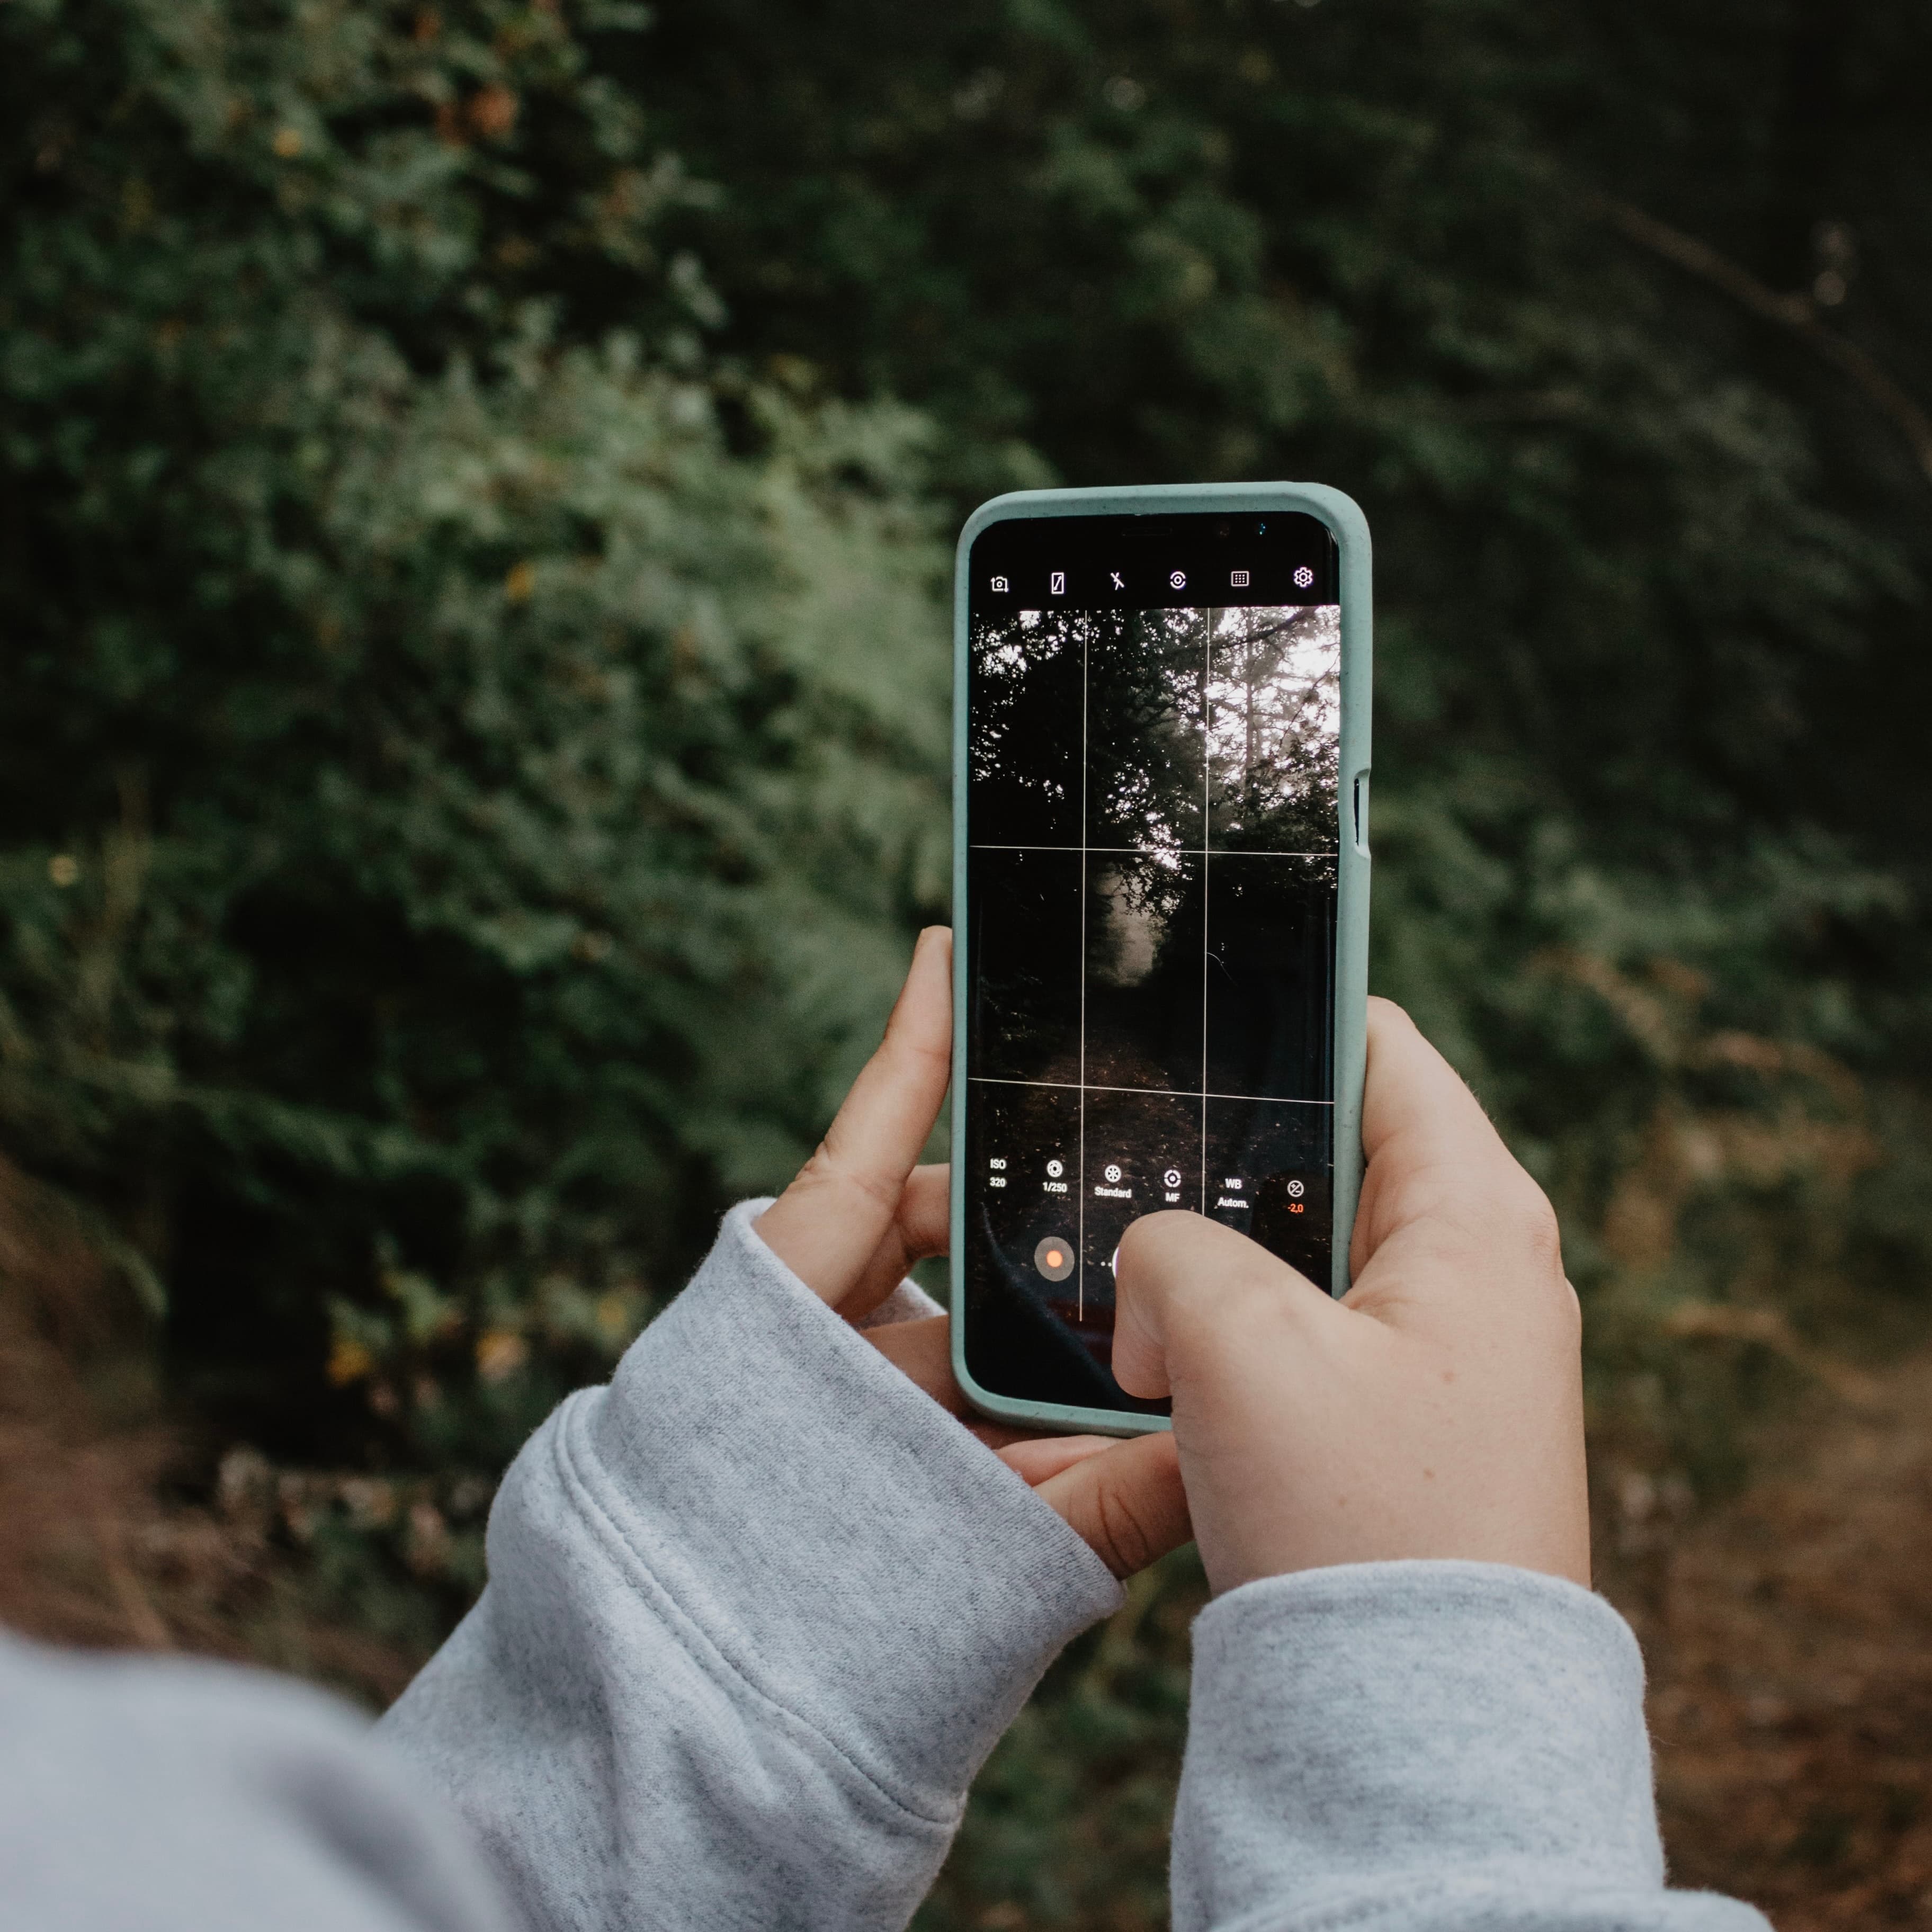
Table of Contents
What exactly is a photo grid? It can mean many things, the grid on your camera to help you better frame a photo, a collage with a unified theme, or even how you plan your Instagram feed. It may mean different things, but all of these when used can greatly boost the way you use your Instagram, and the way people respond to your posts.
Why take photos using a grid?
First, you need to turn on this feature on your Camera’s settings. Open the Settings app, choose ‘Photos & Camera’ and turn on the ‘Grid’ option. Once you do, you’ll find that your screen will have faint grid lines when you open your Camera app.
Turning on this little feature will help you apply the Rule of Thirds in photography. Simply put, the important elements of your photo, such as the subject, should be on the intersection of the grid lines. You should actually never put the subject of your image in the center square, otherwise it will look static.
Following the Rule of Thirds is one of the quickest ways to make your shot look a lot more professional. It encourages the viewer to draw their eye towards the subject of the photo, and take in the whole image in the process. It’s a simple guideline that can make a world of difference.
Creating a photo collage
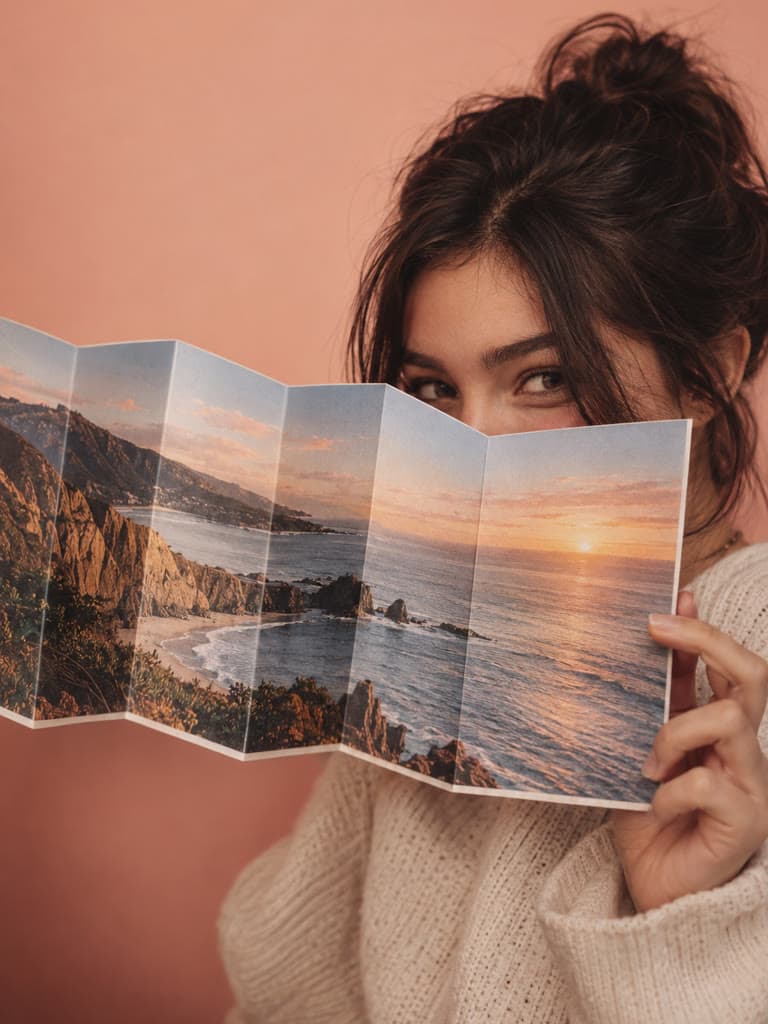
When you have multiple photos you want to share, don’t have enough space for the post’s carousel, but don’t want to flood your feed, collages are your friend.
Using the Instasize collage layouts, you can arrange your photos in preset grids or put them together as freely as you would lay out a magazine. It’s another avenue to get creative while sharing multiple photos in a way that is still on-brand.
Here’s how you create a photo collage on Instasize:
-
Step #1: Open the app and tap the ‘+’ button, and then choose Collage.
-
Step #2: Choose which photos from your Camera Roll you want to include in your collage. Pick the layout you want your photos to be displayed in.
-
Step #3: Once you’ve chosen a layout, you will be able to edit your collage. Apply filters, adjust photo settings, or add elements like texts and patterns as backgrounds.
-
Step #4: After creating and editing your collage, just tap the share button and send your image to Instagram and other platforms!
Planning your Instagram grid lines
Now here’s the most important photo grid for Instagram power users: your profile’s feed!
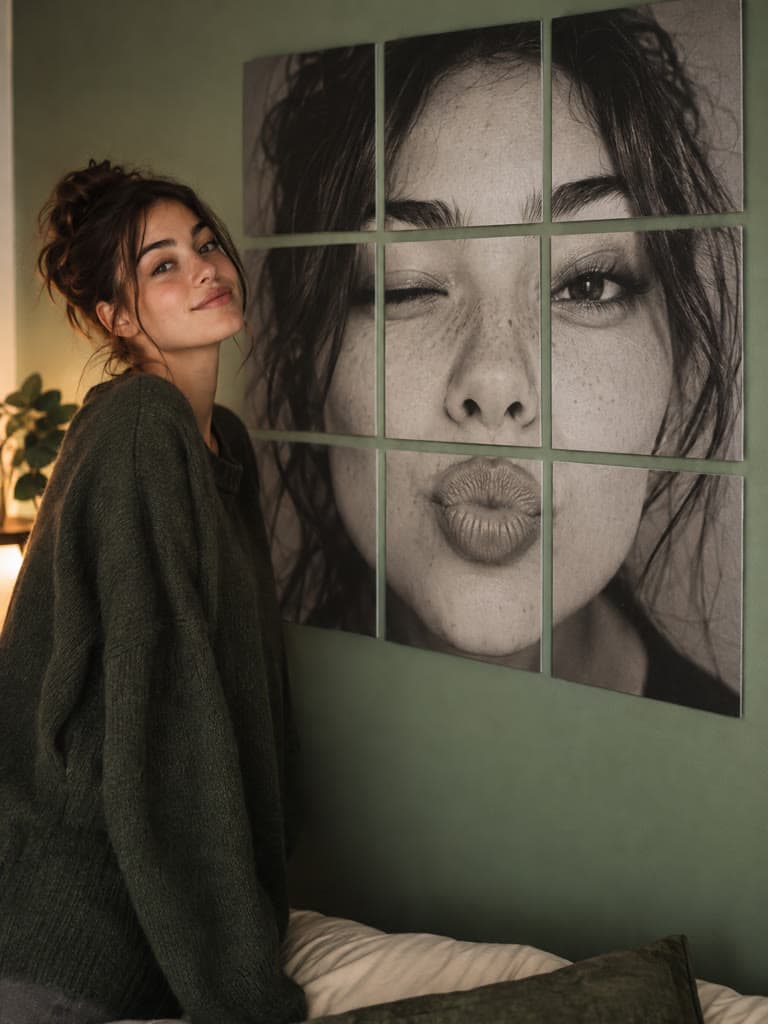
Think about the overall profile as well as each post. If you want one image to span several profile positions, the Instagram Grid Maker can center-crop it into 3, 6, 9, or 12 tiles and number the files in posting order.
Before publishing a puzzle grid, check every tile on its own. A mural can look complete on the profile while an individual post looks confusing in followers’ feeds. Keep faces and important text away from the cut lines, and do not assume a grid layout will increase reach or follows.
Instagram adds the newest post at the top-left of the profile grid. A multi-post mural therefore needs to be uploaded from the bottom-right tile back toward the top-left. Use the downloaded file numbers rather than guessing the sequence.
Make the most out of these different photo grids and see how quickly your Instagram grows!
Woohoo, Instasize got featured on iGeeksBlog.com