How to Print Multiple Images on One Page (2026 Guide)
Printing several photos on a single sheet saves paper and looks better than one photo per page for scrapbooks, presentations, or handouts. Mac and Windows both have a built-in way to do this, and if you'd rather design the layout yourself first, a collage app gives you more control over spacing and arrangement before anything goes to the printer.
Print Multiple Photos on Mac
Using Preview (best for a quick contact sheet):
- Select all the photos you want in Finder, right-click, and choose Open With → Preview.
- With all images open, go to File → Print.
- In the print dialog, look for the layout or "Photos per page" option and choose how many images to place on each sheet.
- Adjust margins and scaling if needed, then click Print.
Using the Photos app:
- Open Photos and select your images (hold Command to select multiple).
- Go to File → Print.
- Choose a multi-photo layout template from the options shown.
- Adjust the layout and click Print.
Print Multiple Photos on Windows
- Open File Explorer and navigate to the folder with your photos.
- Hold Ctrl and click each photo you want to include.
- Right-click the selection and choose Print.
- The Photo Printing Wizard opens with layout options like 2-per-page, 4-per-page, or wallet-size — pick the one that fits your page.
- Adjust paper size and quality settings, then click Print.
Build a Custom Layout First
If you want more control over spacing, borders, and arrangement than the built-in wizards offer, design the page as a single image before printing:
- Open the Instasize contact sheet maker.
- Choose your photos, paper shape, orientation, and column count.
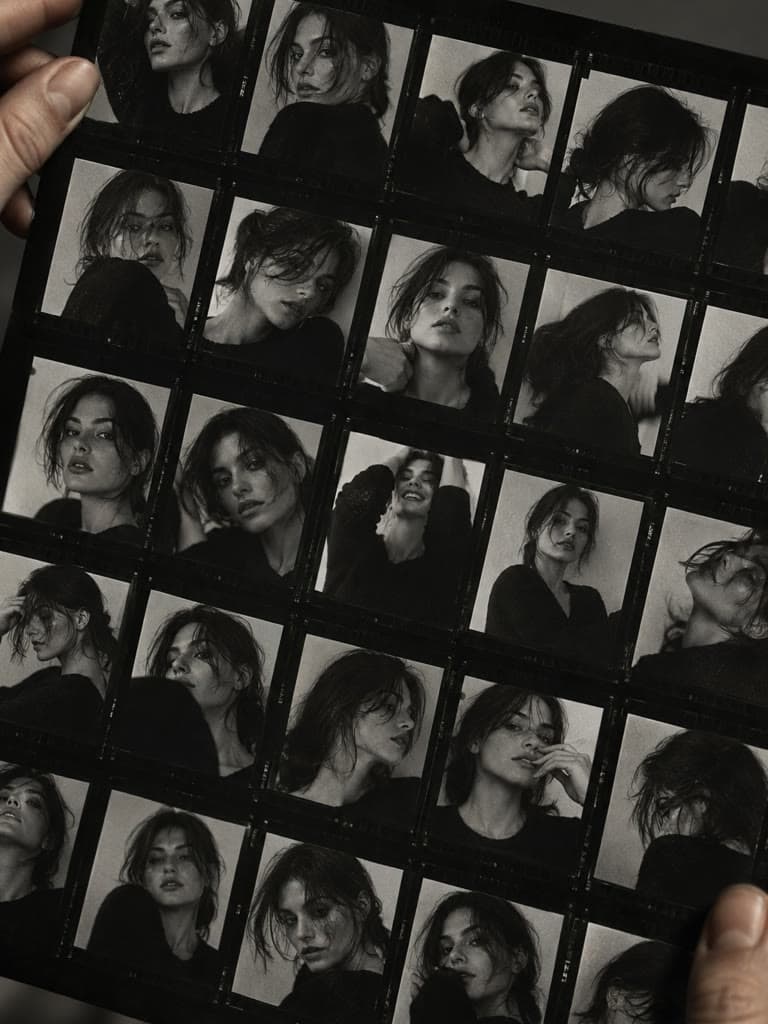
- Adjust spacing, order, fit, and filename labels until the proof sheet reads clearly.
- Export the finished sheet as one image, then print it like any single photo — from your computer or directly from the app.
This approach is useful when the built-in Mac/Windows layouts feel too rigid, or when you want a consistent look (matching borders, spacing, or a themed layout) across multiple prints.
Using an Online Print Service
For higher-quality prints than a home printer produces, upload your photos to a print service like Shutterfly or Snapfish:
- Upload your images to the service's site or app.
- Choose a collage or multi-photo layout template.
- Customize the arrangement, then place your order for prints delivered to your door.
Tips for Better Results
- Start with high-resolution originals. Printed photos show compression artifacts far more than a screen does — use the largest version of each file you have.
- Match paper to purpose. Glossy photo paper suits standalone prints; matte works better if you'll be writing on the page or storing it in a binder.
- Preview before printing a full batch. Print one test page to check colors and layout before running a large batch, especially with a home printer.
FAQs
What's the fastest way to print multiple photos on Mac?
Select the photos in Finder, open them all in Preview, then use File → Print and choose a multi-photo layout — no extra software required.
Can I control exactly how photos are arranged on the page?
Preview's and Windows' built-in print layouts offer preset grids only. For custom spacing, borders, or arrangement, build the layout as a single collage image first (in an app like Instasize), then print that image.
How many photos can I fit on one page?
That depends on your printer's page size and the layout you choose — the Windows Photo Printing Wizard and Mac's Preview both offer several presets (commonly 2, 4, 6, or 9 photos per page).
Do I need special paper to print multiple photos on one sheet?
No, standard printer paper works fine for drafts or casual use. For a polished result meant to be kept or gifted, photo paper produces noticeably better color and durability.
Is it cheaper to print at home or use an online service?
Home printing is usually cheaper for occasional, low-volume prints if you already own a printer and photo paper. Online services tend to produce higher print quality and are more cost-effective for larger batches or professional finishes.