Have you ever needed a little more room around the edges of your photos? Expanding an image in Photoshop can give you the additional space you need without losing any important details. Whether you’re looking to add more background or adjust the composition, this guide will walk you through the steps using tools like Canvas Size, Content-Aware Fill, and Generative Expand techniques.
Preparing Your Image for Expansion
Before you begin expanding your image, it’s important to set up your workspace properly. Open your image in Photoshop by navigating to File > Open and selecting your file. Ensure your layers are organized, and that you’re working on a duplicate layer to preserve the original image.
How to Expand an Image in Photoshop
One of the simplest methods to expand an image is through the Canvas Size tool. Here's how to do it:
- Open Canvas Size Menu: Go to
Image > Canvas Size.
- Adjust Canvas Size: In the dialog box, adjust the width and height to your desired size. Make sure the anchor is set to the center so that the change will affect all sides evenly.
- Confirm Changes: Click
OK to apply the changes. You will now have extra transparent space around your image.
Using Content-Aware Fill
Content-Aware Fill is a powerful tool for seamlessly extending the background of your image. Follow these steps:
- Select the Empty Area: Use the
Rectangular Marquee Tool to select the new empty space around your image.
- Open Content-Aware Fill: Go to
Edit > Fill and choose Content-Aware from the drop-down menu.
- Adjust Settings: You can adjust the settings to achieve the best results, then click
OK.
- Review the Fill: Photoshop will fill the selected area with content that matches the surrounding pixels.
Generative Expand Techniques
Photoshop's Generative Expand feature uses AI to add new content to your image:
- Open Your Image in Photoshop: Start by opening your image.
- Expand the Canvas: Go to
Image > Canvas Size and increase the canvas size as needed.
- Select the Empty Area: Again, use the
Rectangular Marquee Tool to select the new empty space.
- Fill Using Content-Aware: Go to
Edit > Fill and choose Content-Aware to generate new image content in the expanded area.
- Refine and Adjust: Adjust any areas that need refining using the
Clone Stamp Tool or Healing Brush Tool.
Tips for Natural-Looking Expansions
For the best results, consider the following tips:
- Blend Edges: Use the
Blur Tool or Smudge Tool to gently blend the edges where the original image meets the expanded area.
- Check for Repeating Patterns: Sometimes, Content-Aware Fill can create repeating patterns. Use the
Clone Stamp Tool to break these up.
- Work on High Resolution: Higher resolution images provide more pixel data for Photoshop to work with, resulting in better fits and fills.
Finalizing and Saving Your Image
Once you are satisfied with the expanded image:
- Merge Layers: If you had multiple layers, merge them by selecting
Layer > Merge Visible or Flatten Image.
- Save Your Image: Go to
File > Save As and choose your desired format (JPEG, PNG, etc.).
Expand Images Easily with Instasize
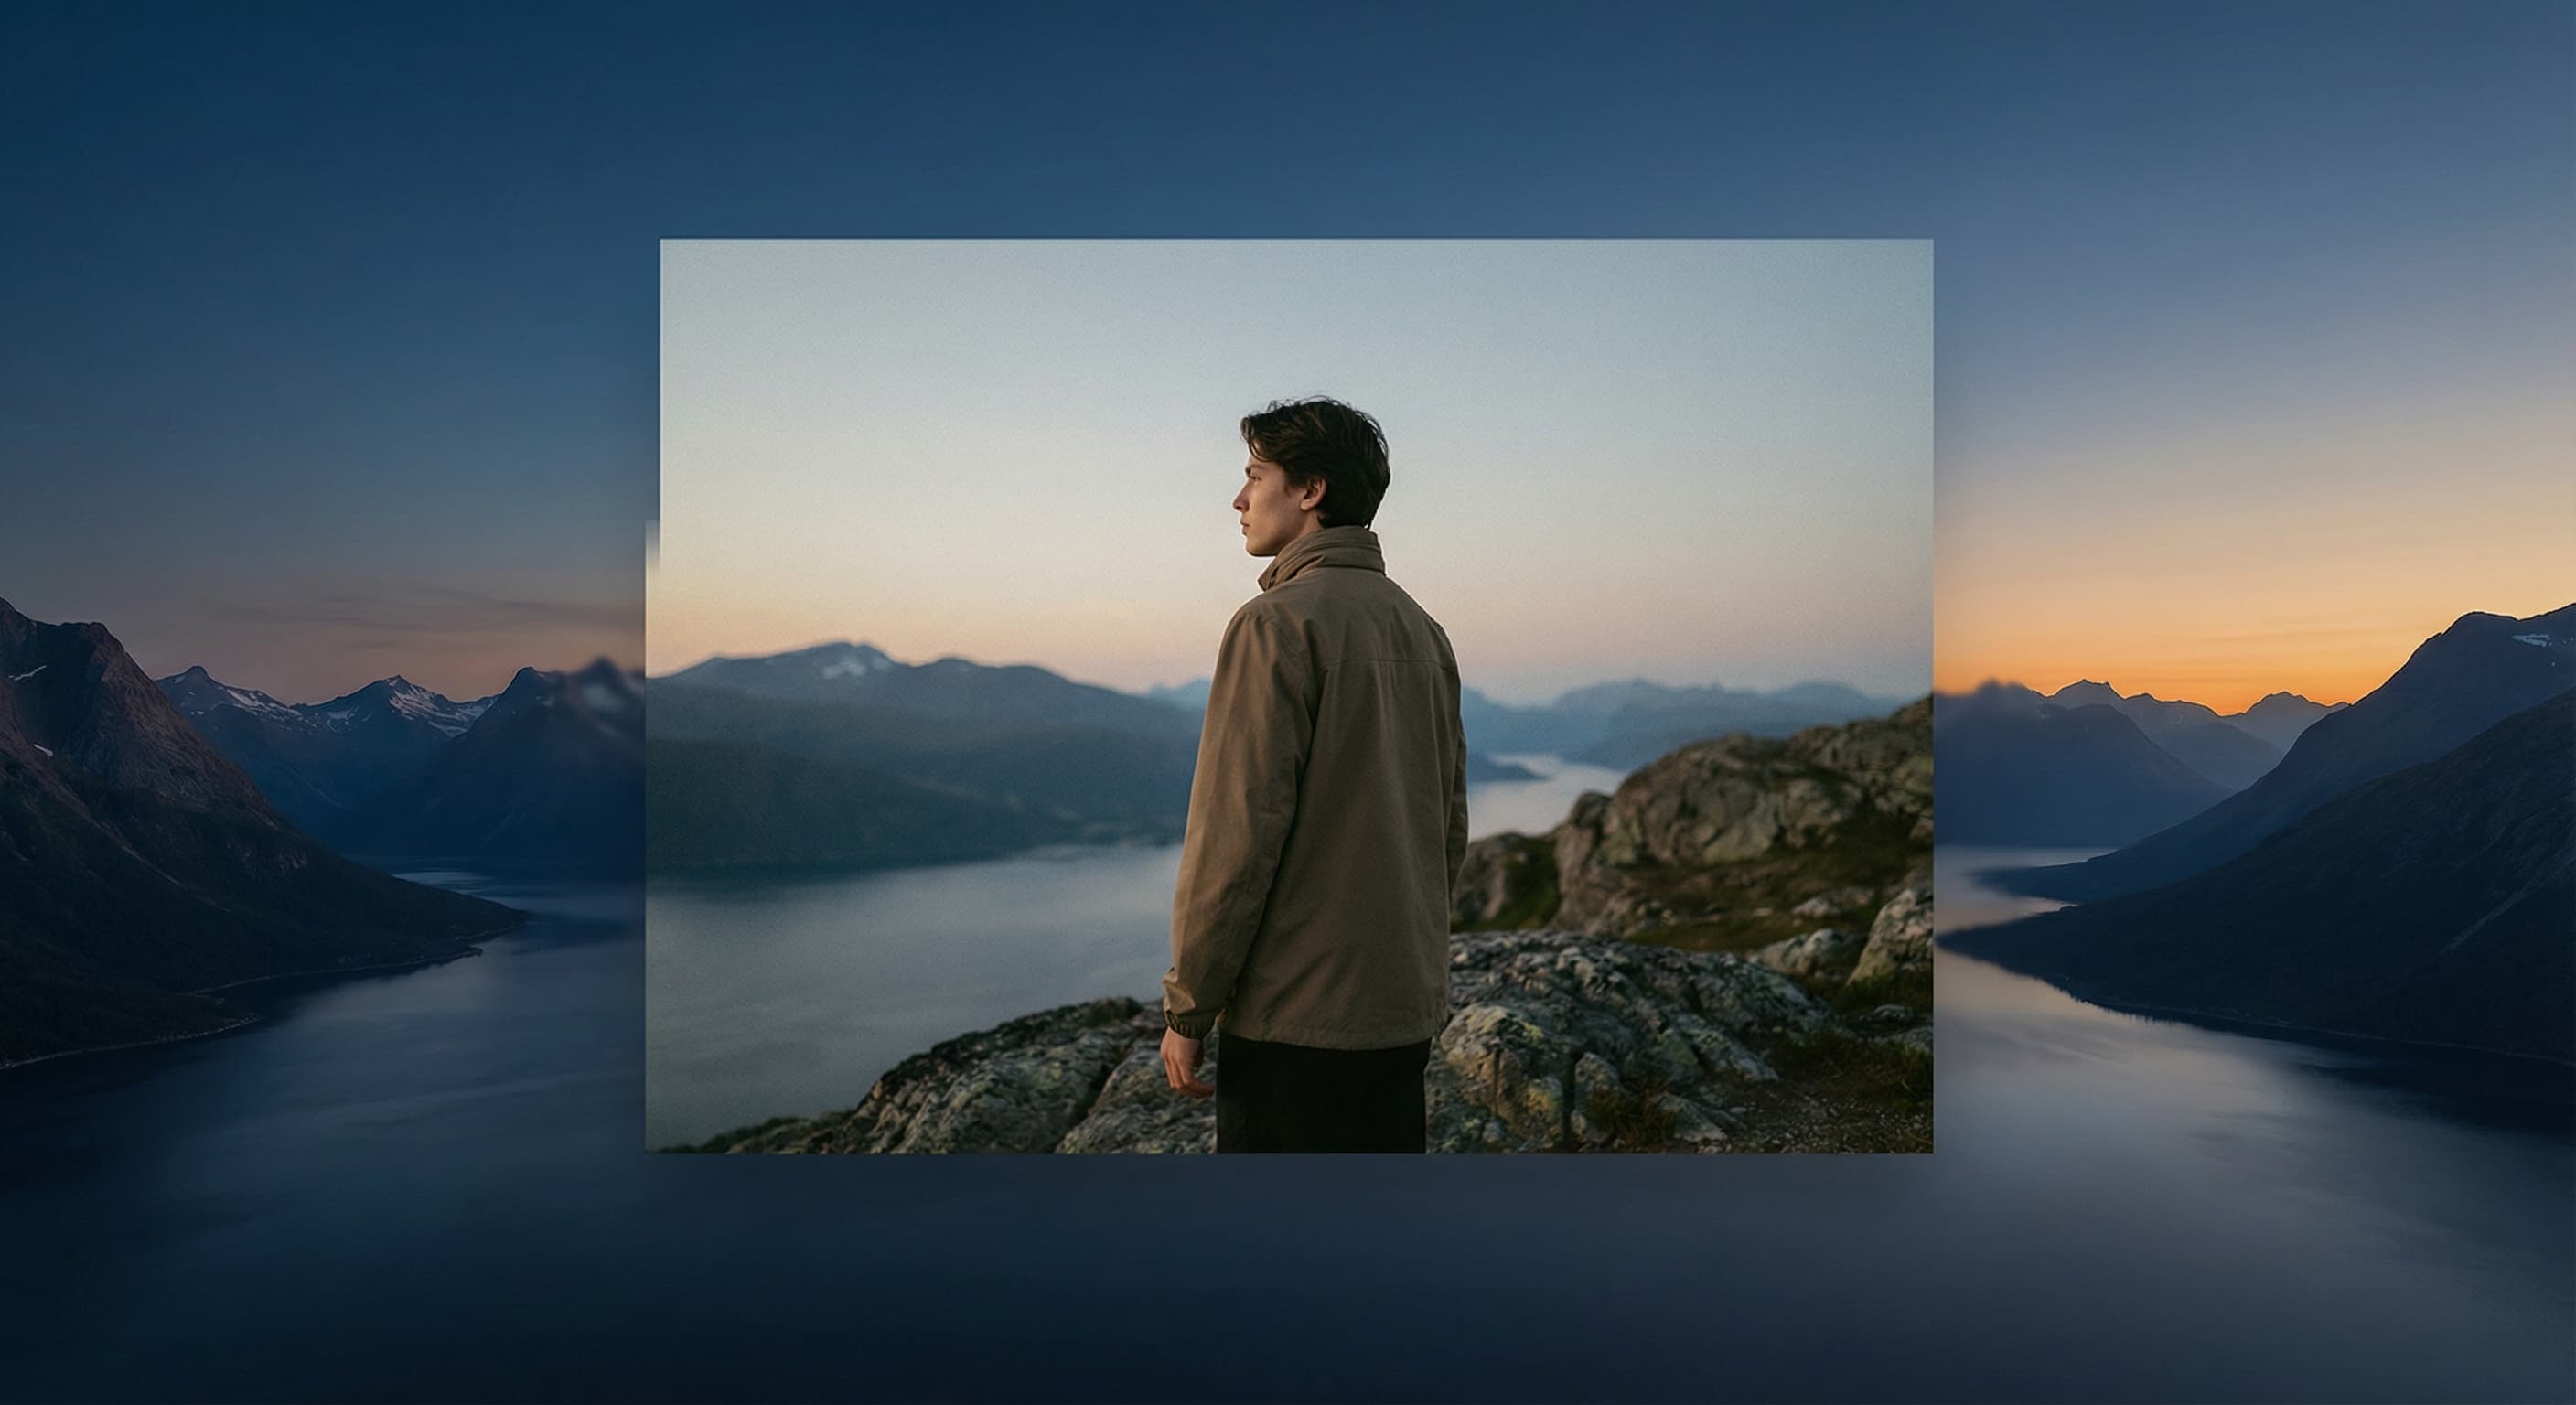
While Photoshop offers powerful tools for image expansion, Instasize provides an easy-to-use platform for expanding and resizing images for anywhere on the web.
Quickly expand your images with pixel perfect expansion that will look seamless and fit anywhere.
Conclusion
Expanding an image in Photoshop involves a combination of techniques to ensure a seamless expansion. From using the Canvas Size tool to advanced Content-Aware Fill and Generative Expand methods, Photoshop offers various ways to adjust your images. For simpler tasks, consider using Instasize for quick edits and optimizations.
Experiment with these methods and enhance your images with professionalism and ease!