Can You See Who Views Your TikToks?
Learn about the truth behind seeing who views your TikToks, the privacy concerns and tips for managing your TikTok account.
February 2, 2023

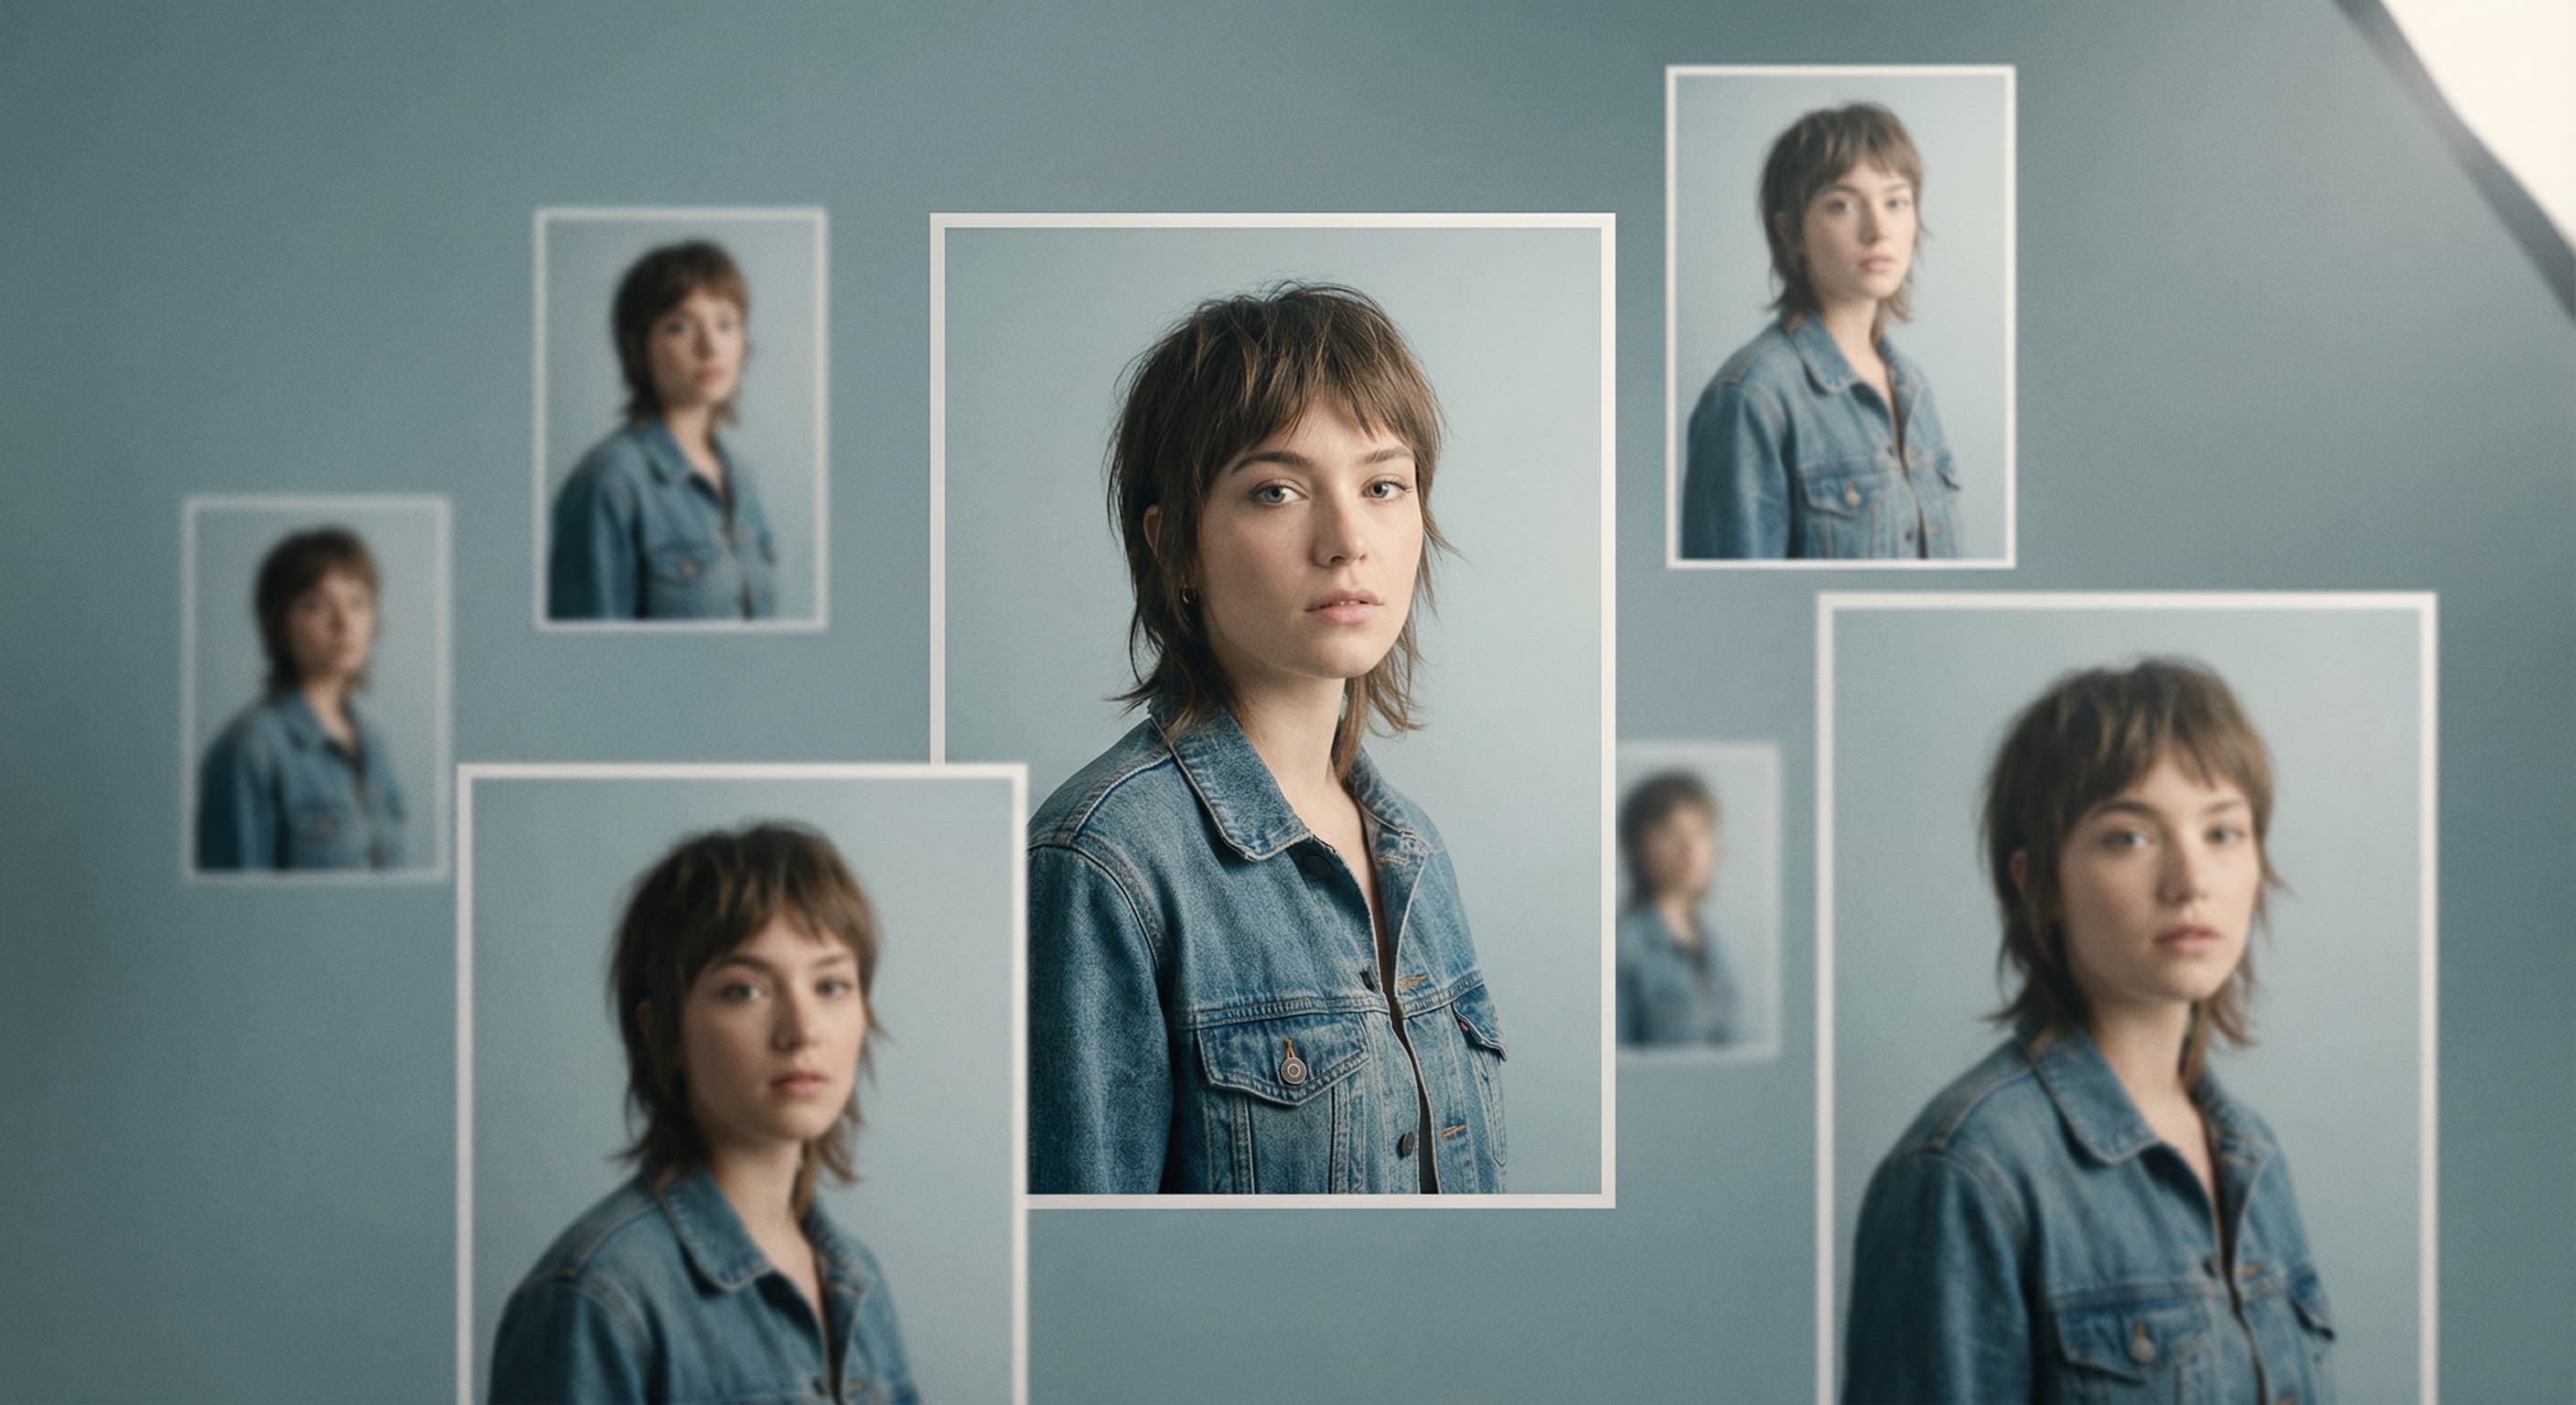
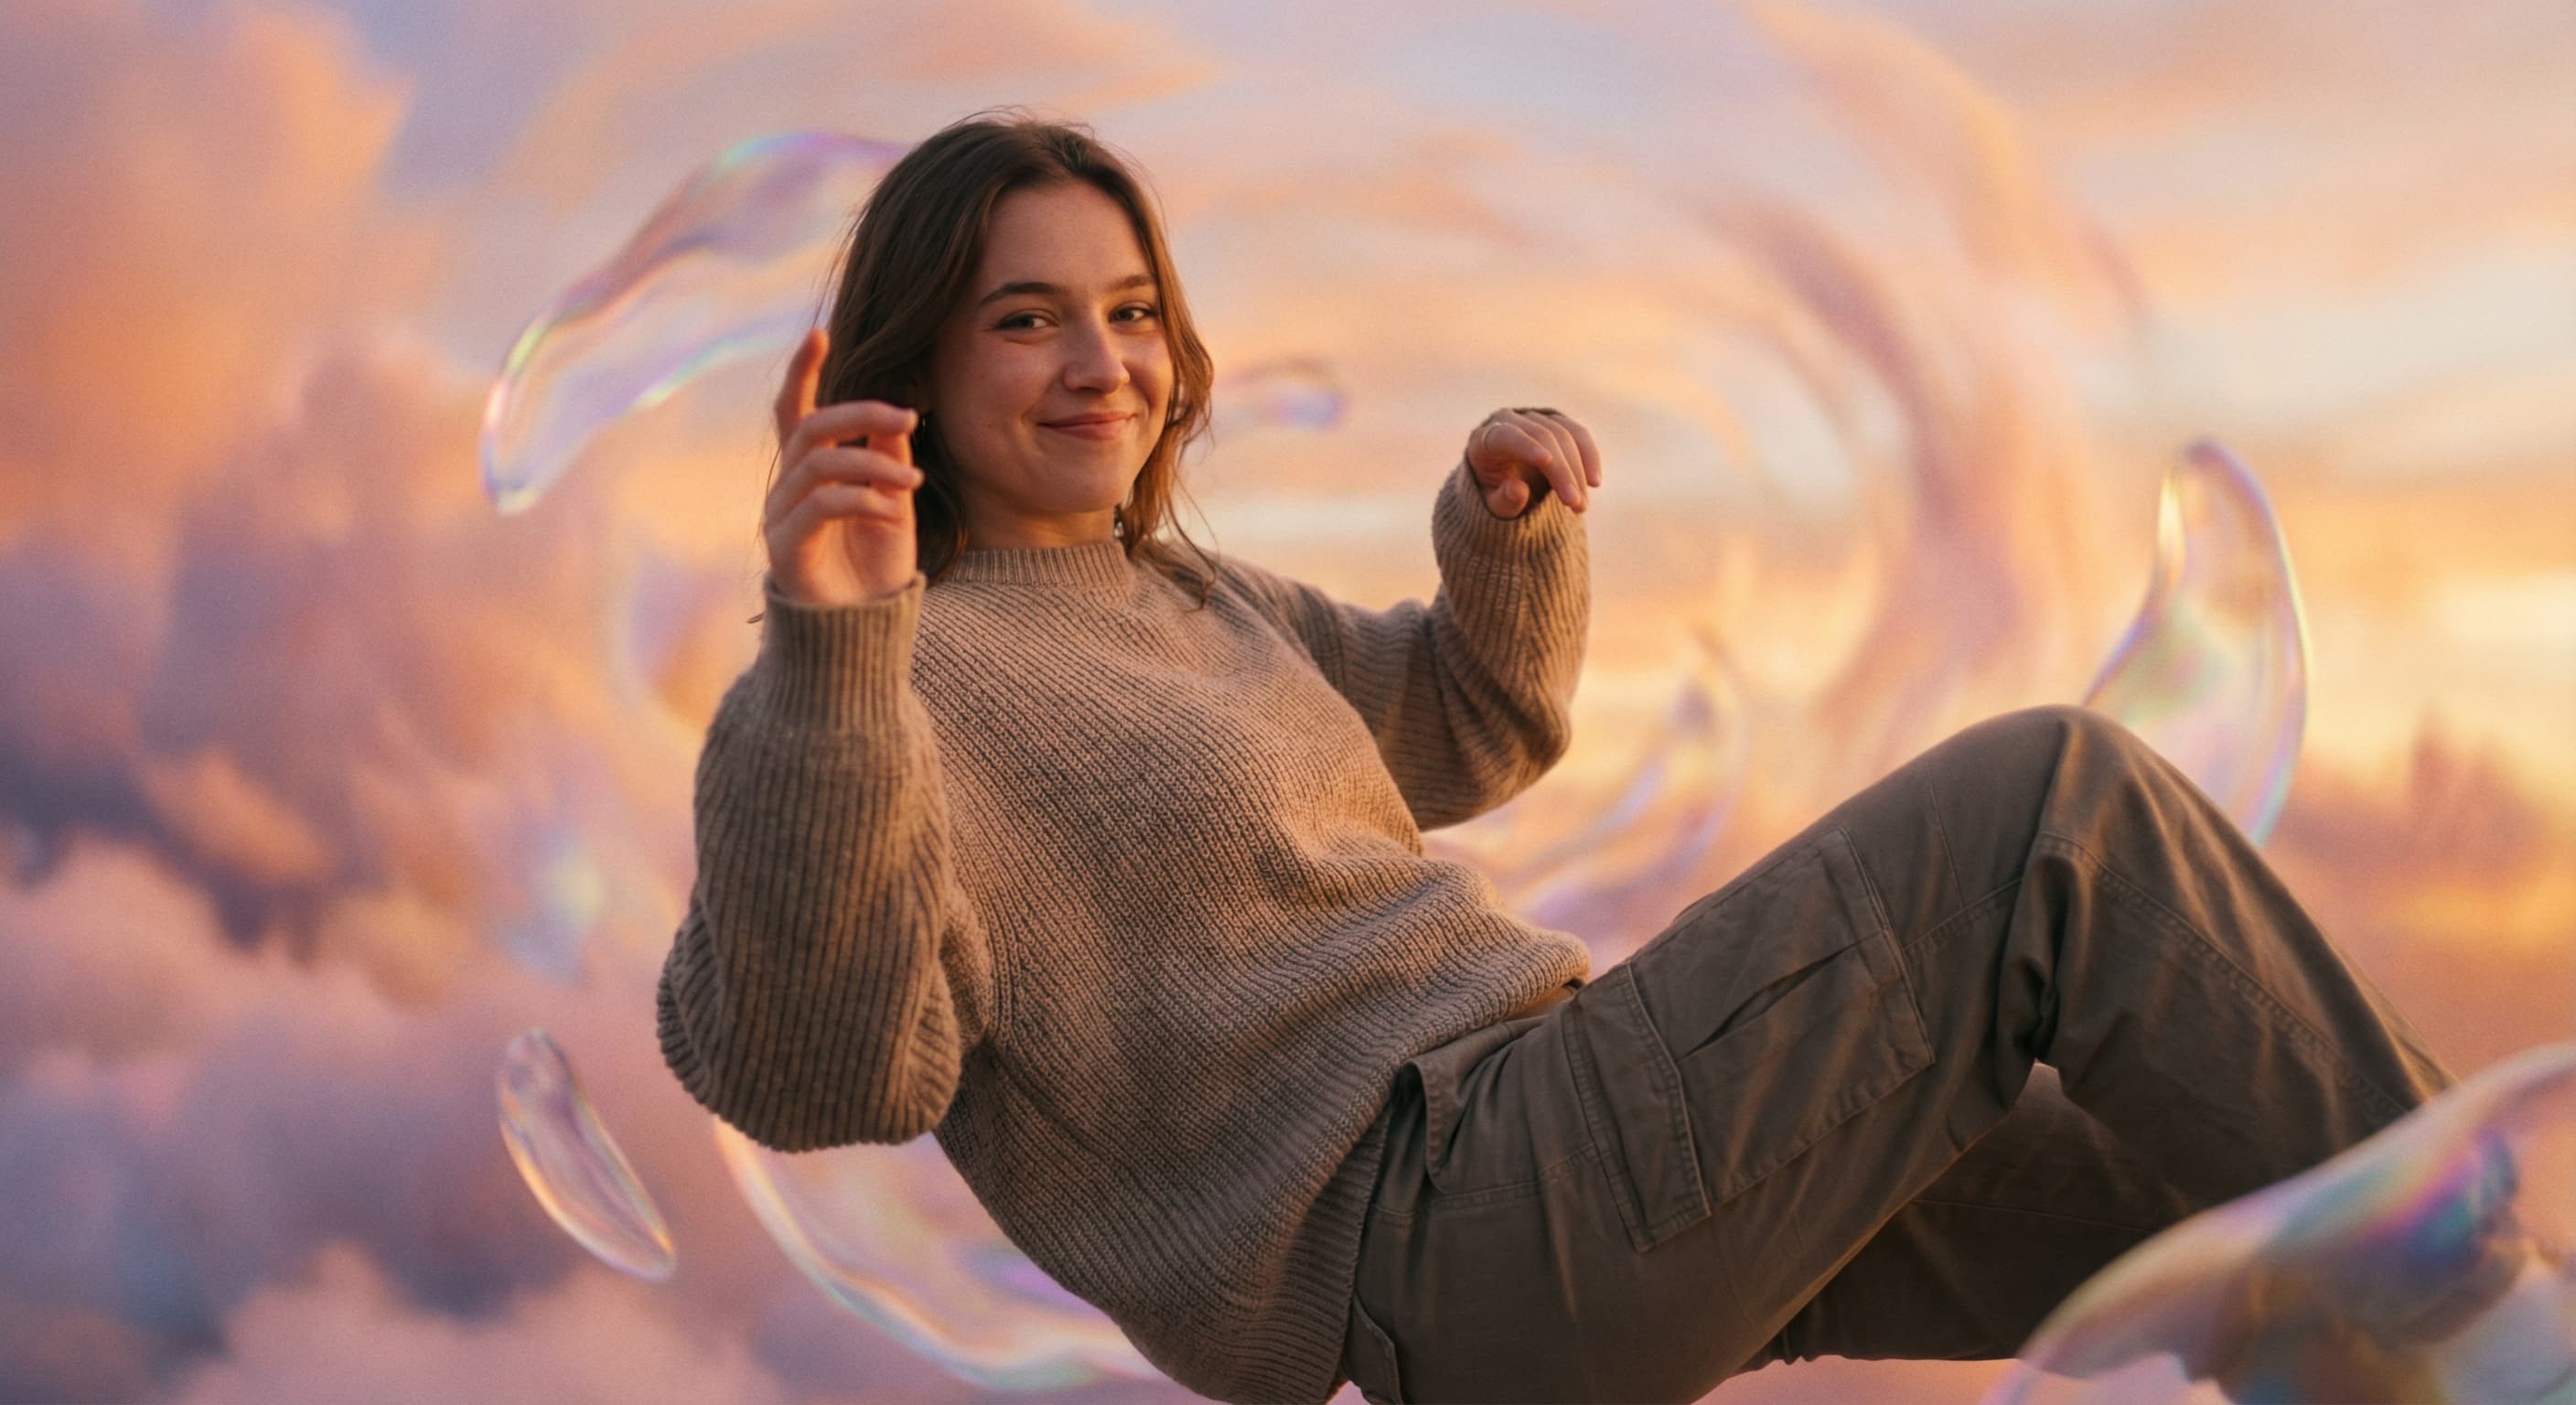
Hey Instasize Creatives and welcome to another segment of “Recreate the Look”. This week we’re focusing on blurred borders and how to use Instasize to recreate this editing trend. Our influencer of choice is Ms. Ellie Gonsalves, an Aussie model and travel enthusiast. We noticed she used a blurred border edit during her most recent trip to Bermuda, and we couldn’t be more excited to show YOU how to recreate the look.
Although Instagram has updated it’s platform to allow for full sized iPhone photos to be uploaded, when trying to upload an image taken on a DSLR camera or an iPhone X, you’ll notice that parts of your images are still cut out due to Instagram’s uploading parameters. Blurred borders are perfect when wanting to showcase an entire image on Instagram while also ensuring that the borders you’re adding aren’t an eye sore on your feed. Ellie used her main image as her background/blurred border image and today we’re going to show you how to use Instasize to RECREATE THIS LOOK.
Step 1: Open your editor and choose an image you’d like to use. Don’t worry about cropping your image, that would defeat the purpose of this tutorial! Just leave it as is and head on over to our border icon.

Step 2: Click on the option that says “BLUR” and then select your original photo again. This will make it appear in the background of your image.

Step 1: Use the adjustment bar to decrease/increase your original image size - this will allow for more of your blurred background to show. Align the photo however you’d like and select “DONE” when you’re complete!

And there you have it, an easy solution to a pesky Instagram problem! Never compromise your FULL image ever again, blurred borders are here to the rescue! Completely accessible to anyone operating on Instasize, regardless of premium status.
Discover the latest expert tips and tricks on mastering social media strategies, honing your photing editing skills, and unleashing your creativity
Learn about the truth behind seeing who views your TikToks, the privacy concerns and tips for managing your TikTok account.
Learn what Digital Asset Management (DAM) is, why you need it, and how tools like Instasize can simplify your digital workflow.
Learn how to easily change the background color on your Instagram Story with this step-by-step guide. Discover tips and tricks to make your stories pop.
Learn how to combine PNG files into a single PDF effortlessly. Follow these simple steps and discover the best tool to use for a seamless experience.
Find the perfect phot spots in Houston – America’s fourth-largest city to create shareable content for social platforms like Instagram, Pinterest, Twitter, etc.
Learn the tips and strategies for becoming a successful influencer and growing your personal brand.
Learn how to edit captions on TikTok with ease. Step-by-step guide and tips for crafting the perfect TikTok captions.
Discover simple techniques to unblur images and sharpen your photos with this easy-to-follow guide. Explore multiple methods, from using online tools to professional software, and learn how Instasize can help.
Learn how to edit your Shopify website with these simple steps. Customize your theme, use mobile apps, and optimize images for a better shopping experience. Start now!
Learn how to sell stickers on Etsy with our step-by-step guide. Discover tips on design, pricing, marketing, and using tools like Instasize for optimizing your product photos.
Already posted? Learn how to edit an Instagram post's caption, tags, and location in a few taps — plus what you can't change after publishing.
Learn the best ways to give photo credit on Instagram and ensure proper attribution. Follow our simple guide to avoid pitfalls and respect content creators.
Put these tips into practice with our free tools, hand-picked to match what you just read